Learning how to create nail art decals
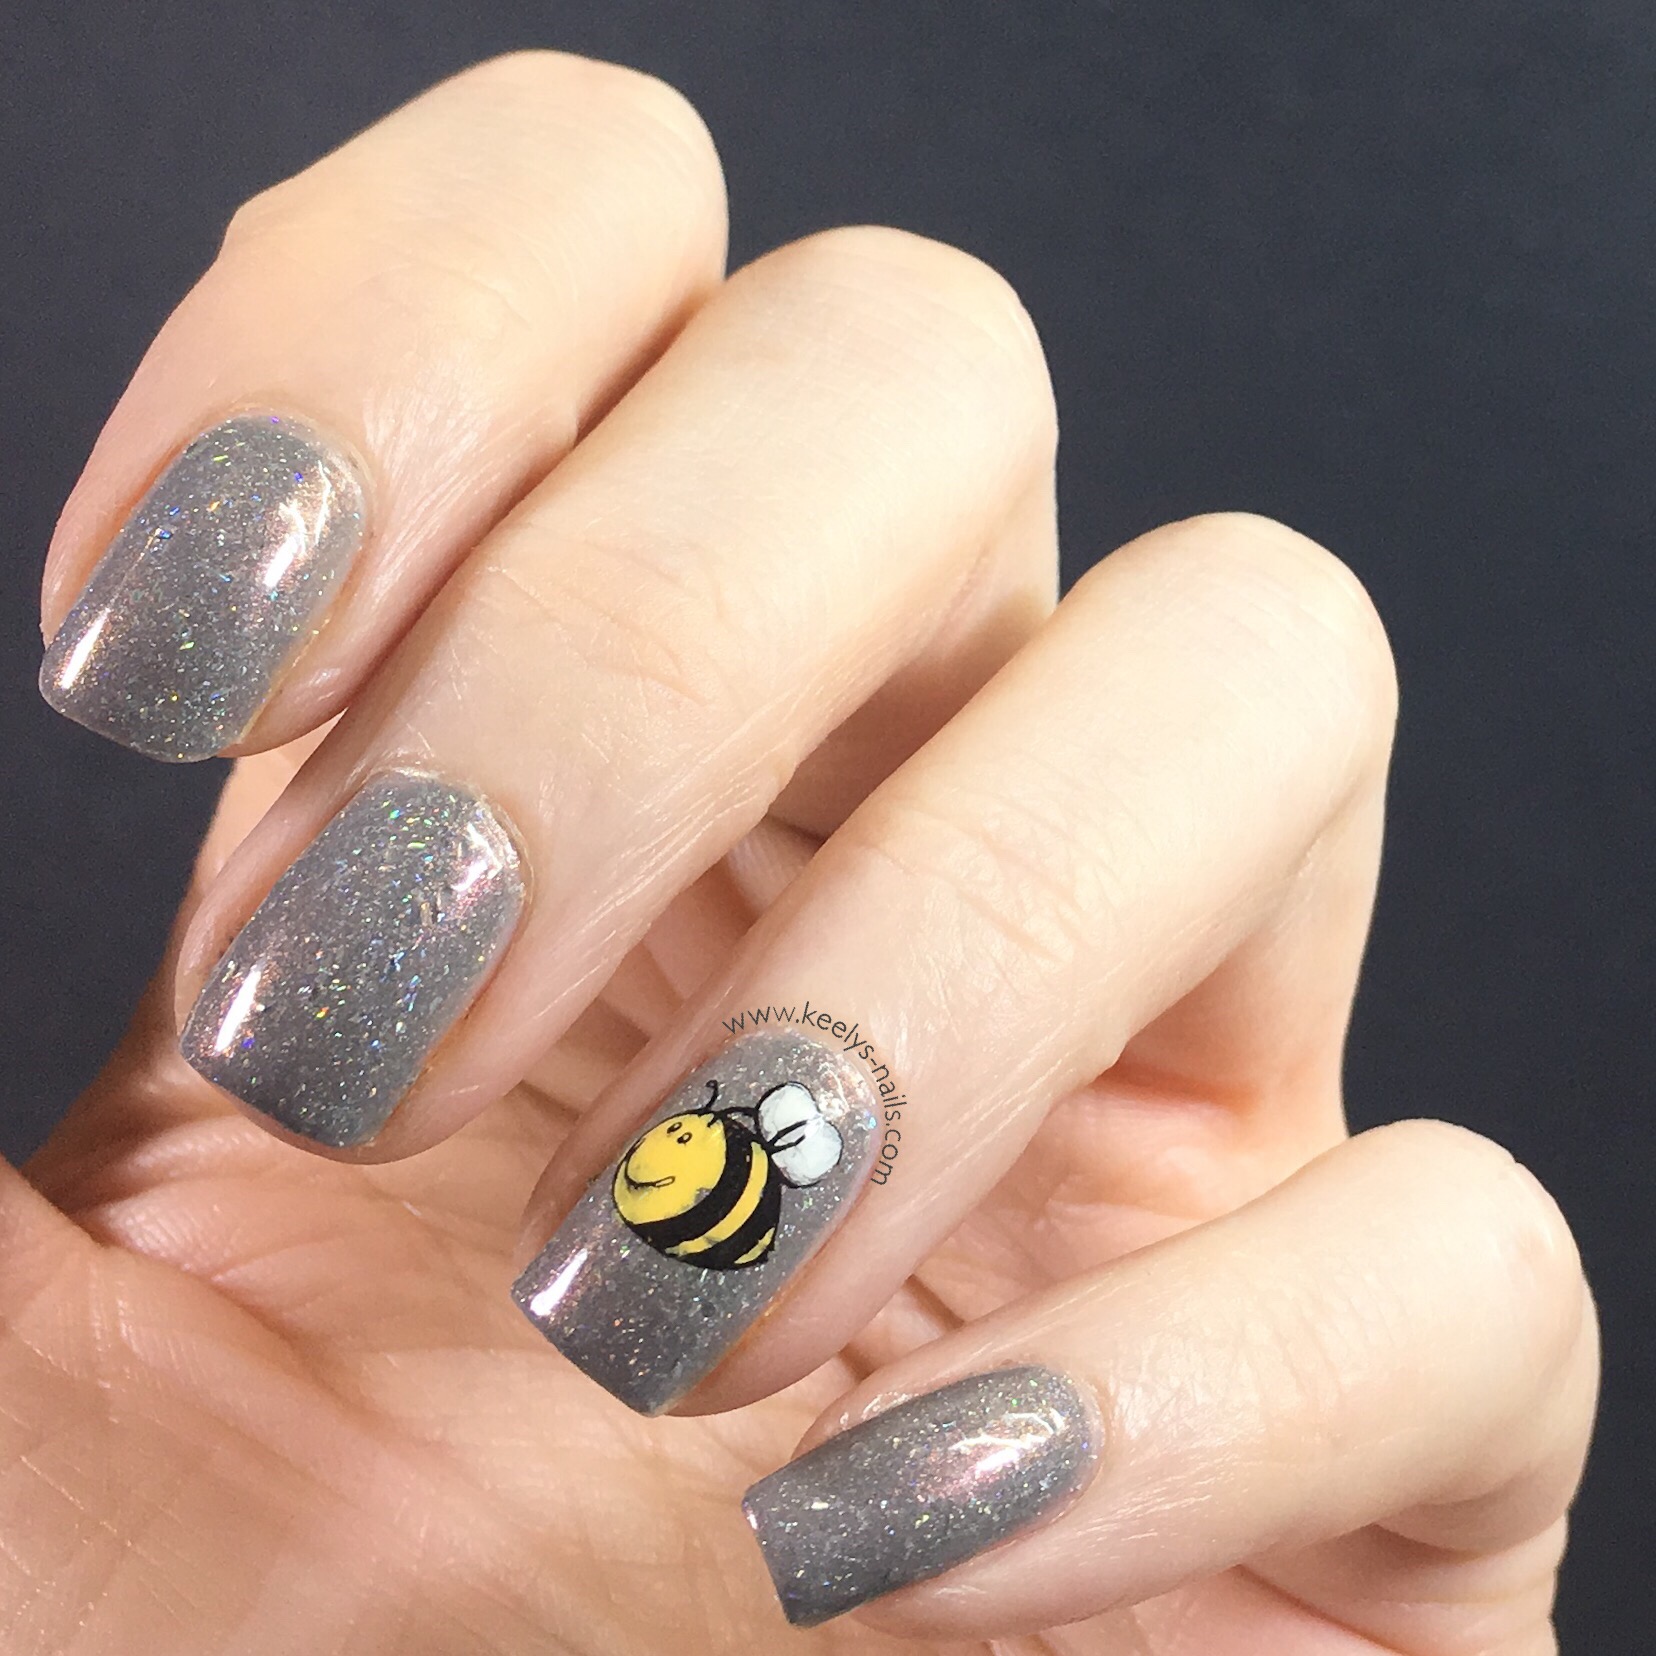
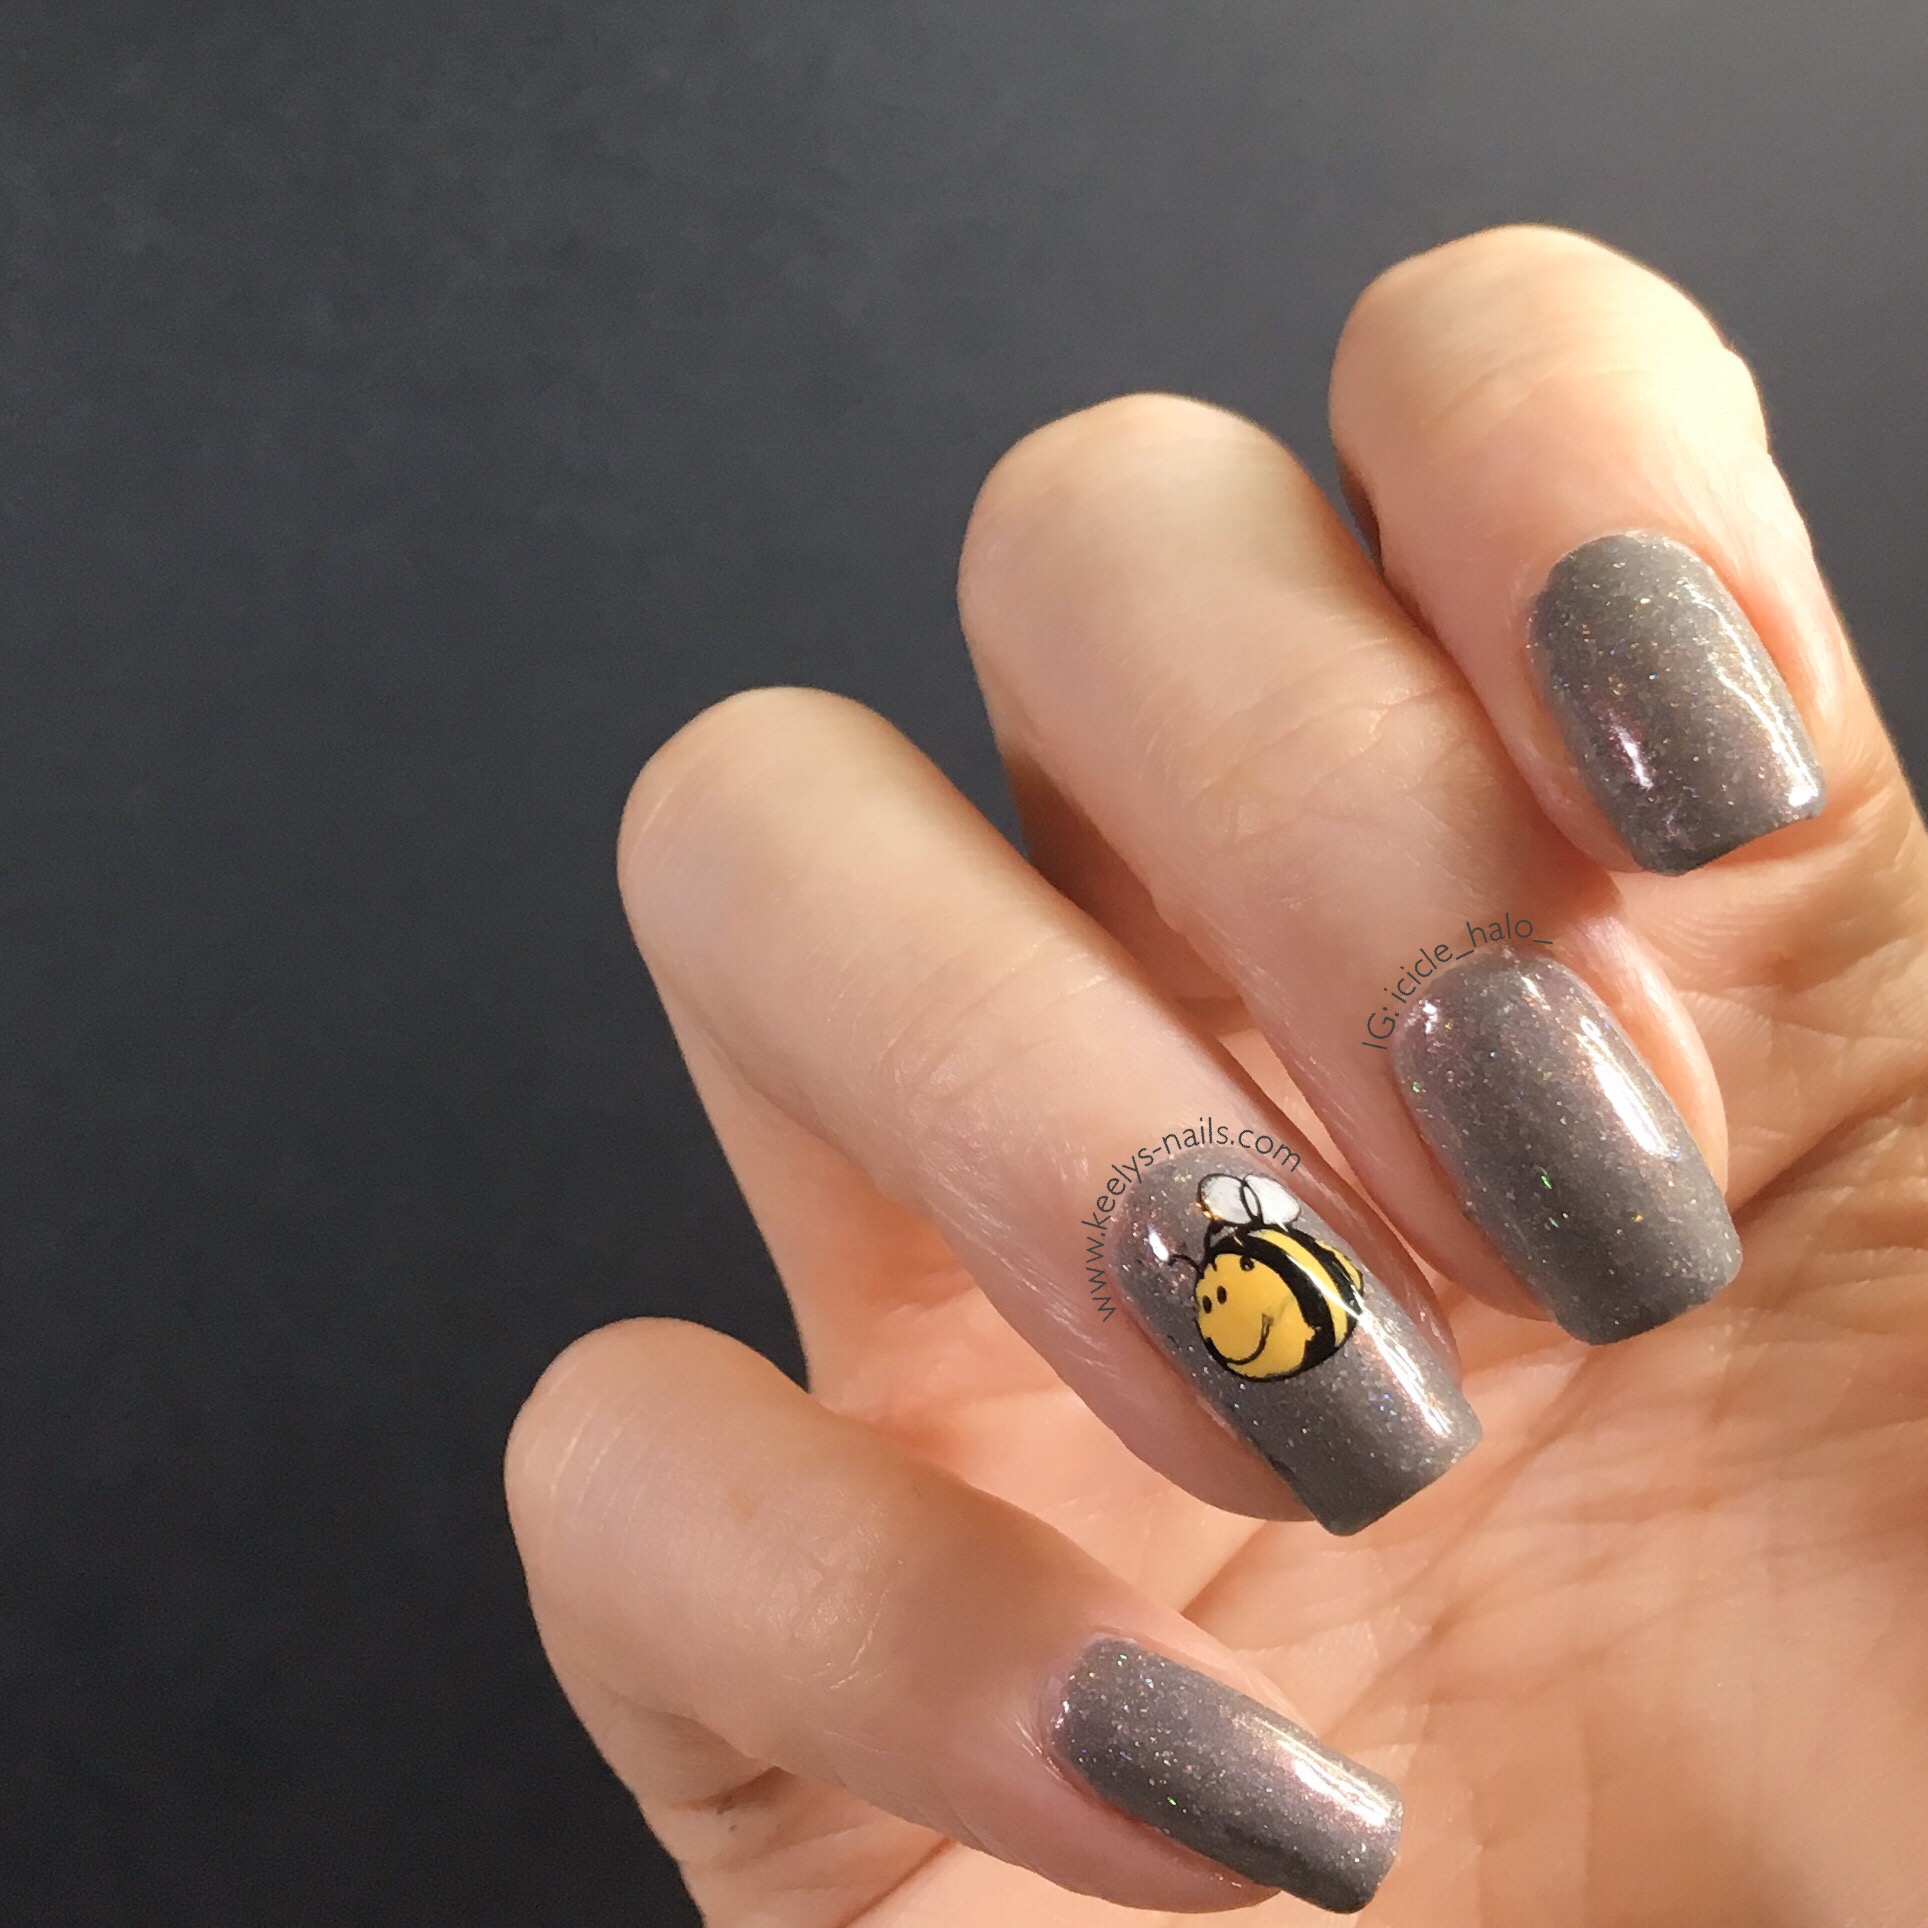
The events in Manchester last week really shocked me. The audience for an Ariana Grande concert are young people and children, their parents, so it felt particularly callous to me. It’s part of my job to react and deal publicly with these sort of things. Don’t get me wrong, I’m not a serving police officer or anything, but I did spend the whole day working on reacting professionally to the bombing, so when I got home all the emotions got to me at once. I decided to add a Worker Bee for Manchester to my nails, to show my respect and support in my own way.
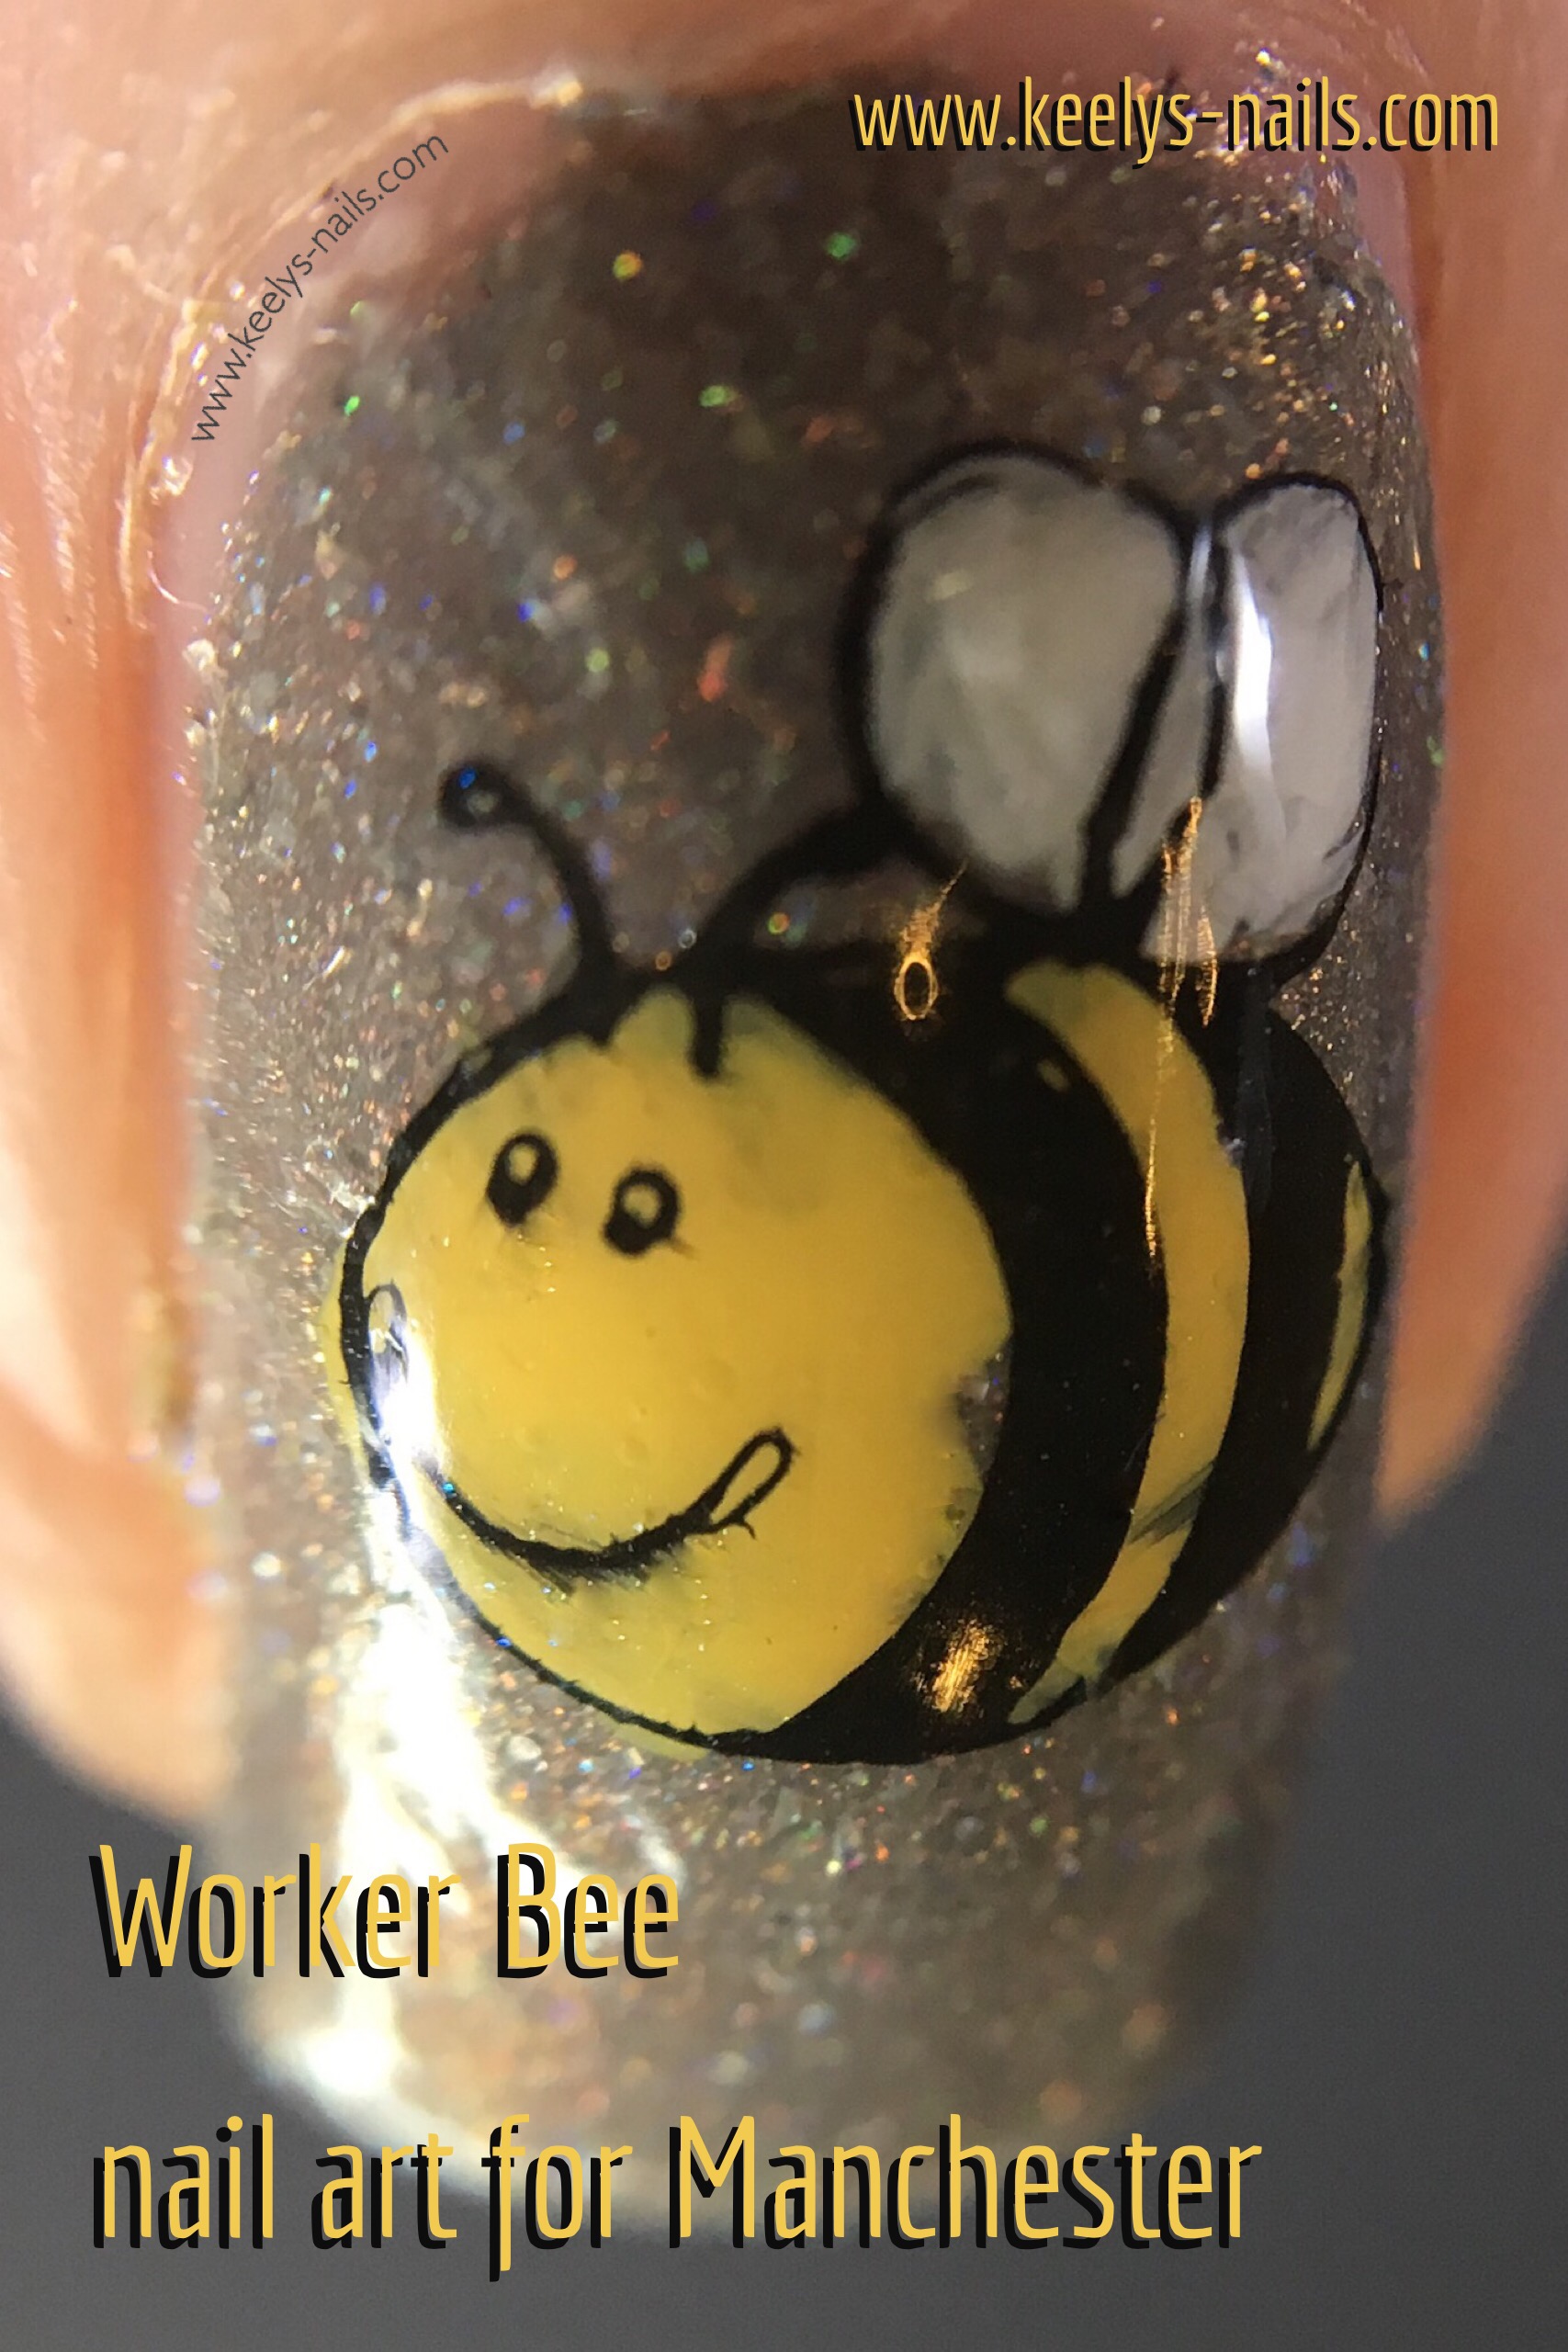
Worker Bee nail art for Manchester
Polishes and tools
Orly Bonder
FUN Lacquer Bachelorette Party
Rimmel Finishing Touch 3D Plumping Top Coat
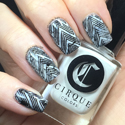
Fab UR Nails Fun 24 plate
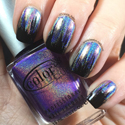
Painted Polish Midnight Mischief
MoYou London White Knight and Bahamas Punch
Seche Vite
Clear Jelly Stamper The Big Bling and Bling Brush
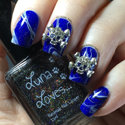
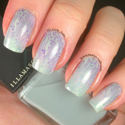
My base is two or three coats of Bachelorette Party, a beautiful grey polish with a pink sheen. It also has very thin strips of holographic bar glitter, which I found made it tricky to work with.
The bar glitters tended to curl up, and it was really difficult to get them to lay flat on my nail. As a result, this polish needs a second layer of top coat to smooth it out, otherwise you get a grainy finish.
Worker Bee nail art with stamping decal right hand
I am the first to admit that I’m not that great at decals. I can’t really keep the colour inside the lines and I tend to smear the outline with the colour polish. Next time I’ll try a second coat of clear polish before colouring in to see if that helps.
Nail art decals
The basics are:
- Paint some clear polish on a silicon mat big enough for each decal, and wait for it to dry
- Stamp the outline design on to the clear polish
- Colour in your design as you want
- Wait for it to dry
- Peel it off the mat and flip it over, then apply it to your nail
- Trim any excess that overhangs your nail (using nail scissors, a cuticle tool or an acetone soaked brush)
- Add topcoat to set it in place

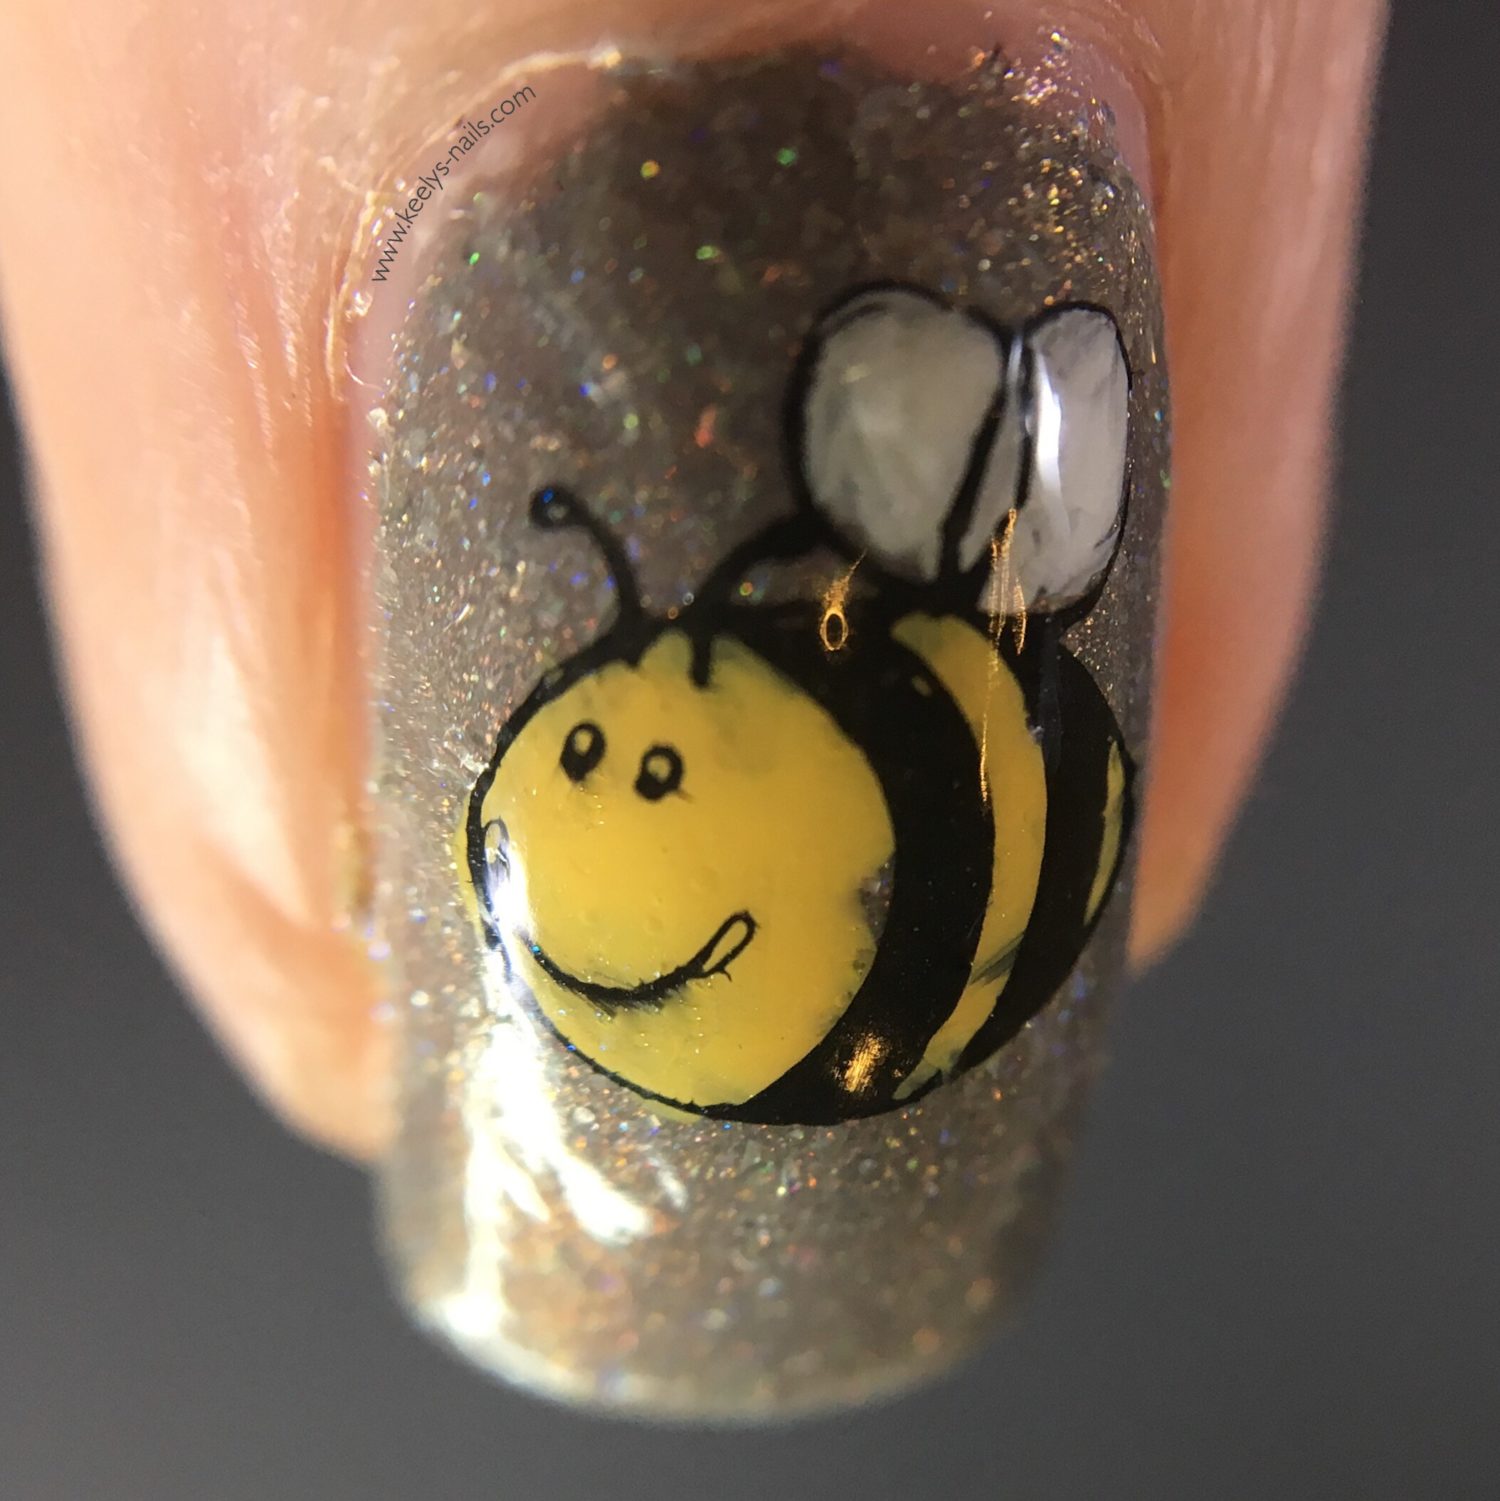
Worker Bee nail art for Manchester macro
My main problem is impatience! I don’t wait long enough for everything to dry, which means I sometimes stretch or rip the decal when I peel it up. On this occasion, the black outline bleeding into the white of the wings kind of works. It looks a bit like the little veins you can see in transparent insect wings.
Worker Bee nail art for Manchester
Overall my bee looks a bit worse for wear close up, but pretty good at a distance. I’m calling this one a win.
After yet more top coat, this design is finished.
It’s subtle, but I’ve liked looking down at my hands this week and seeing this little symbol of solidarity.
If you would like to support the victims and families of those caught up in the attack in Manchester, consider donating to this fund.
May 30, 2017
Love it and I love the link to the donate for Manchester. I have shared to my Facebook. x
May 30, 2017
Thank you Karoline! And thank you so much for sharing