Turquoise Nail Art Tutorial
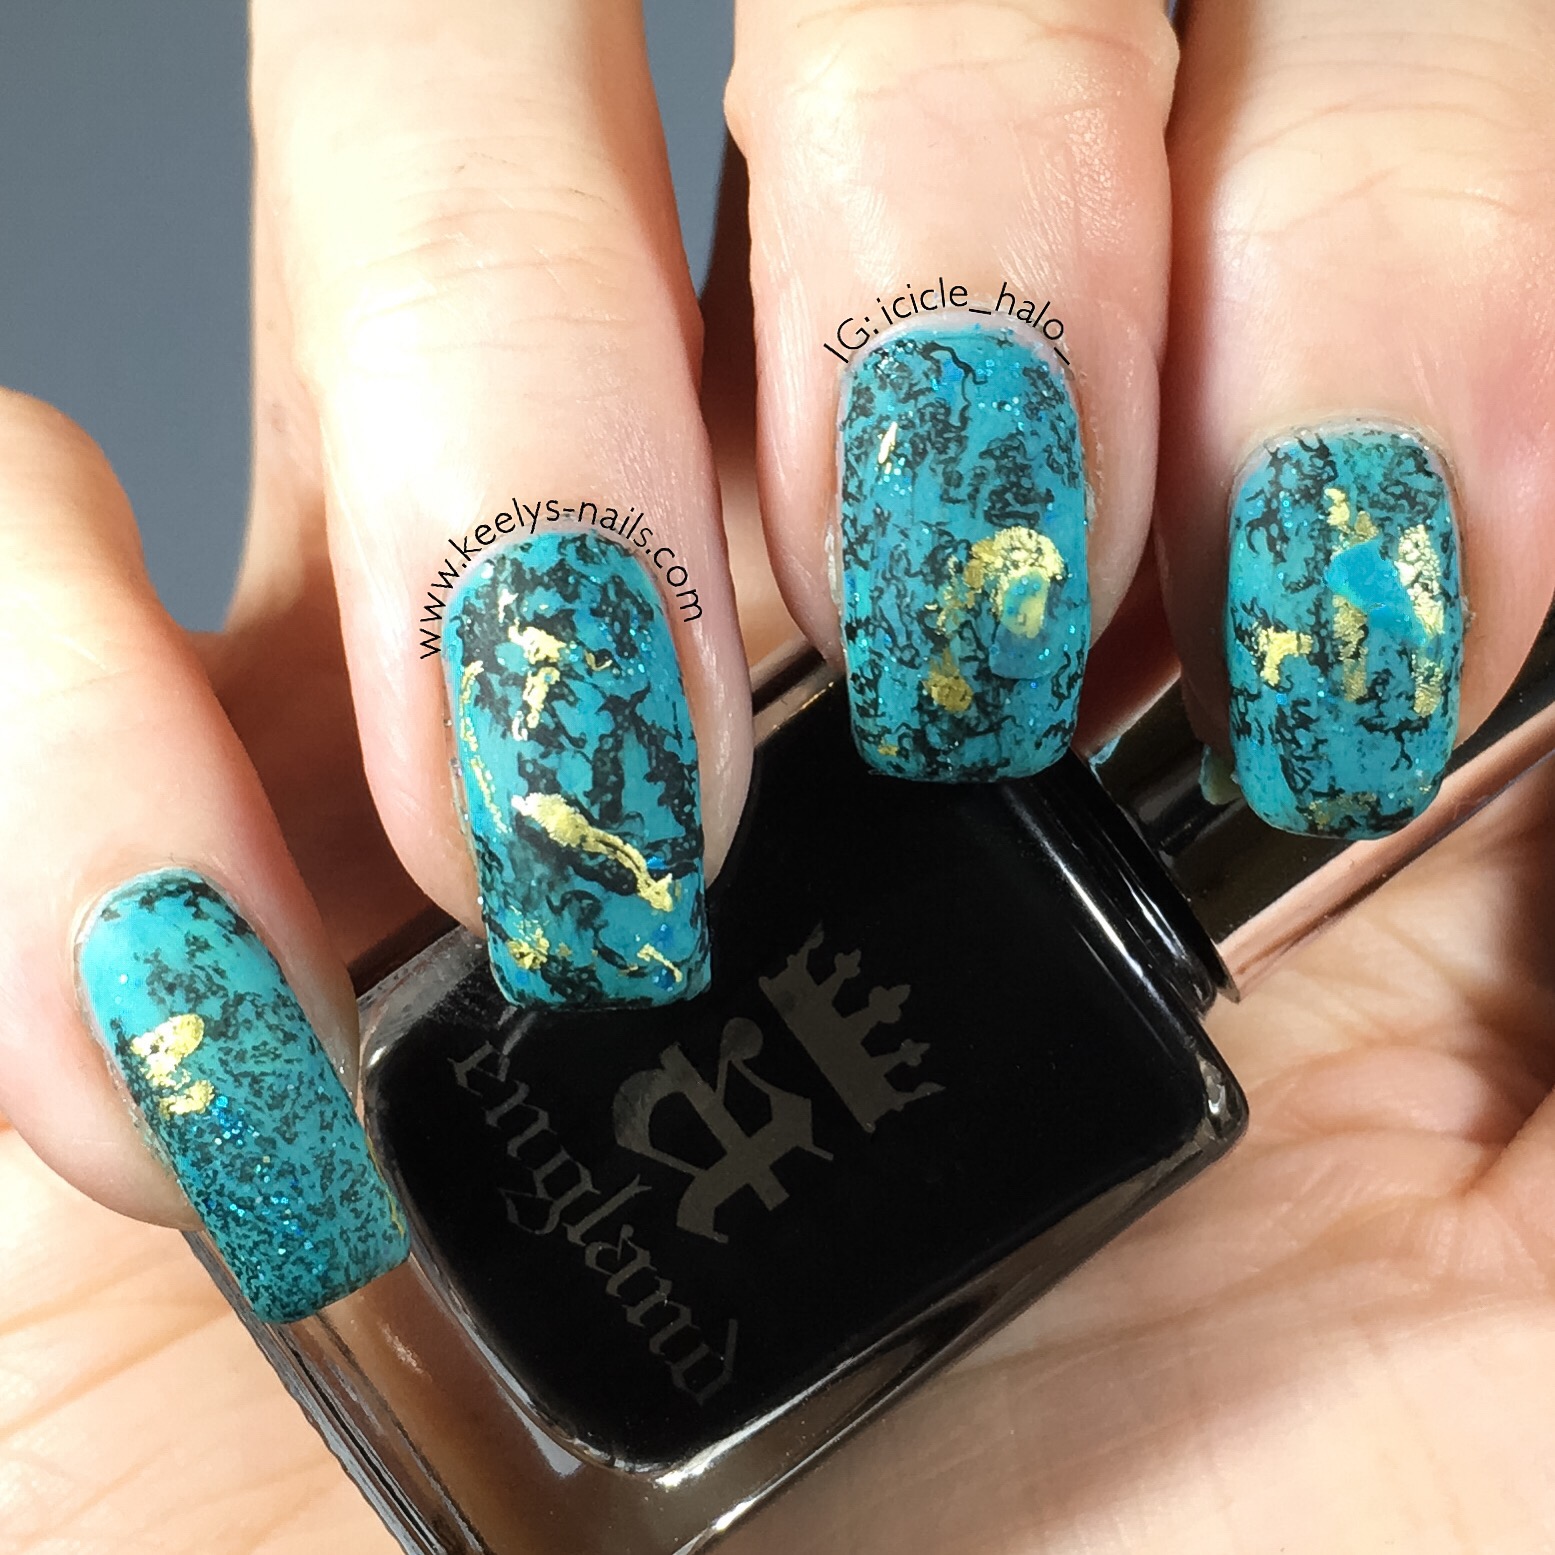
A step-by-step guide to making your own turquoise stone nail art.
This is one of my favourite designs and one I have done a few times before. I keep coming back to it because it’s one of those designs that is bold and organic…and this is one of my favourite colours. This was a really popular post on Instagram and I nearly fainted when Simply Nailogical reposted the video, so here is my Turquoise Nail Art Tutorial. The video from YouTube above should show the process, but I describe the steps in a bit more detail here.
Turquoise Nail Art Tutorial (short nails)
Polishes and tools
Base
Essie Where’s My Chauffeur?
Barry M Guava and Greenberry
Starrily Nails Blitzen
Creative Shop stamper
Waterspotting
AEngland Camelot
Disposable cup and room temperature tap water
Small spray bottle filled with surgical spirit
Cotton bud
Gold
Nail foil glue
Ciate Gold holographic foil
Other
Seche Vite top coat (shiny version)
Rimmel London Pro Matte top coat (matte version)
Turquoise Nail Art Tutorial (long nails)
I should probably point out that I did this design and then someone requested a tutorial. All was well and good until I sheared off a nail and ended up chopping them all down before I filmed the tutorial a few days later.
As a result my nails are a totally different length!
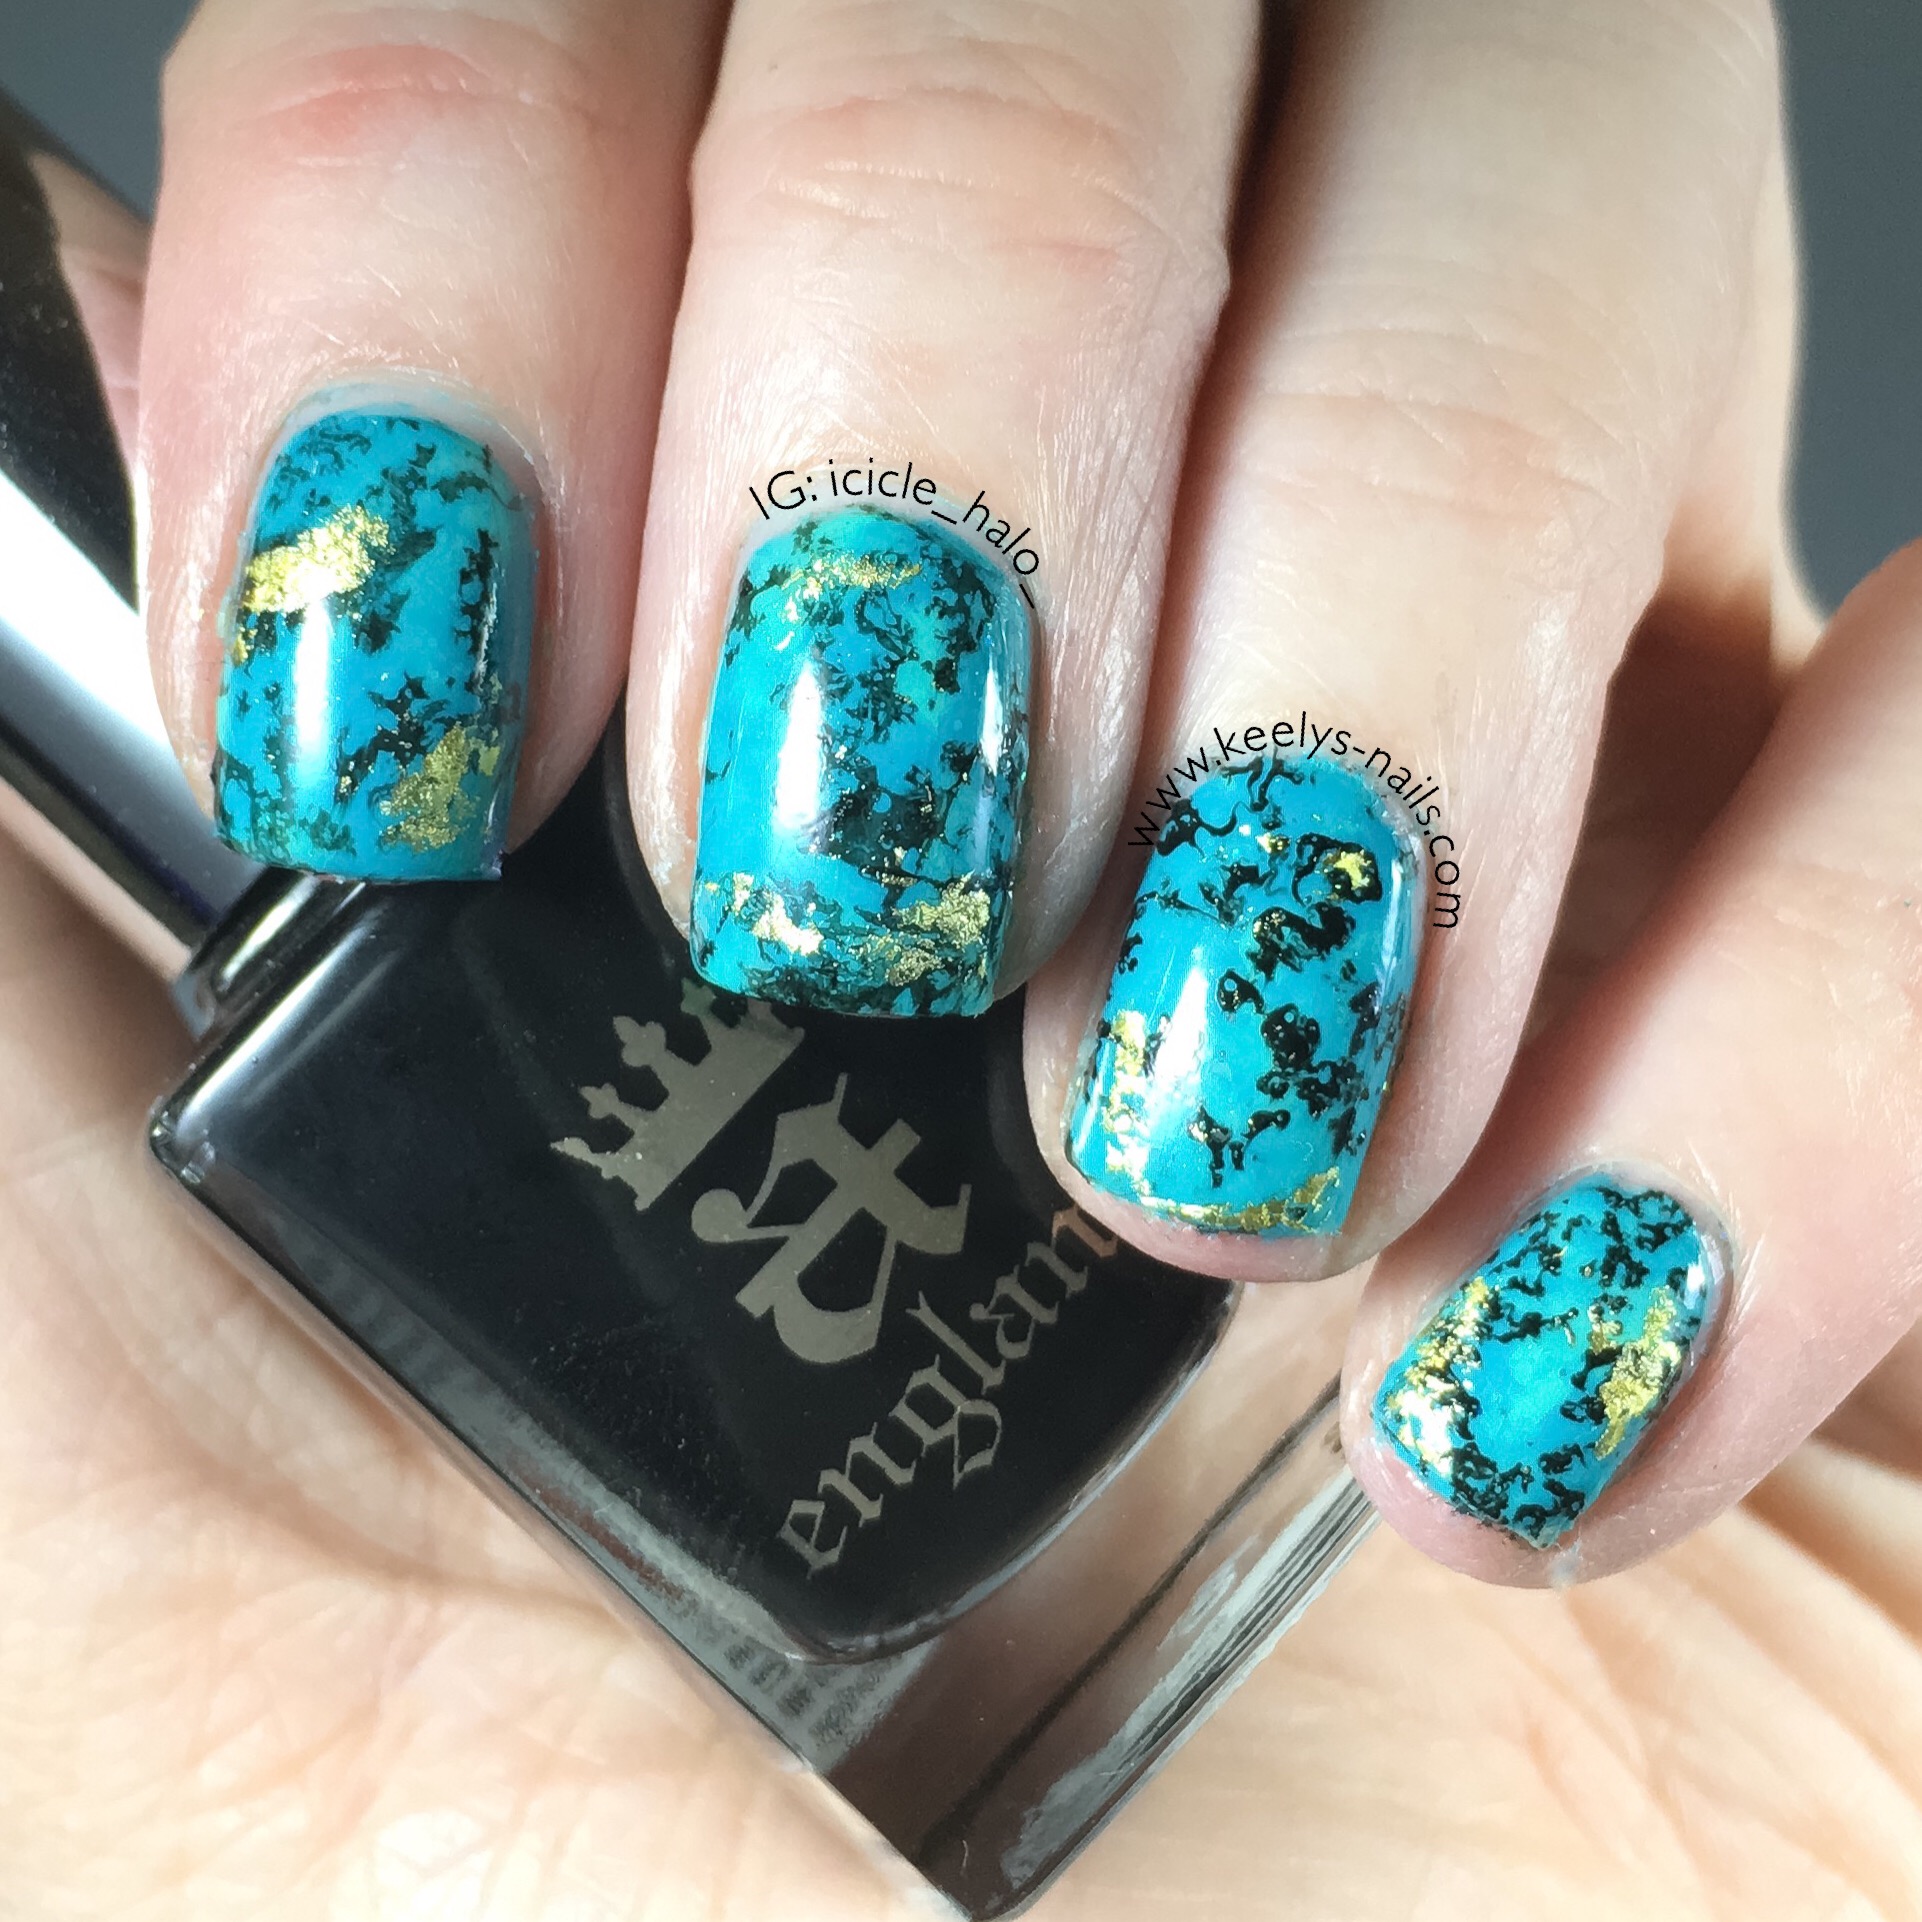
Turquoise Nail Art Tutorial
Step by step guide
- Start with your favourite base coat and the palest or lightest colour from your base colours. You only need one coat and it doesn’t need to be perfect, but add a coat of top coat to make sure it’s set.
- Drop three or four spots of polish on to a cleanable or disposable surface. Use slightly more of any sheer or light colours, and slightly less of any very opaque or dark colours.
- Smoosh the colours together with your stamper. You only need to press into it once to blend the colours together. Wait a few seconds to allow the polish to go from completely wet to verging on tacky.
- Apply the polish from the stamper to your nail. Go gently as it is easy to slide the stamper right off your nail.
- If you don’t like how it looks, repeat steps three and four until you are happy.
- Add a clear top coat and clean up any polish that missed your nail.
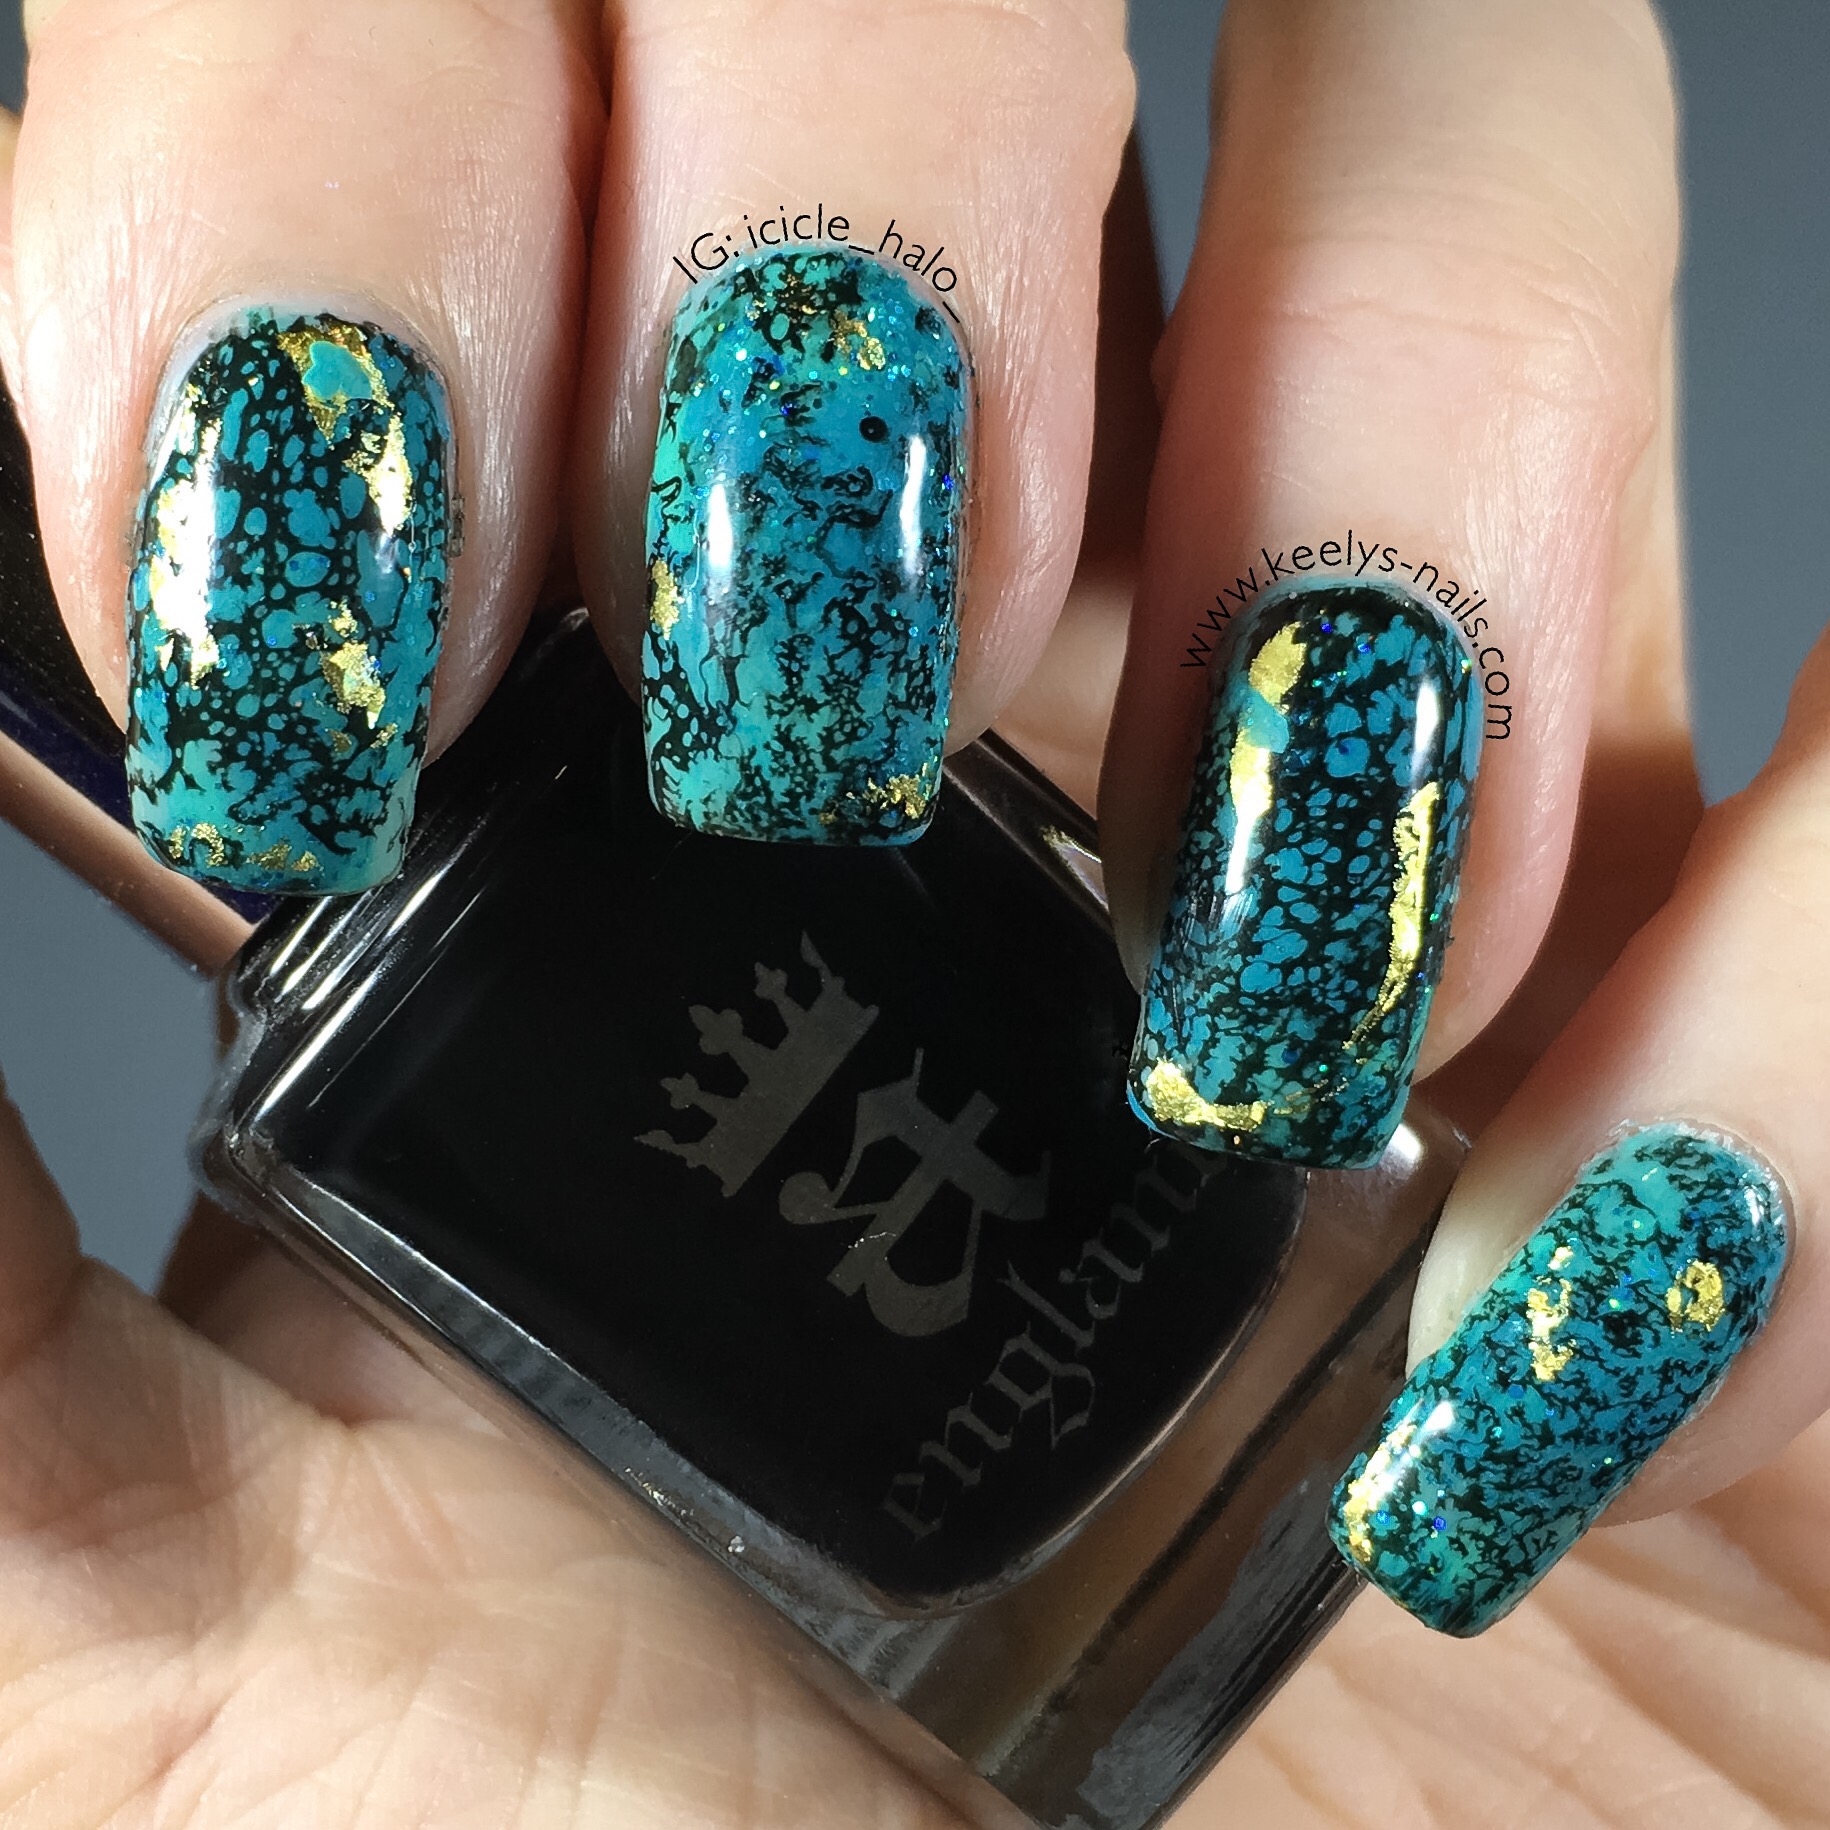
Turquoise Nail Art Tutorial
- In your cup of water, drop one or two spots of black polish and wait for it to spread. Spray a couple of pumps from your spray bottle on to the polish to break it up.
- Dip your nails into the water at a 45-degree angle, and use the cotton bud to catch any unused polish. Pull your fingers out of the water at the same angle.
- Add a clear coat and clean up any polish that missed your nail.
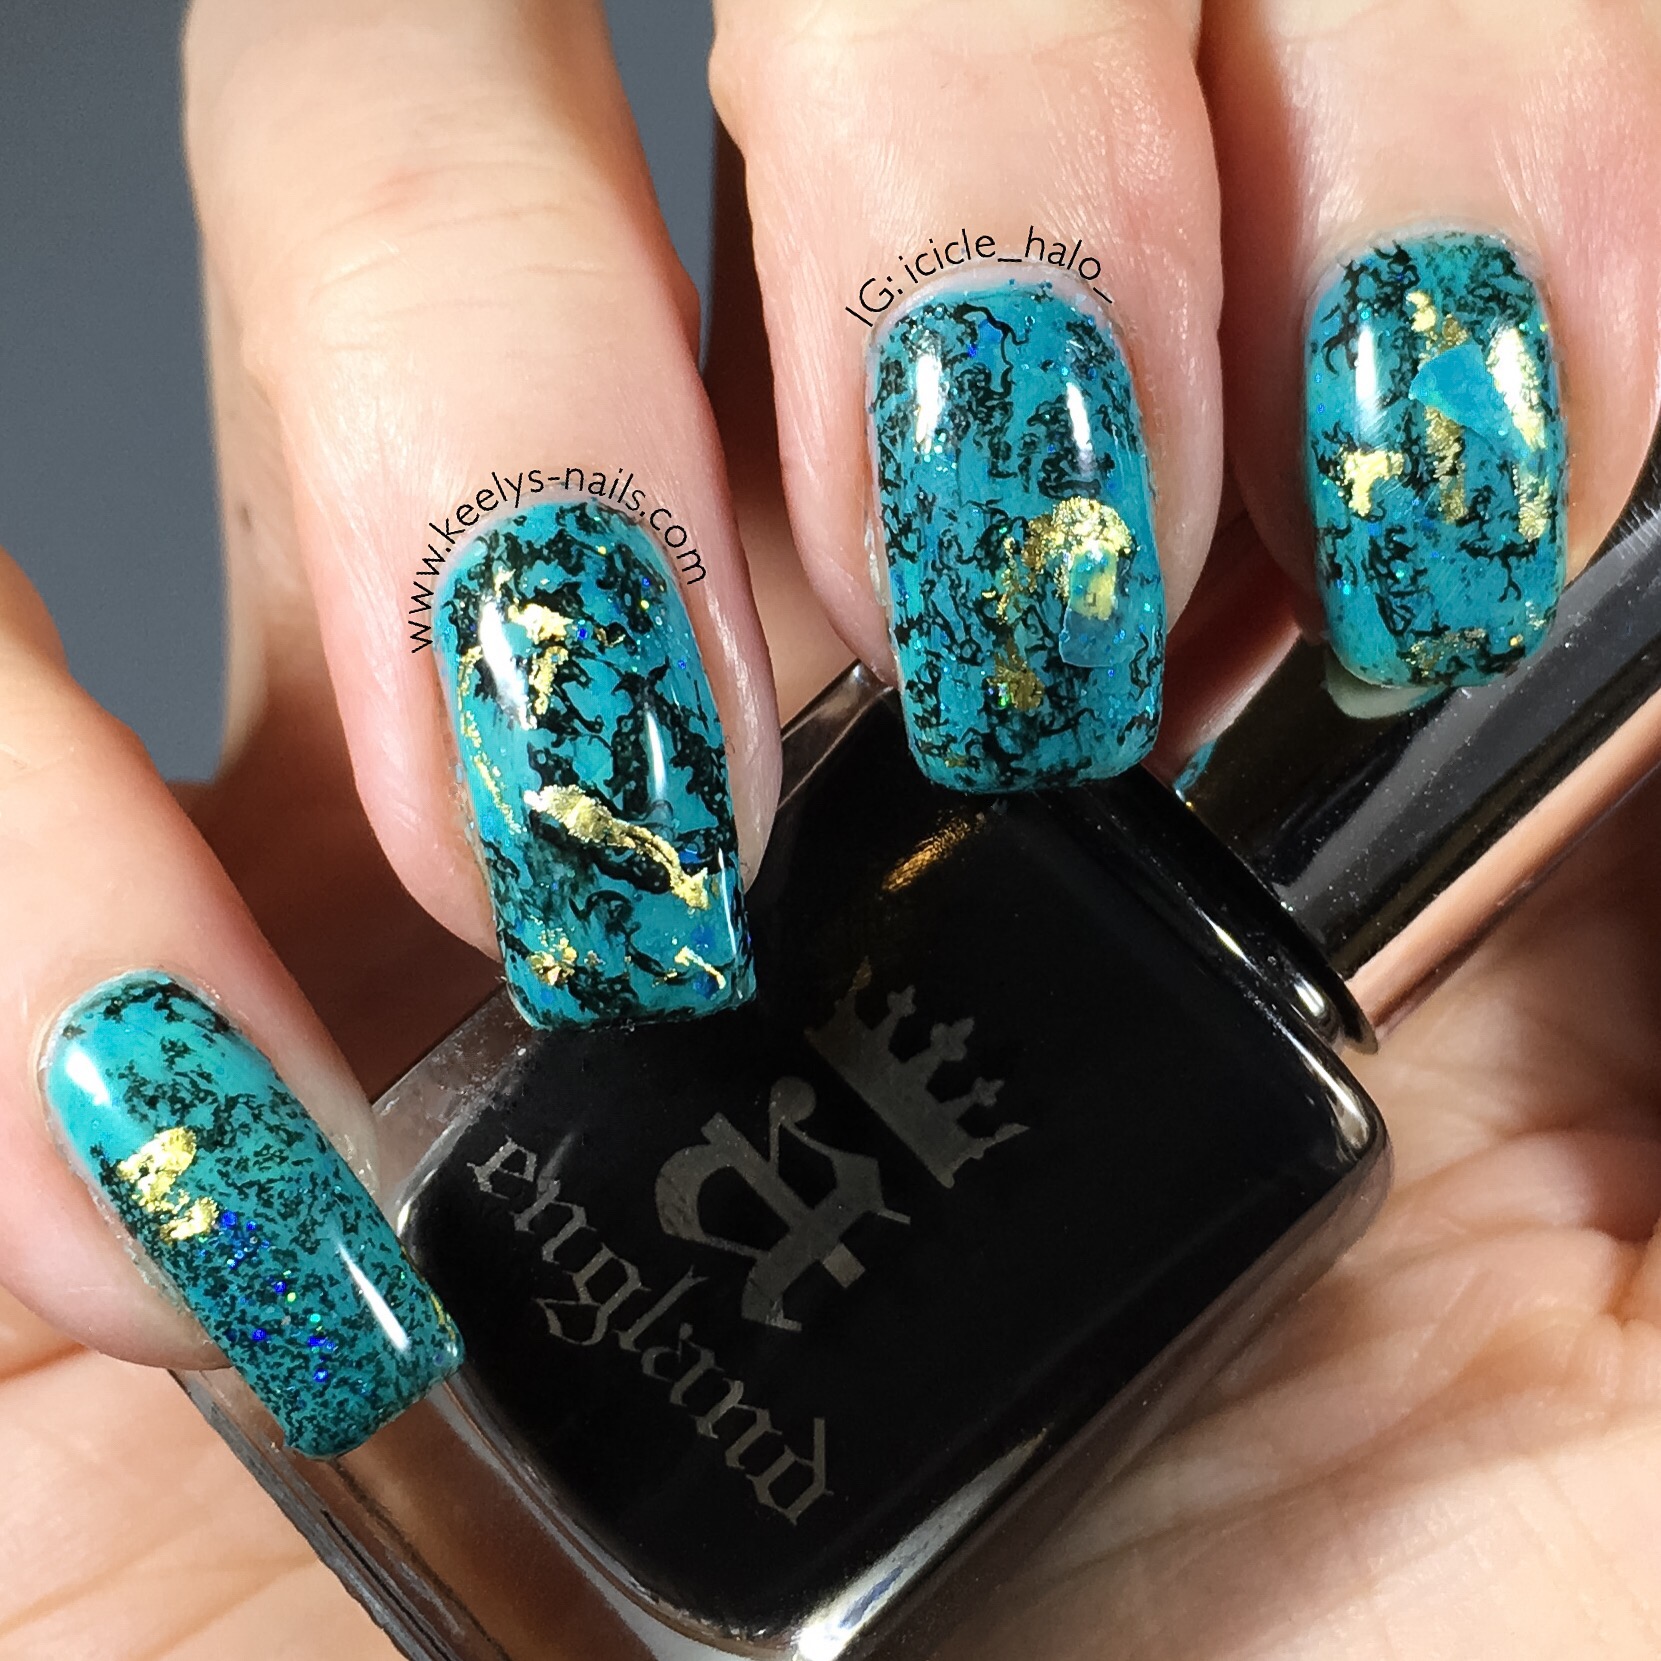
- With your foil glue, wipe as much of the glue off the brush as you can. You need remarkably little! Apply it to a few spots on each nail. I focused on spots where there was a bit too much black.
- Wait 8-10 minutes for the glue to dry and go completely clear.
- Press the unpatterned side of the foil on to your nail and press down firmly. Pull it off with a quick ripping motion. You can repeat as needed.
- Add a final topcoat layer. This will ‘antique’ the foil slightly (dulling any pattern and breaking the foil up a little) but that works perfectly here.
Optional: add a matte coat if you prefer a less shiny finish.

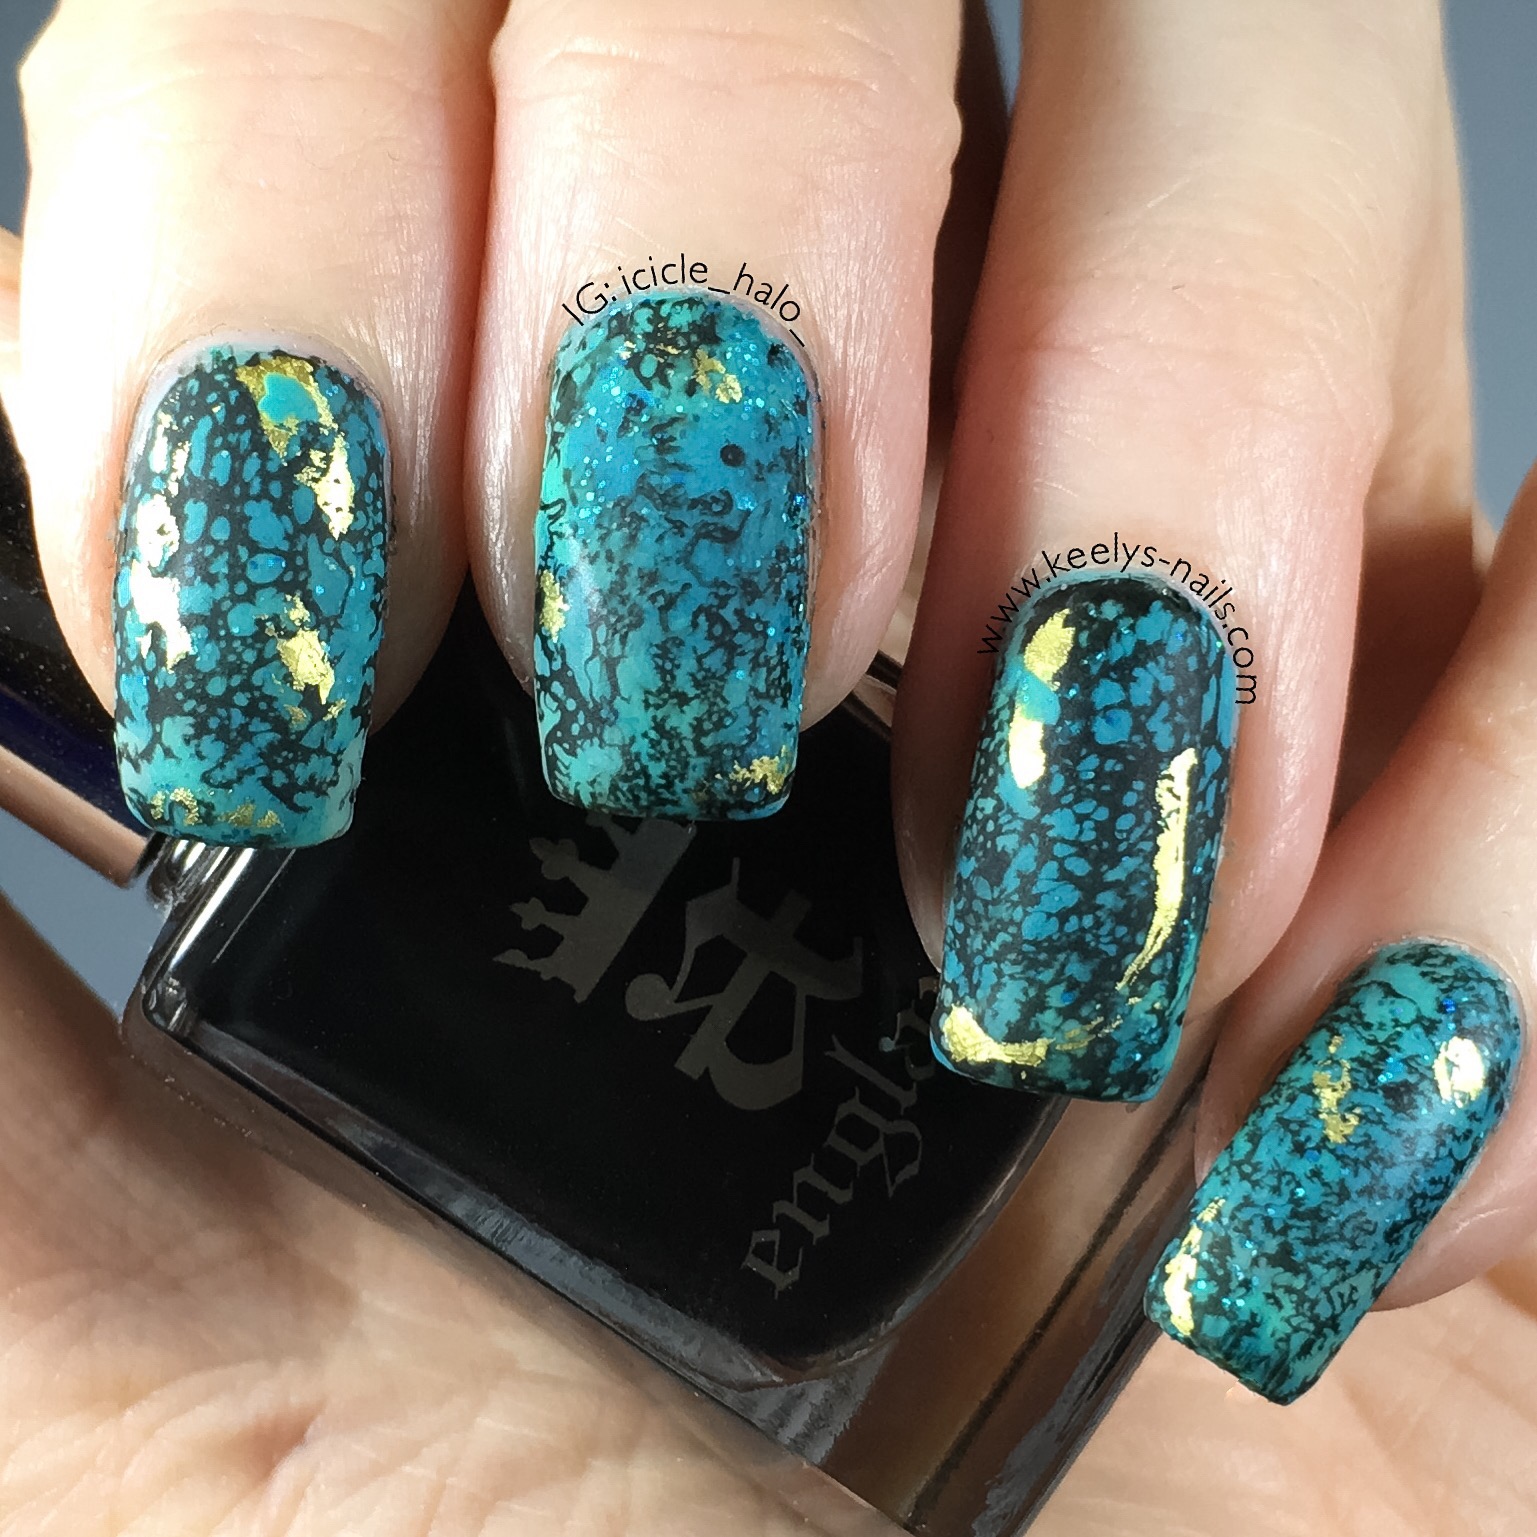
Turquoise Nail Art Tutorial
I hope this will help you to create your own work of art on your nails! As you can see it turns out a bit differently every time so yours will be completely unique too. Experiment with different colour combinations to make something completely different.
How did you like my first proper tutorial? If you have any tips I’d love to hear them!
June 5, 2016
If only I had the time, patience and most of all the nails for such pretty pieces of artwork. Great instructions for those who are into nail art x
June 5, 2016
That;s beautiful, you are so clever the way you have created this effect on nails.
June 5, 2016
Oh wow I love the colour turquoise and I love the mottled effect. Your nail posts always gives me so much life!
June 5, 2016
What a stunning nail art. Thank you for sharing the tutorial video, I’ve always wondered how they were done. Looks like a lot of work, but worth it! 🙂
http://lilinhaangel.com/
June 6, 2016
This has to be my favourite so far
June 6, 2016
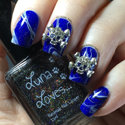
I love this, so funky and the gold makes the blue really stand out x
June 6, 2016
Your designs are amazing! Love the turquoise too 🙂
June 6, 2016
wow, nails look absolutely amazing. Love the turquoise colour
June 6, 2016
Love it! The creativity, imagination, chemistry, everything is so impressive and so new to me. Well done on another great post.
June 8, 2016
If only my mummy had the time, she’d love to do her nails like this! Love photographs and good tutorial.
June 8, 2016
OMG, im speechless wooow how amazing!!! The designs are just beyond. x