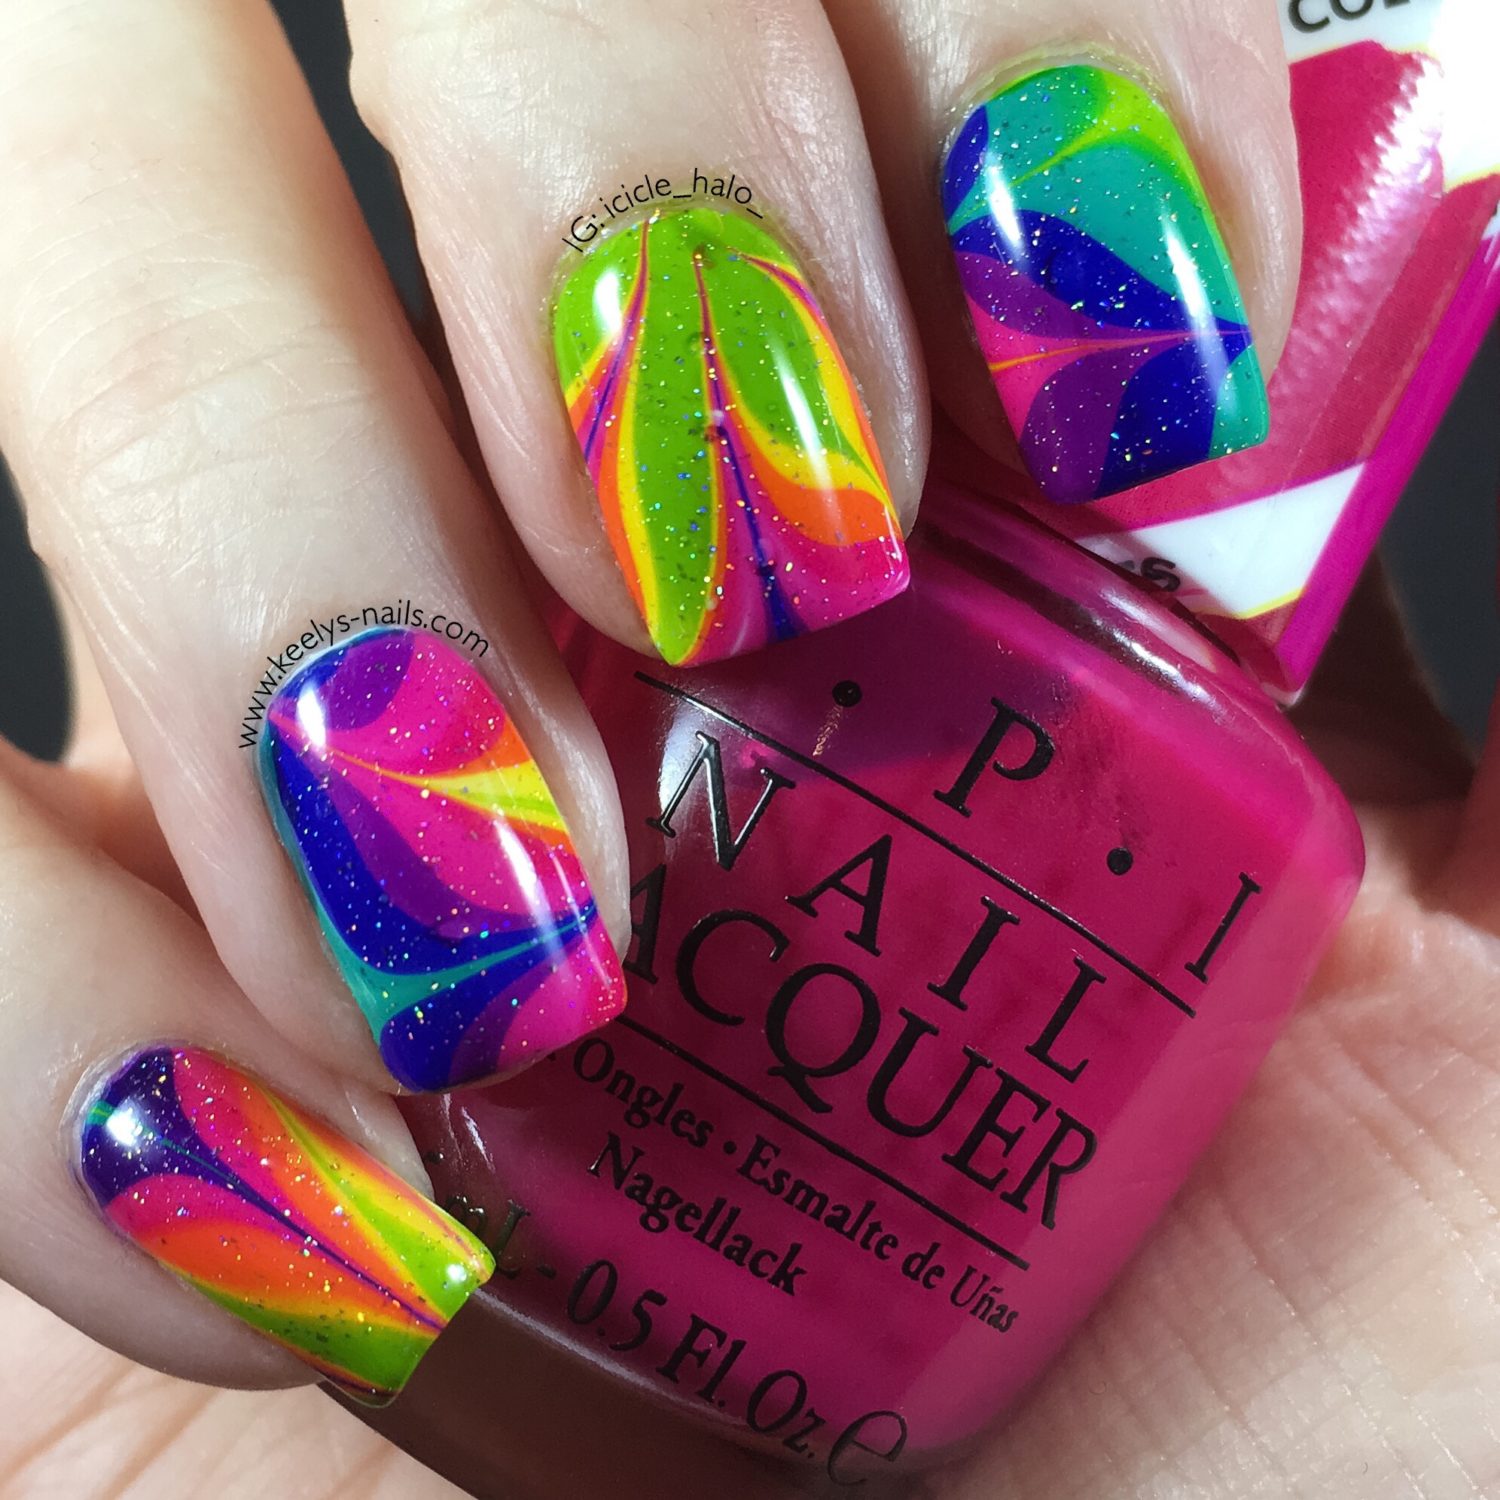
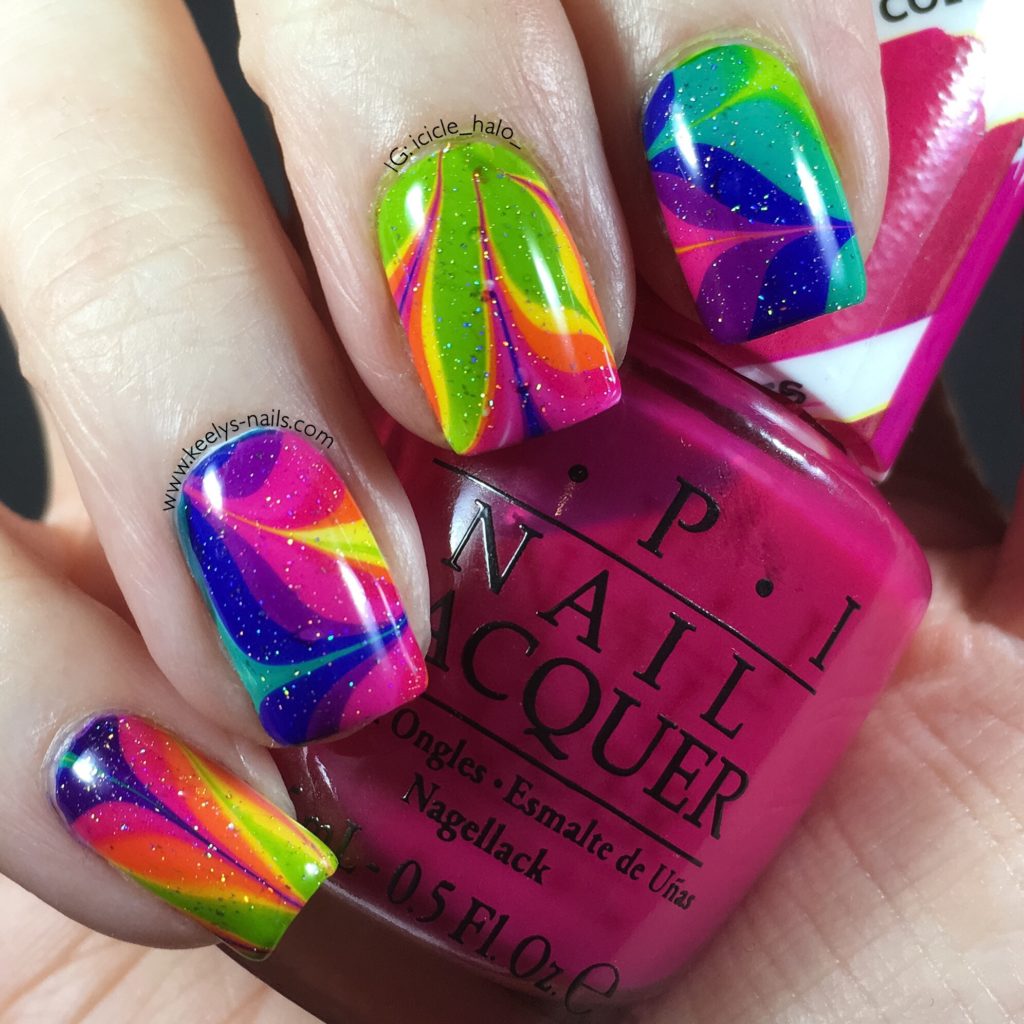
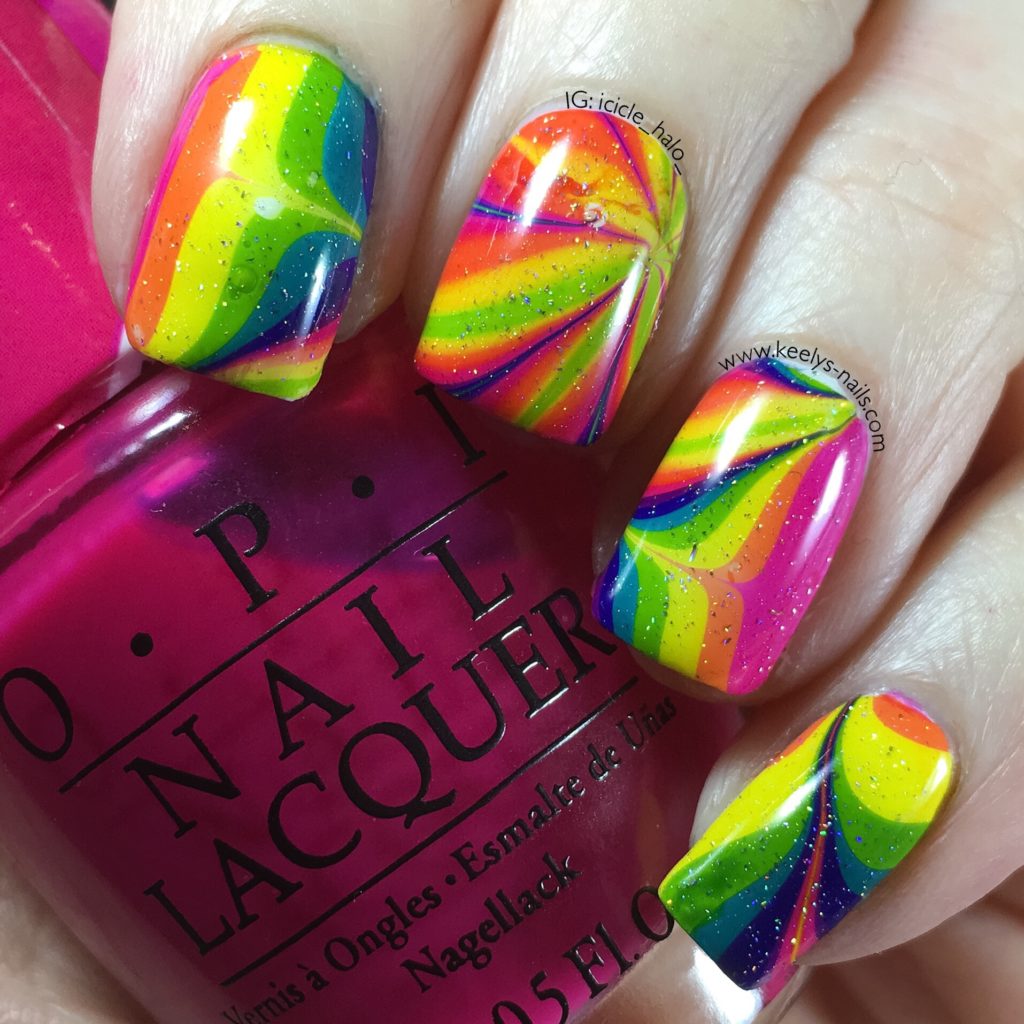
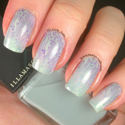
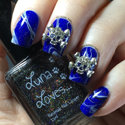
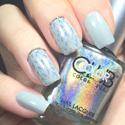
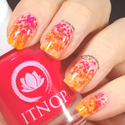
Another Wednesday, another watermarble. I’m really getting into this. After cursing the very concept of this technique, the OPI Color Paints and #WatermarblePracticeWednesday has got me actually enjoying it. I never thought I’d see that day. Anyway, this prompt was just Rainbow Watermarble so all eight colours got to play.
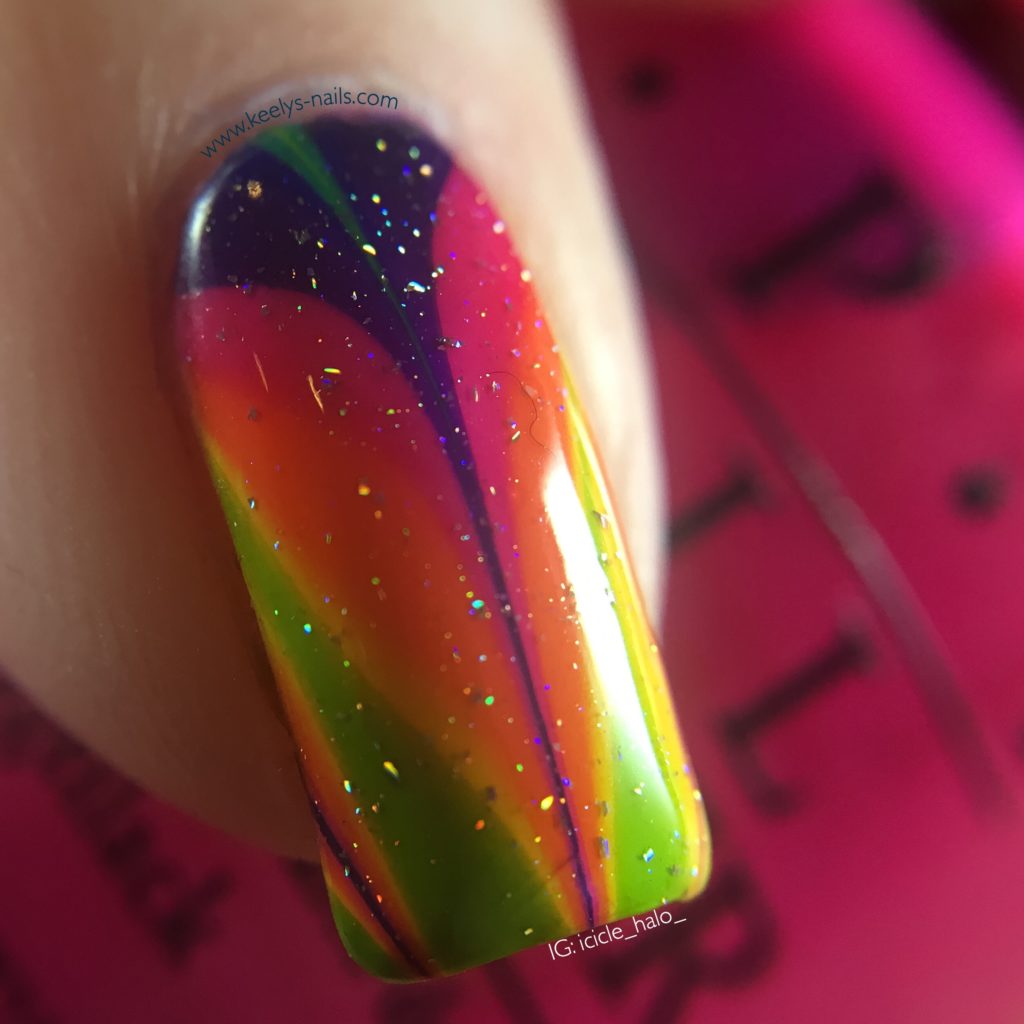
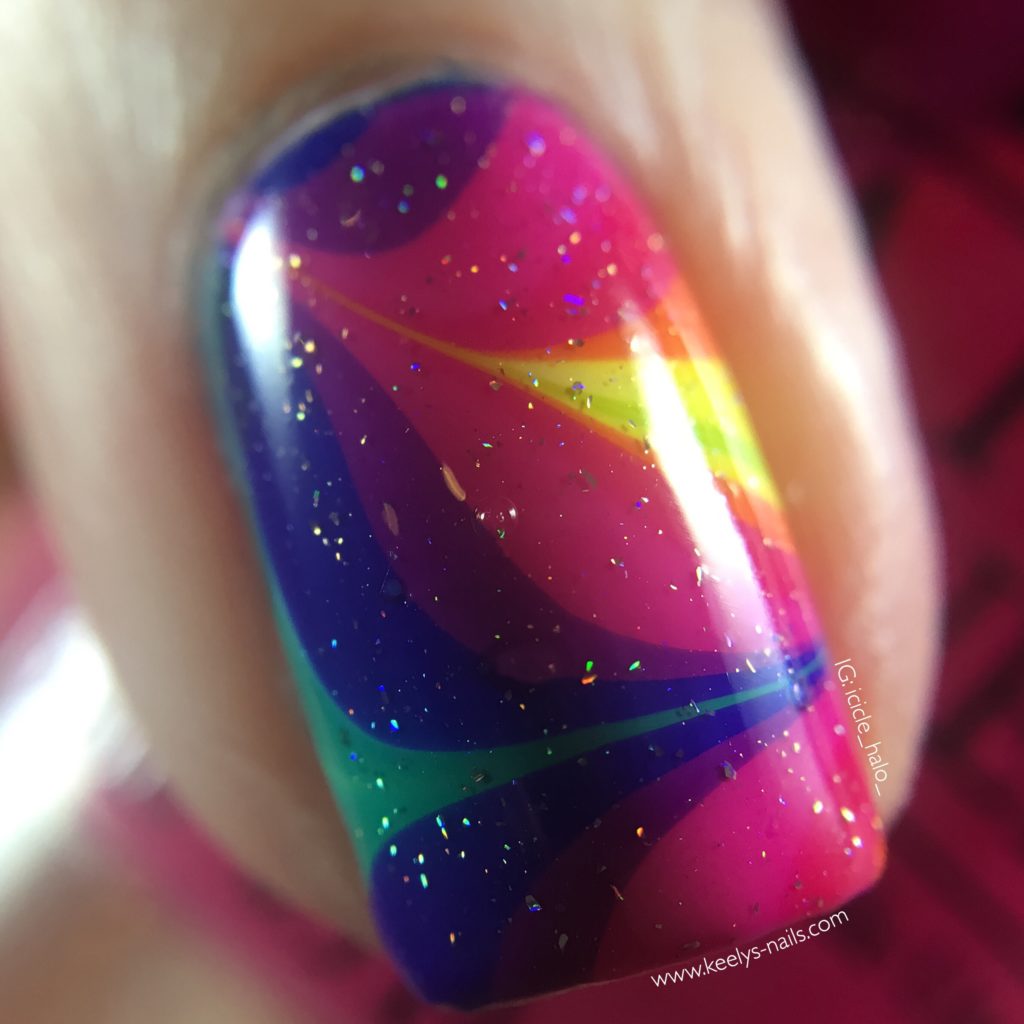
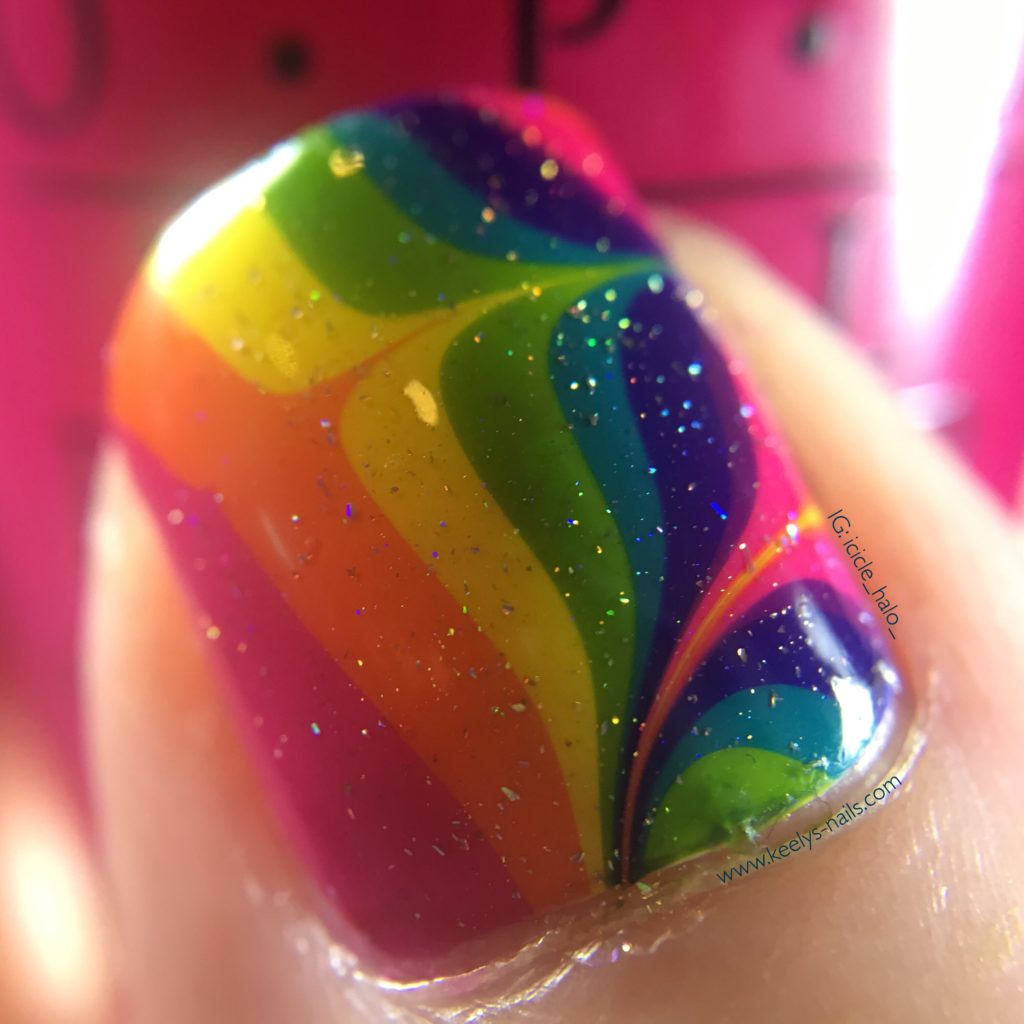
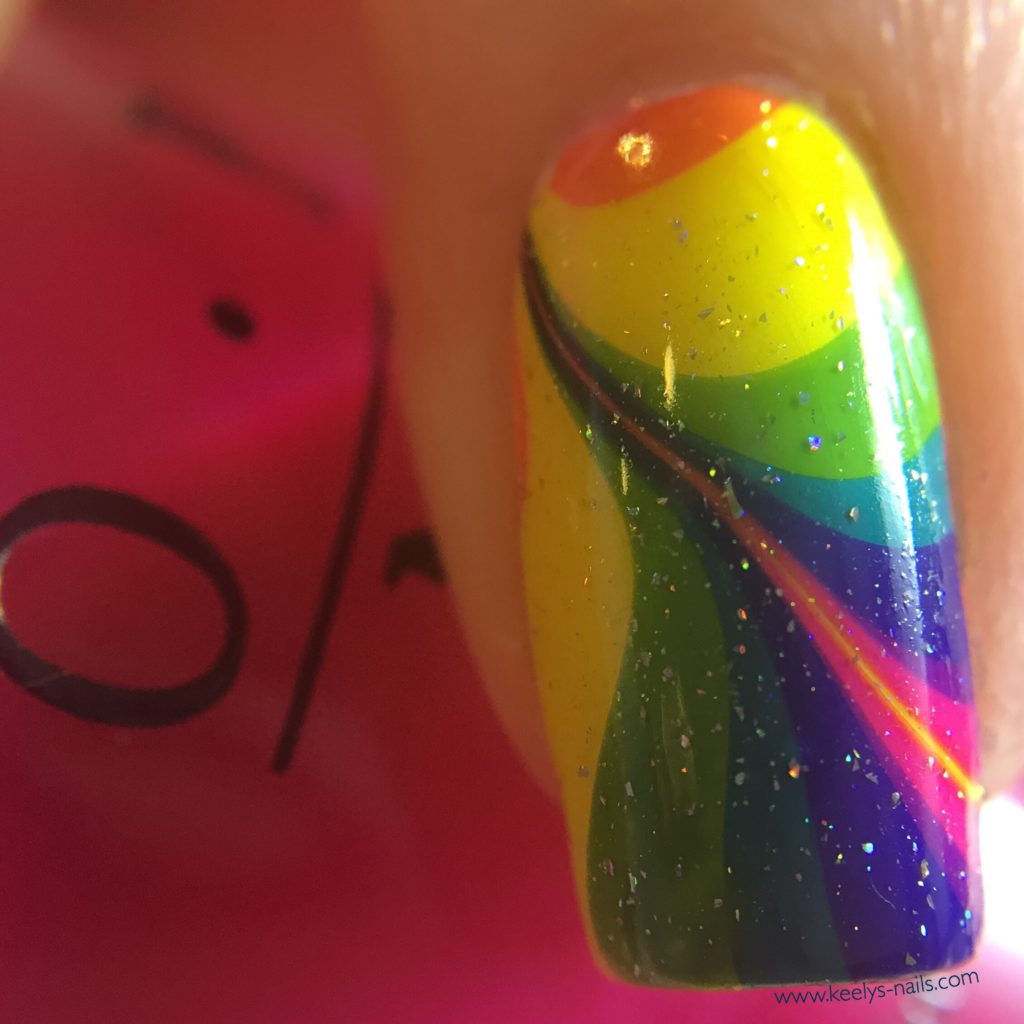
I also got a bit carried away with my new macro lens, so sorry for the picture spam.I also marbled all ten nails, which I haven’t been attempting all that often. I decided to go for a freeform design (rather than the same on each finger) so I could dip multiple fingers at a time.Doing all ten nails is a bit time consuming, so I normally just stick to two on each hand.
Polishes and tools
OPI Color Paints: Magenta Muse, Pen and Pink, Chromatic Orange, Primarily Yellow, Landscape Artist, Turquoise Aesthetic, Indigo Motif and Purple Perspective
Models Own White Light
Rainbow Connection Zap (which I ran out of and ended up taping my fingers)
Pure Color Watermarble tool
Plastic disposable cup and tap water
I marbled my three middle fingers together, and then my thumbs and little fingers together. I actually felt like this was a better use of the polish, since I nearly used it all. Often with watermarbling you waste a lot of the polish you drop in the water.
I have an irrational fear of getting to the bottom of a bottle of polish, so using a lot each time gives me the fear.
Rainbow Watermarble
It’s a little bubbly, and I had to touch up in a few places, but the ILNP holographic topper masks it too. It’s beautifully sparkly in the sun.
It’s like having a carnival on your nails.
More watermarble next week! Is this technique love or hate for you? Let me know in the comments below…

May 24, 2016
Those are amazing! How did you do it? Also your macro lens is working really well haha x
May 24, 2016
Well, when nail polish floats on room temperature water (it works best with thin, new, and highly pigmented polishes) and you are quick enough drawing a design into it with a pin or sharp point, you can dip your nails in and pick up the design. Takes some patience to master though. It frustrated the hell out of me for *years*.
May 24, 2016
Oh I’ve heard of it but never actually tried. I might. Will probably end up looking worse than single colour but practice makes perfect hah thanks!
May 24, 2016
Or just search for #watermarble on Instagram and become mesmerised by the videos the witches post (I swear it’s like a genuine superpower )
May 24, 2016
Haha but then I will only be reminded I was not invited to Hogwarts and will get all sad 🙁 worth it though 😀
May 24, 2016
This is such an awesome, unique post! I love it!!
May 25, 2016
Wow, thank you Jade!
May 24, 2016
This is so beautiful! It really does look like a carnival on your nails, I love it!!
Jess xo
http://www.theindigohours.co.uk
May 25, 2016
Yay! Bring on the carnival!
May 25, 2016
This such a beautiful idea, also the colors are absolutely gorgeous!
Reet || https://reetlonari.com/2016/05/25/diy-vision-board/
May 25, 2016
Thank you Reet, I can never say no to a rainbow
May 26, 2016
Wow they look amazing! your very talented, i love the colours, I have tried this before and it went horribly wrong haha maybe i should give this another go xox
http://www.laurajanestyle.blogspot.co.uk
May 26, 2016
Hi! It’s definitely one that needs practice, I recall some attempts that went horribly wrong (including getting nail polish in my hair!) so persevere!
May 27, 2016
Wow these are amazing, I could never do anything like this, it takes me all my time to do a straightforward manicure. How much polish do you have to pour into the water? xxx
May 27, 2016
Thank you Andrea! Each ring of colour is a drip of polish from the brush, so it is more than you would normally use just painting your nails. But you don’t have to pour it in or anything.
June 1, 2016
Not something I would normally go for but looks incredible on you.
June 2, 2016
Thank you Nafisah!