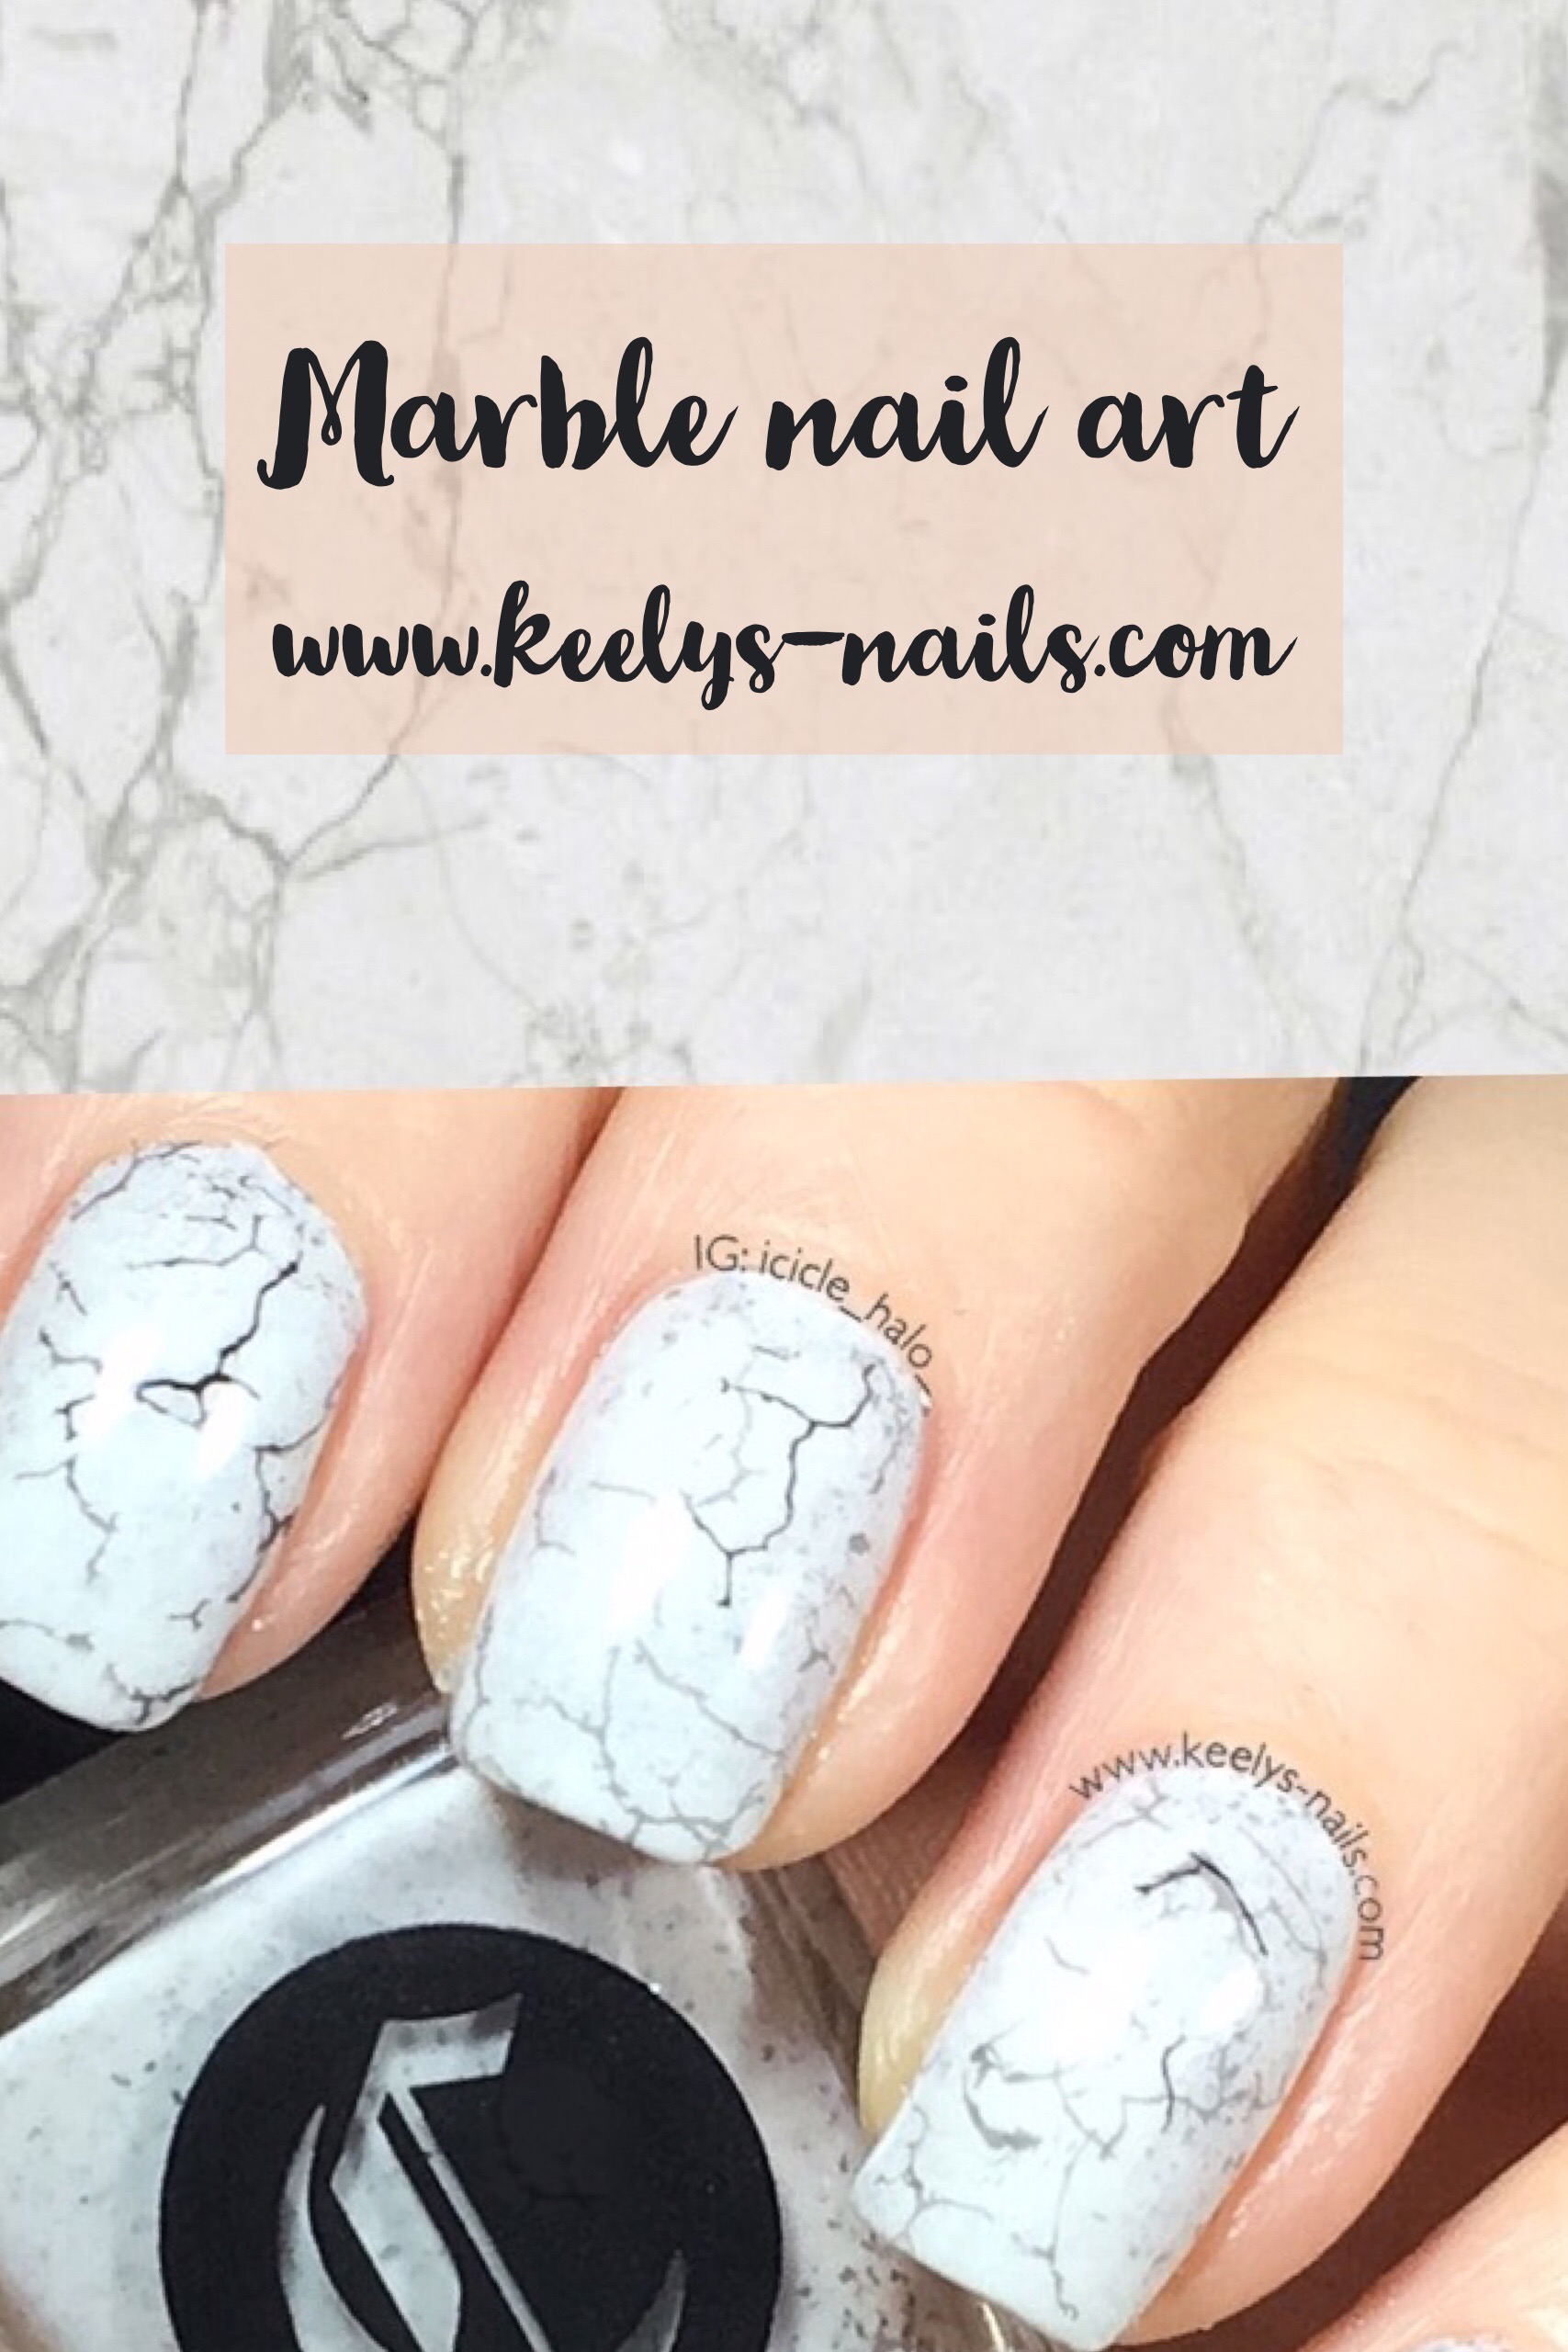
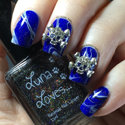
I definitely see marble backgrounds everywhere on social media, it seems to be the default for flatlays and beauty bloggers. After seeing Jamie of Tanned Beauty Addict, who showed off her great marble nails on Instagram, I wanted to try White Marble nail art for myself!
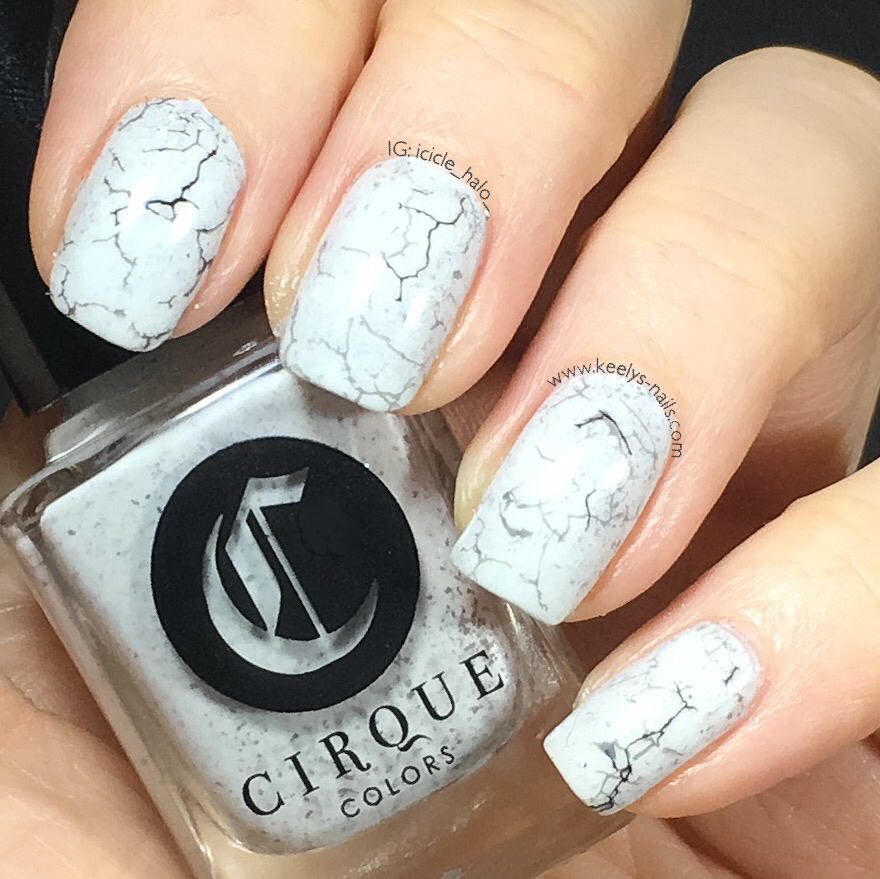
White Marble nail art left hand
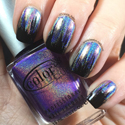
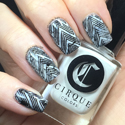
Polishes and tools
Cirque Hatch and Carpe Diem
Barry M Gelly Chai
Hit the Bottle Black
Creative Shop plate 01
Clear Jelly Stamper The Big Bling and Bling Brush
Seche Vite
Cult Nails Wax That
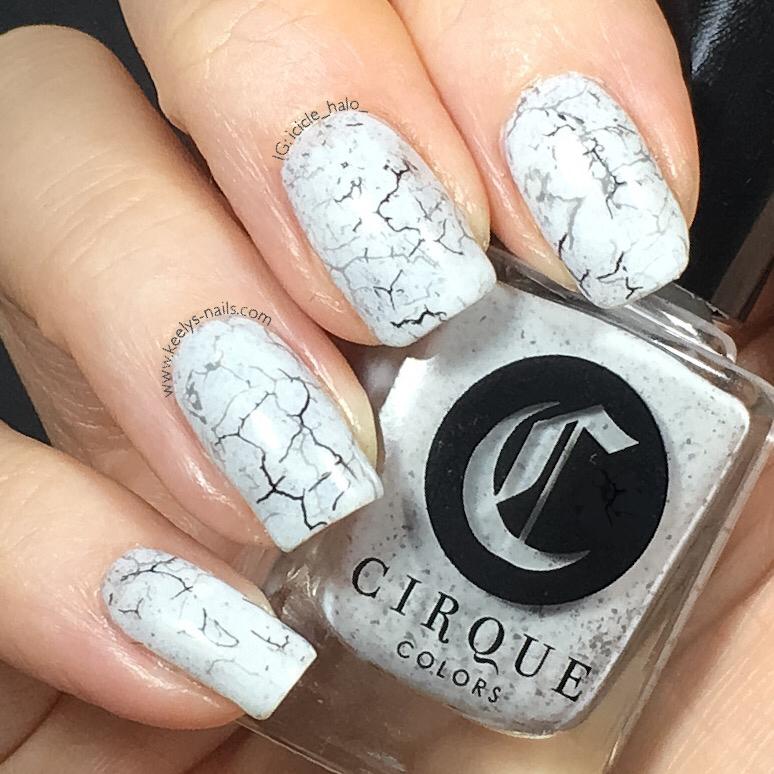
I started with two coats of Cirque Hatch and then sponged a bit of Carpe Diem to give it some background depth. It wasn’t a lot, just enough to reduce the regularity of the black flecks in Hatch.
Next I stamped an image from the Creative Shop plate using grey and black. I didn’t stamp a complete image on any nail so that they were all different. I overlapped and matched up some of the lines too, to make some of them more distinct than others.
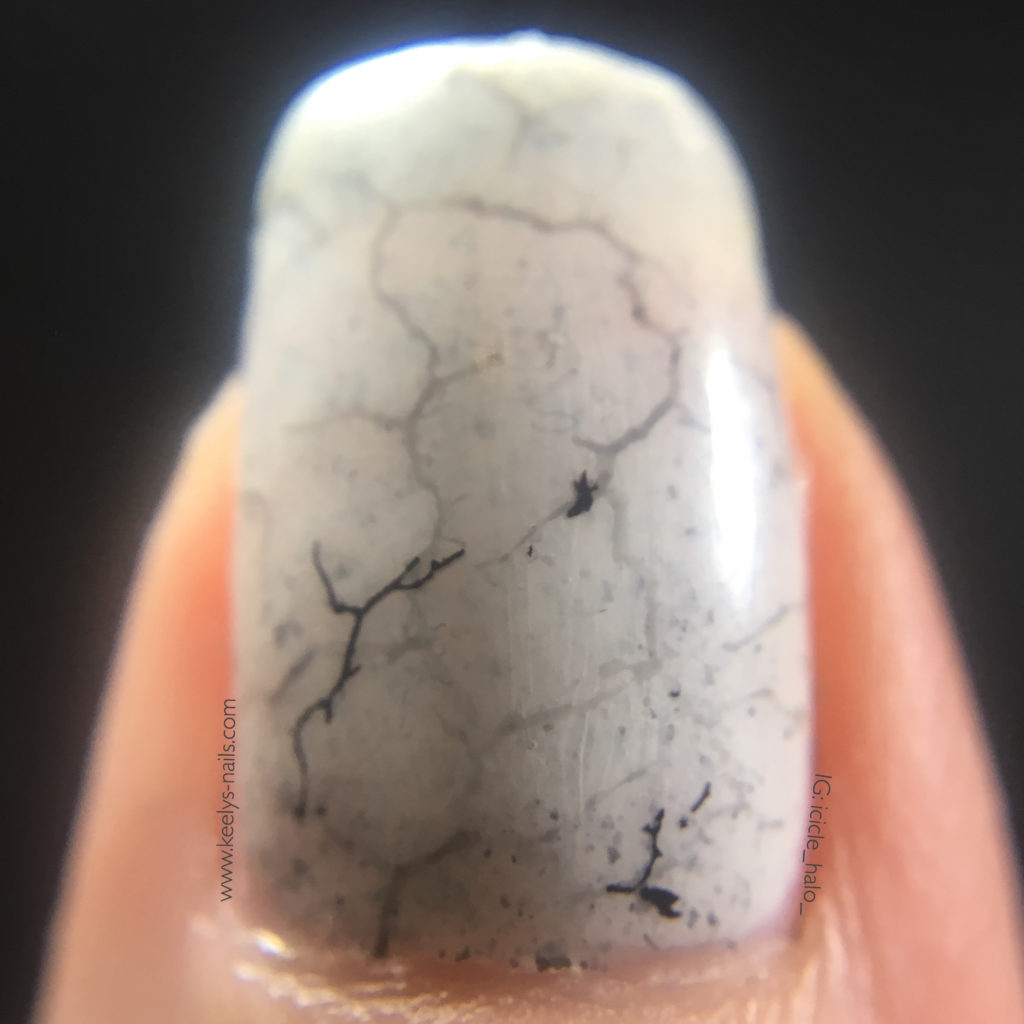
White Marble nail art macro
White Marble Nail Art
Do you like this design? Are you a fan of the look of white marble too? Next time, I might edge this design with gold, or try adding a few gems or studs to add a point of difference. I’m also considering changing my nail shape to something a bit pointier! Yay or nay? I’d love to hear what you think about that idea below…
White Marble nail art right hand
November 26, 2016
Wow! This is really cool! I have no hand eye co-ordination to pull this off!
November 26, 2016
I use a clear stamper and it makes it *so* much easier! Thank you, I’m so glad you like it
November 29, 2016
Your nails always look fabulous Keely and I think shape is down to individual preference, I know if mine are more pointy I tend to ladder tights easily x
November 29, 2016
Thank you Cathy! From what I remember they broke easily, but I’m constantly breaking corners anyway…
November 29, 2016
They look great. I never do my nails, but if I could manage this I probably would – I love marble effects!
November 29, 2016
This is easier than you think, honest! You can’t really get it wrong ☺️
November 29, 2016
I struggle so much with my nails. I cannot imagine them ever looking as amazing as this. I love this look!
November 30, 2016
Maybe start with Cirque Hatch on its own – it is such a beautiful alternative to white/grey, and goes down in two easy coats.
November 29, 2016
That’s such an amazing design, I love nails but I never have time to do mine.
February 4, 2017
Thank you Anna-Maria! I do mine when I’m sat in front of the tv…multi-tasking!
November 30, 2016
I do love a good marble effect and your nails look amazing I love the colour!
November 30, 2016
Thank you Ana! I kept this on for much longer than I normally would!
November 30, 2016
Oh wow, these are so beautiful. You have the best nails I have seen. You are so creative 🙂
December 2, 2016
Thank you Claire! I think any blogger would love these!
November 30, 2016
Stunning! Love the final effect. I would love to have nails done like this one day.
December 2, 2016
Thanks Agata! I really enjoyed wearing it too.
November 30, 2016
This I absolutely love, your nails just look so brilliant and so clever x
December 2, 2016
Thanks Rachel! Are you a big marble fan for your blog photos?
November 30, 2016
Oh how clever! And what a fab effect! I love your nails, just makes me very jealous I can’t do the same!
December 2, 2016
Than you! It worked really well, I’m very happy
November 30, 2016
These look fab. I love the marble look. It’s very trendy x
December 2, 2016
It’s definitely of the moment – you should give it a try!
December 2, 2016
I have not seen nail marble art before but this is really cute I am loving it
December 2, 2016
Thank you Anosa! It’s so trendy right now, I had to put it on my nails
December 5, 2016
I’m obsessed with the marble look at the moment. I love it for everything; phone, laptop, flat lays! Your nails look fab. x
February 4, 2017
Thank you Chloe! It’s so on trend right now and rose gold too