I’ve been having one of those weeks where I feel a bit blah. I’ve got no energy and I think I might be getting a cold. Do you ever feel like that? This week I revisited some old inspiration to create this Millefiori nail art based on artwork by Fabian Oefner.

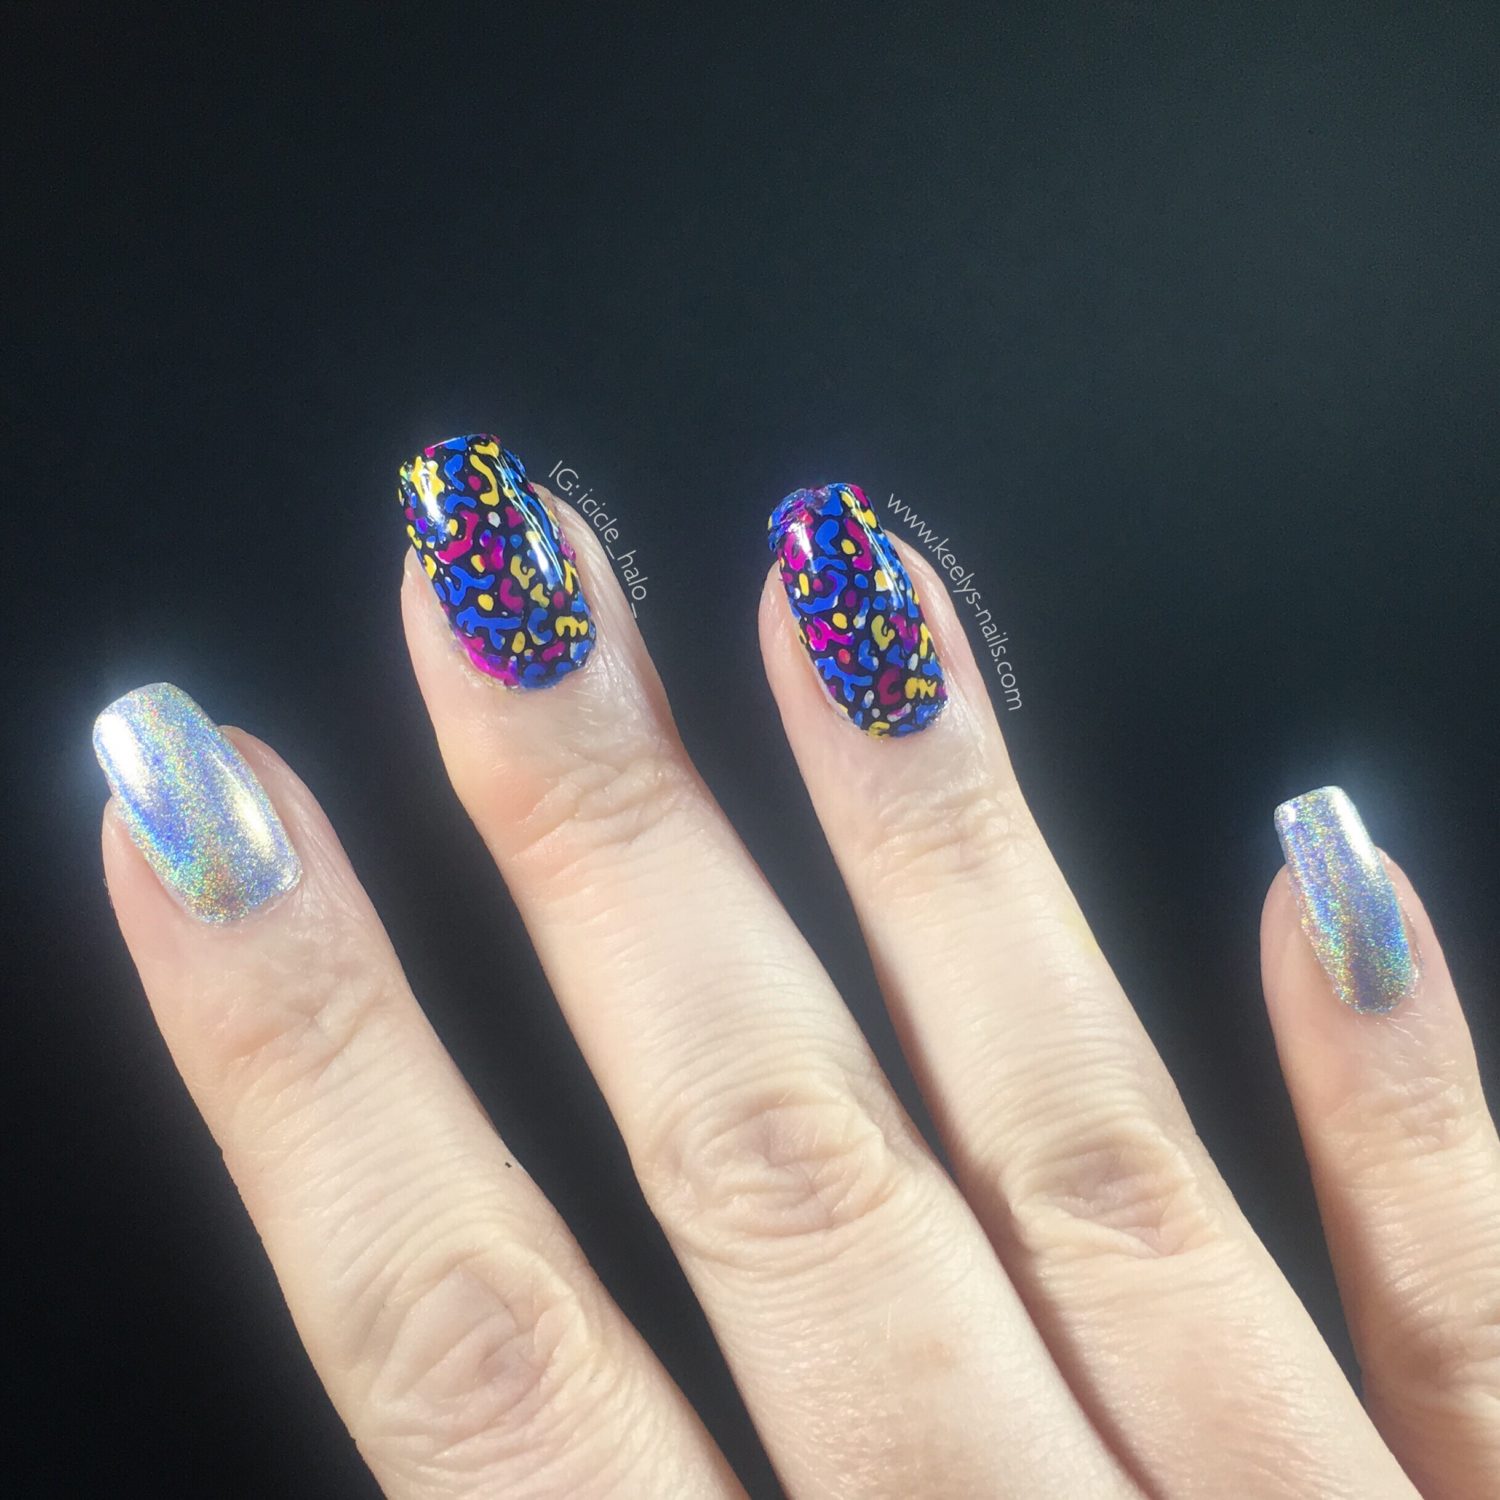
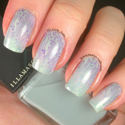
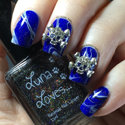
My right hand fingers with my Millefiori nail art and silver holo
Polishes and tools
Jessica Fusion
Orly Bonder
Color Club French Tip and Harp On It
Model’s Own Hypergel Bermuda Blue
Chanel Giallo Napoli
American Apparel Neon Violet
Uberchic Beauty Mini Mani Mat
MoYou London Pro Collection XL 28 (Get 10% off with this link!)
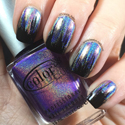
Painted Polish Midnight Mischief
Pure Color Detail Brush 10
Rainbow Connection Angled Cleanup Brush and Zap!
Seche Vite
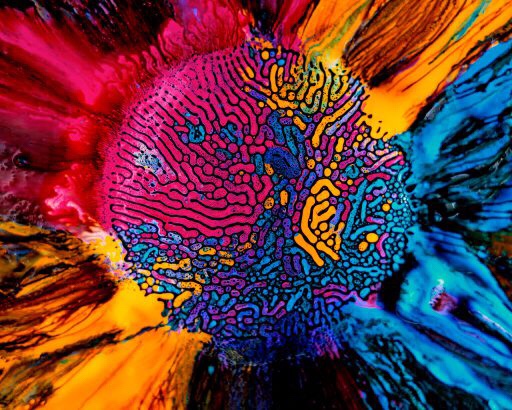
I first saw this image a few years ago, and was really inspired by it. The photos are of ferrofluid added to watercolour paint. The ferrofluid is hydrophobic, so it doesn’t mix with the paint.
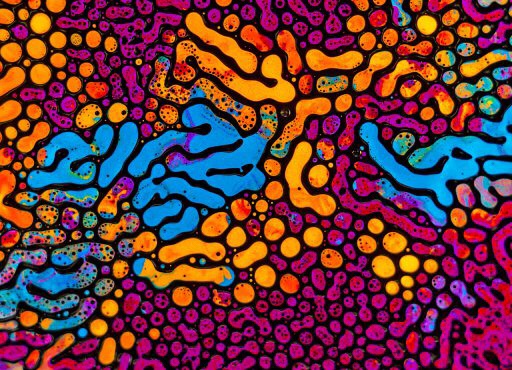
Fabian Oefner’s Millefiori 23
A magnet underneath affects the ferrofluid, creating the structures and holding the paint in place. These photos are really close up, like my macro photos. The artworks are roughly the size of my thumbnail!
I tried taking this design on originally using my freehand skills. I started with a black base, used a dotting tool to create the pattern in white, and then coloured it in. Unfortunately it looked a bit clunky and untidy.
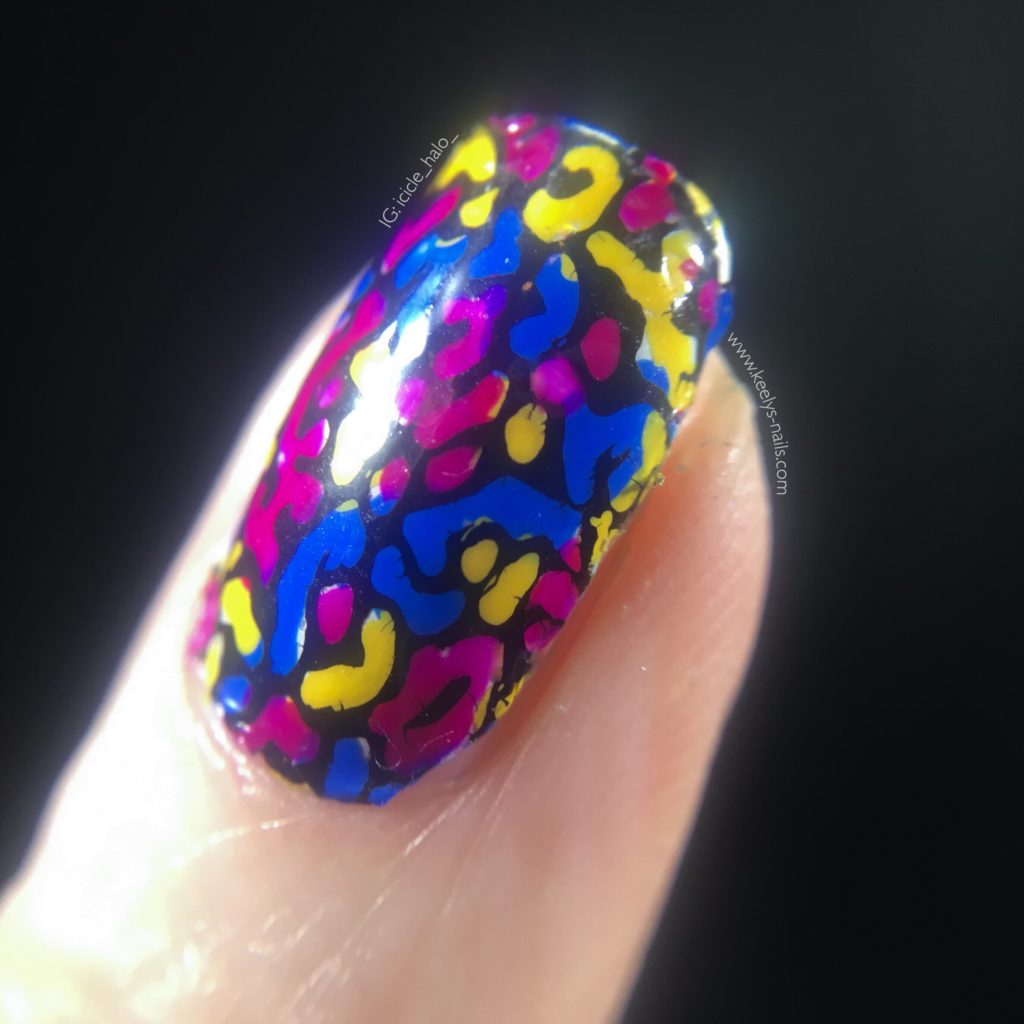
Macro photo of my reverse-stamping Millefiori nail art
This time I’m using a stamping plate from MoYou London which gives me the perfect outline. I’m using reverse stamping in an effort to get a crisper finish and to prevent the colours from mixing too much.
Creating this nail art
Using the Mini Mani Mat, I put a coat of clear polish down, so the stamped image has something to stick to. I stamped the black image down and waited a bit for it to dry.

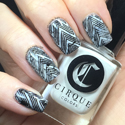
Love seeing the rainbows in the silver holo
An hour or so is perfect. If I leave it too long (like overnight) then it ends up too brittle to use as a decal.
For me, it was the perfect amount of time to clean off my old nail art and prep my nails for this one. I used a detail brush to fill in the colours, one at a time.
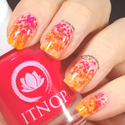
The bright colours of Millefiori are really captured in this nail art
Be realistic Keely
I started with grand plans to do all ten nails, but pretty quickly downgraded to four. If you like colouring in this is perfect for you, but I was far too impatient. I buy the pretty colouring books and pens, but then only finish a couple of pages.
After the (limited) colouring in, I used another coat of clear polish on the decal. This helped it stick because I peeled them up while they were still a bit tacky. This was on a base of white to help the colours pop.
Fabian Oefner’s Millefiori 24
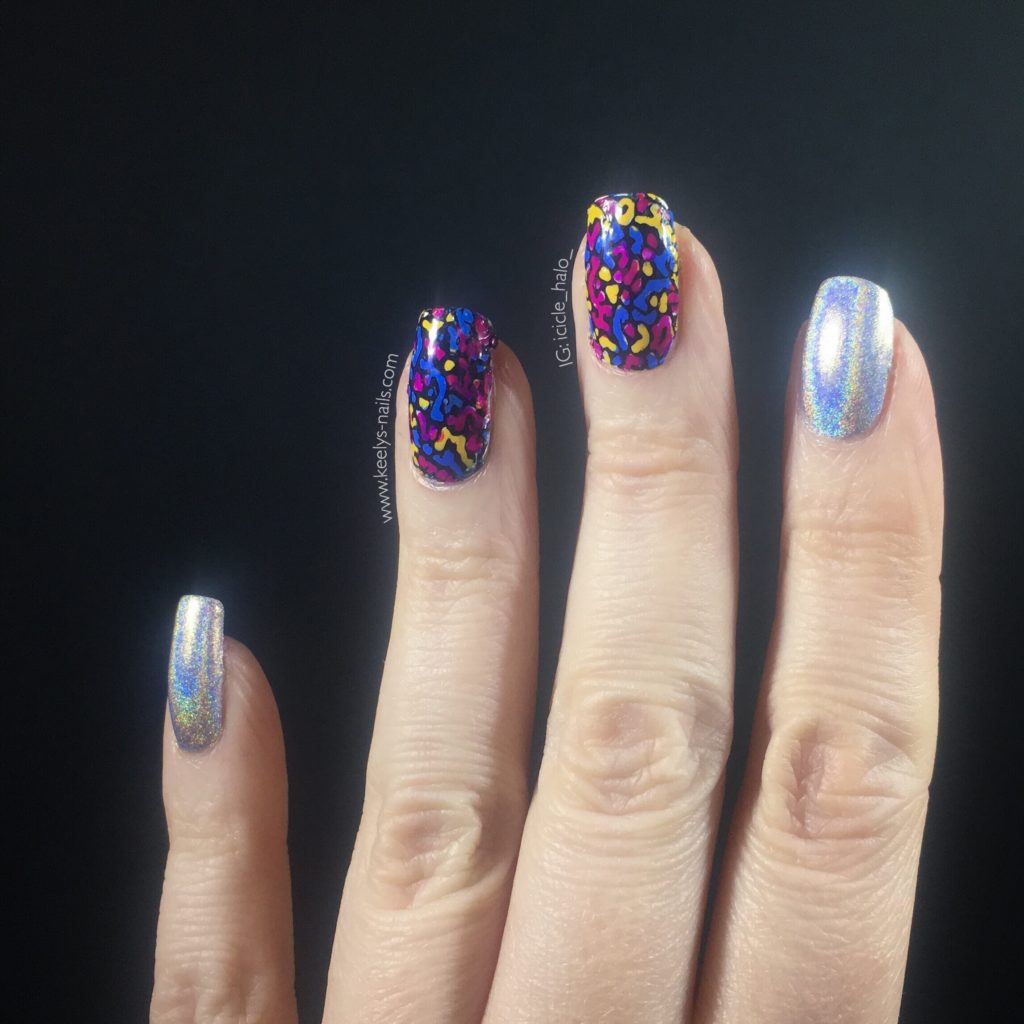
After trimming the overlap down, I sealed it all in with Seche Vite. On my other nails I used a silver holo, just because it’s pretty. My black Color Club holo would have been a better choice maybe. But I like seeing the silver holo in the bright sunshine we’ve been getting recently!
Millefiori nail art
I hope that you like this bright design and the inspiration behind it. I really hope it pulls me out of my funk! I’m off to stock up on acetone and lint-free nail wipes – I’m nearly out of both…. scary!
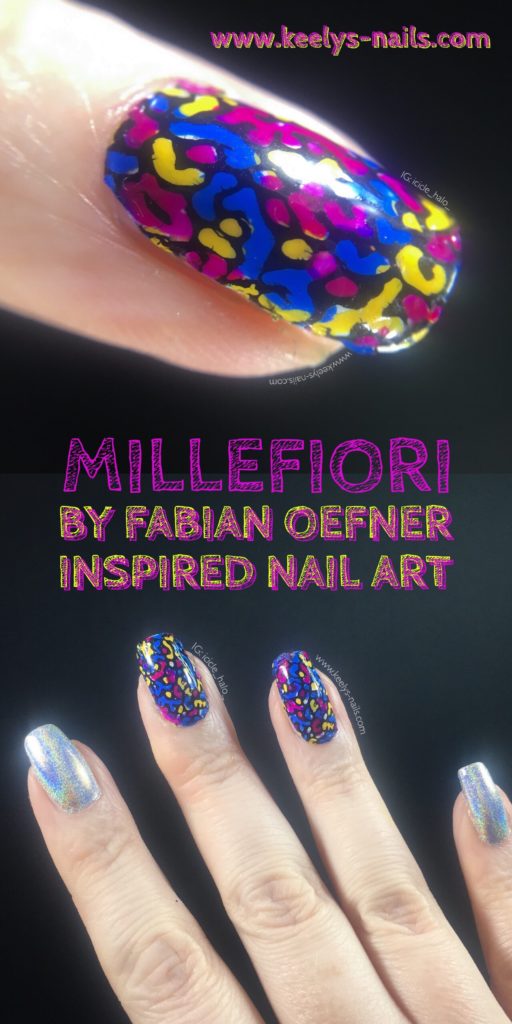
Pin it! Millefiori by Fabian Oefner nail art by Keely’s Nails on Pinterest
April 30, 2018
I love the silver holo!
April 30, 2018
Thanks Nicole, it’s really pretty isn’t it!
May 10, 2018
Thanks Nicole, it’s an essential polish in my collection
May 9, 2018
Very cool to see the inspiration. Nicely done.
May 10, 2018
Thanks so much Karen – really appreciated