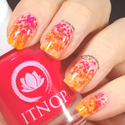
This Neon Dot Nail Art is super quick and easy to re-create, since it is just two polishes and one coat of each. You’ll be ready for dancing under blacklight in no time!

Neon Dot Nail Art right hand
Polishes and Tools
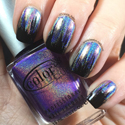
AEngland Camelot
Starrily Gumballs
Base and top coats – I like Nailtiques and Seche Vite
Clean up brush
Acetone or remover
- Prepare your nails and apply your favourite base coat.
- Apply one coat of Camelot (other black polishes may need two coats, but not this one!)
- Clean up any places where the black is on your skin and cuticles. This is also how I achieve a nice clean finish around my cuticle line.
- Apply one coat of Gumballs (you won’t need to fish the glitters out the bottle, but it may need a bit of dabbing to get them positioned where you want them).
- Optional: apply a neon-boosting coat (see below).
- Apply your favourite top coat! Done.

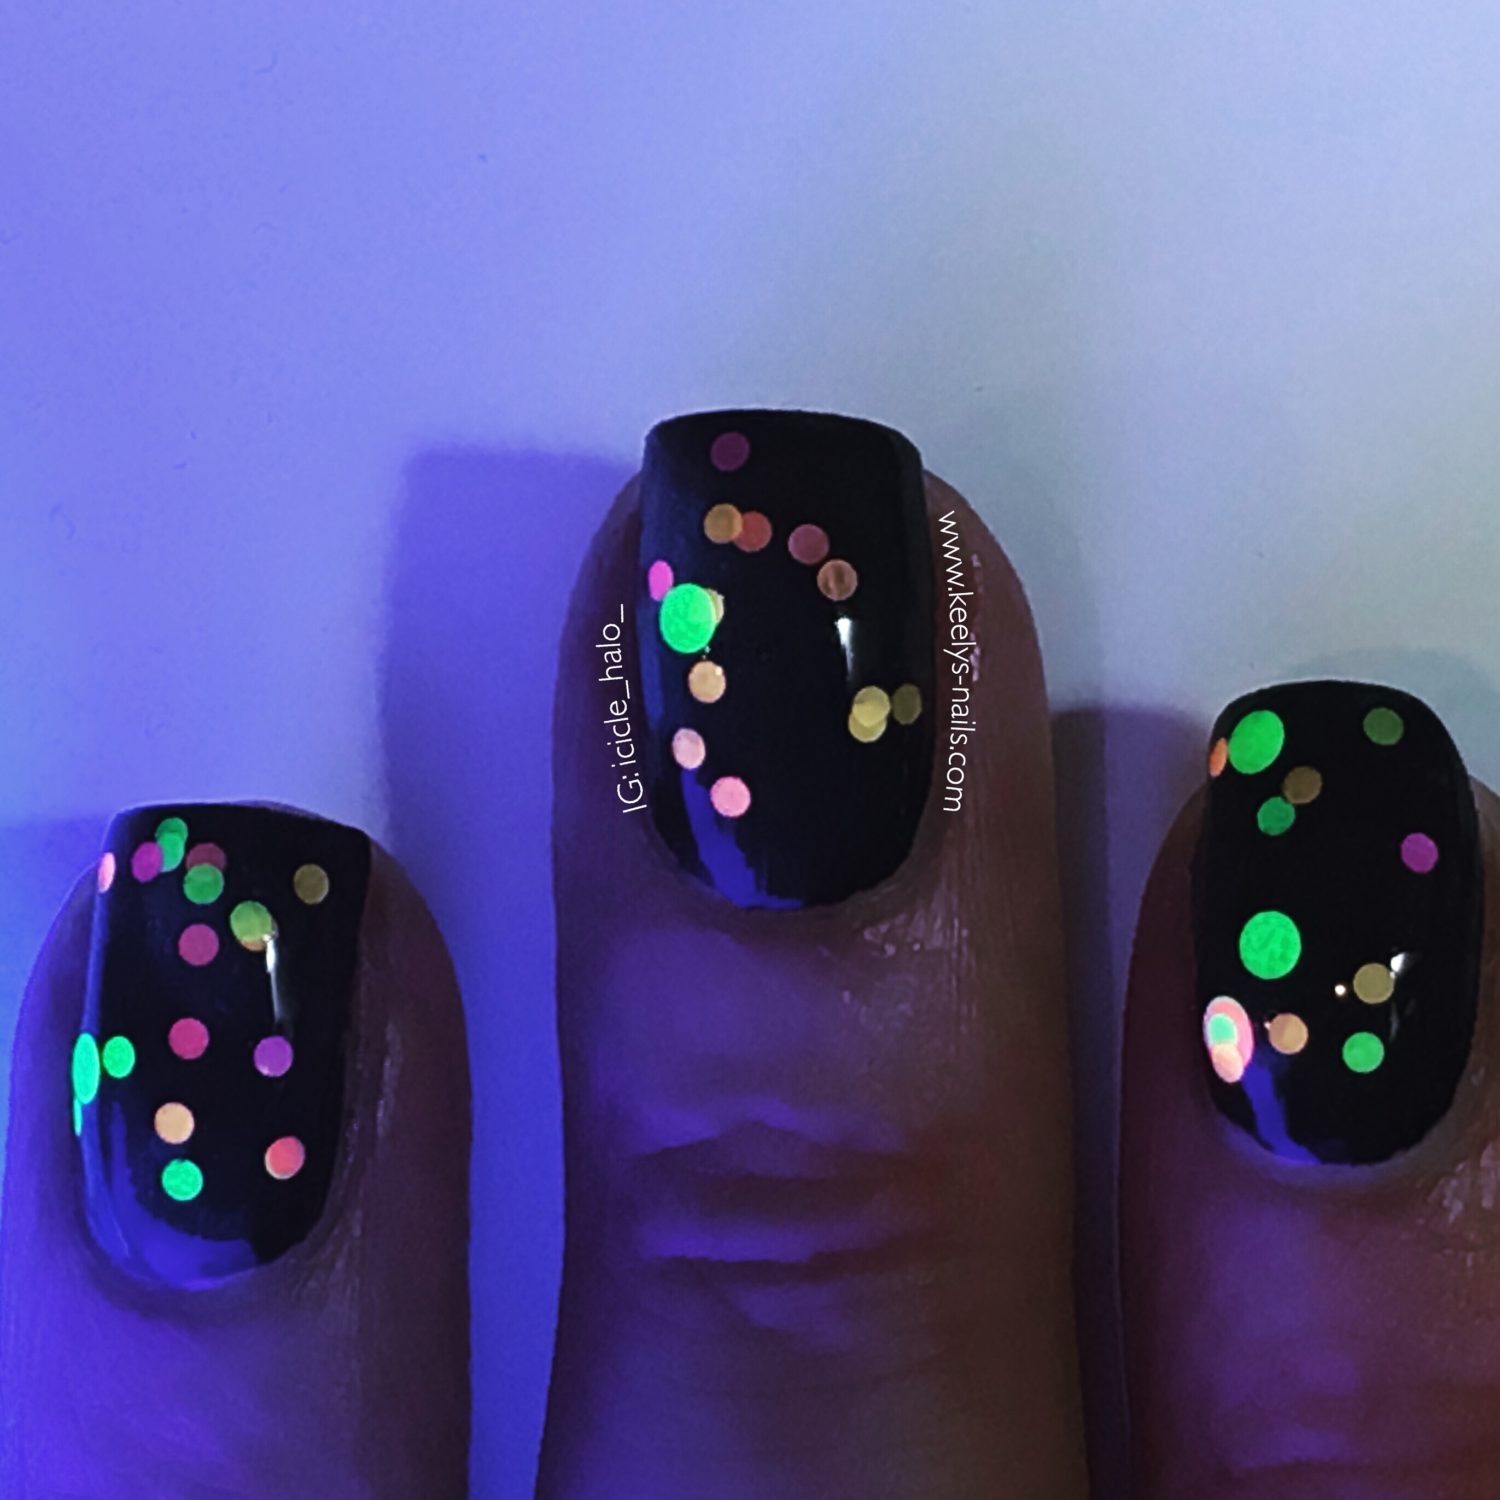
Neon Dot Nail Art UV macro
These glitters glow incredibly brightly under UV light 😎
I have a small UV lamp for gel nails, which I don’t use very often, because I’m all about the polish. But it was perfect for lighting up the neon colours and shows how bright they look over the black.
All my other photos are taken with daylight bulbs for lighting, so you can they look bright even in the sun.

Neon Dot Nail Art left hand
Neon Dot Nail Art
One option, if you want your neons to glow even more brightly (or even give other colours a bit more pop) there is a product called Yellow Stopper by American Classics, who are also the makers of Gelous. One coat of this over your neons or colours will enhance their appearance in UV light (including daylight. What I’ve found is that it dries incredibly slowly, so it is best used under a top coat.
I hope you like this quick and easy design. Would you like to see some easy nail art ideas?
June 10, 2016
Now that is a fab and fun design! 🙂
June 11, 2016
Oh my gosh, I’m obsessed with the color and design.
June 11, 2016
That is lots of fun – my teen would like this style
June 11, 2016
Yes I would love to see more easy nail designs. Please keep sharing them. I love this design.
June 11, 2016
Amazing, I’m always looking for something to do with my nails other then just paint them with a coat of nail polish
June 12, 2016
I love these nails, really cool and funky
June 12, 2016
Thank you Zena! They are so quick and easy if you just need a speedy manicure 🙂
June 13, 2016
That looks amazing!
June 13, 2016
Thank you Stephanie! Do you think you might try it?
June 14, 2016
Oh wow! That looks great! If only I could do something like this myself
June 14, 2016
Thanks Evelina, I promise this is so easy absolutely anyone could achieve this 🙂
August 11, 2016
Wow..
What a Lovely Post….I really like this design. Neon French is one of my favourite designs, too.I’m all the time viewing for something to do with my nails then just shade them by a coat of nail polish This design is very lovely and pretty and also very easy to apply . Thank-you so much for sharing this design..
Keep posting and sharing.. 🙂
Regards;
Evelyn M. Speaks
August 11, 2016
Thank you Evelyn! I’m so glad you liked it. And this is a very easy design to achieve!