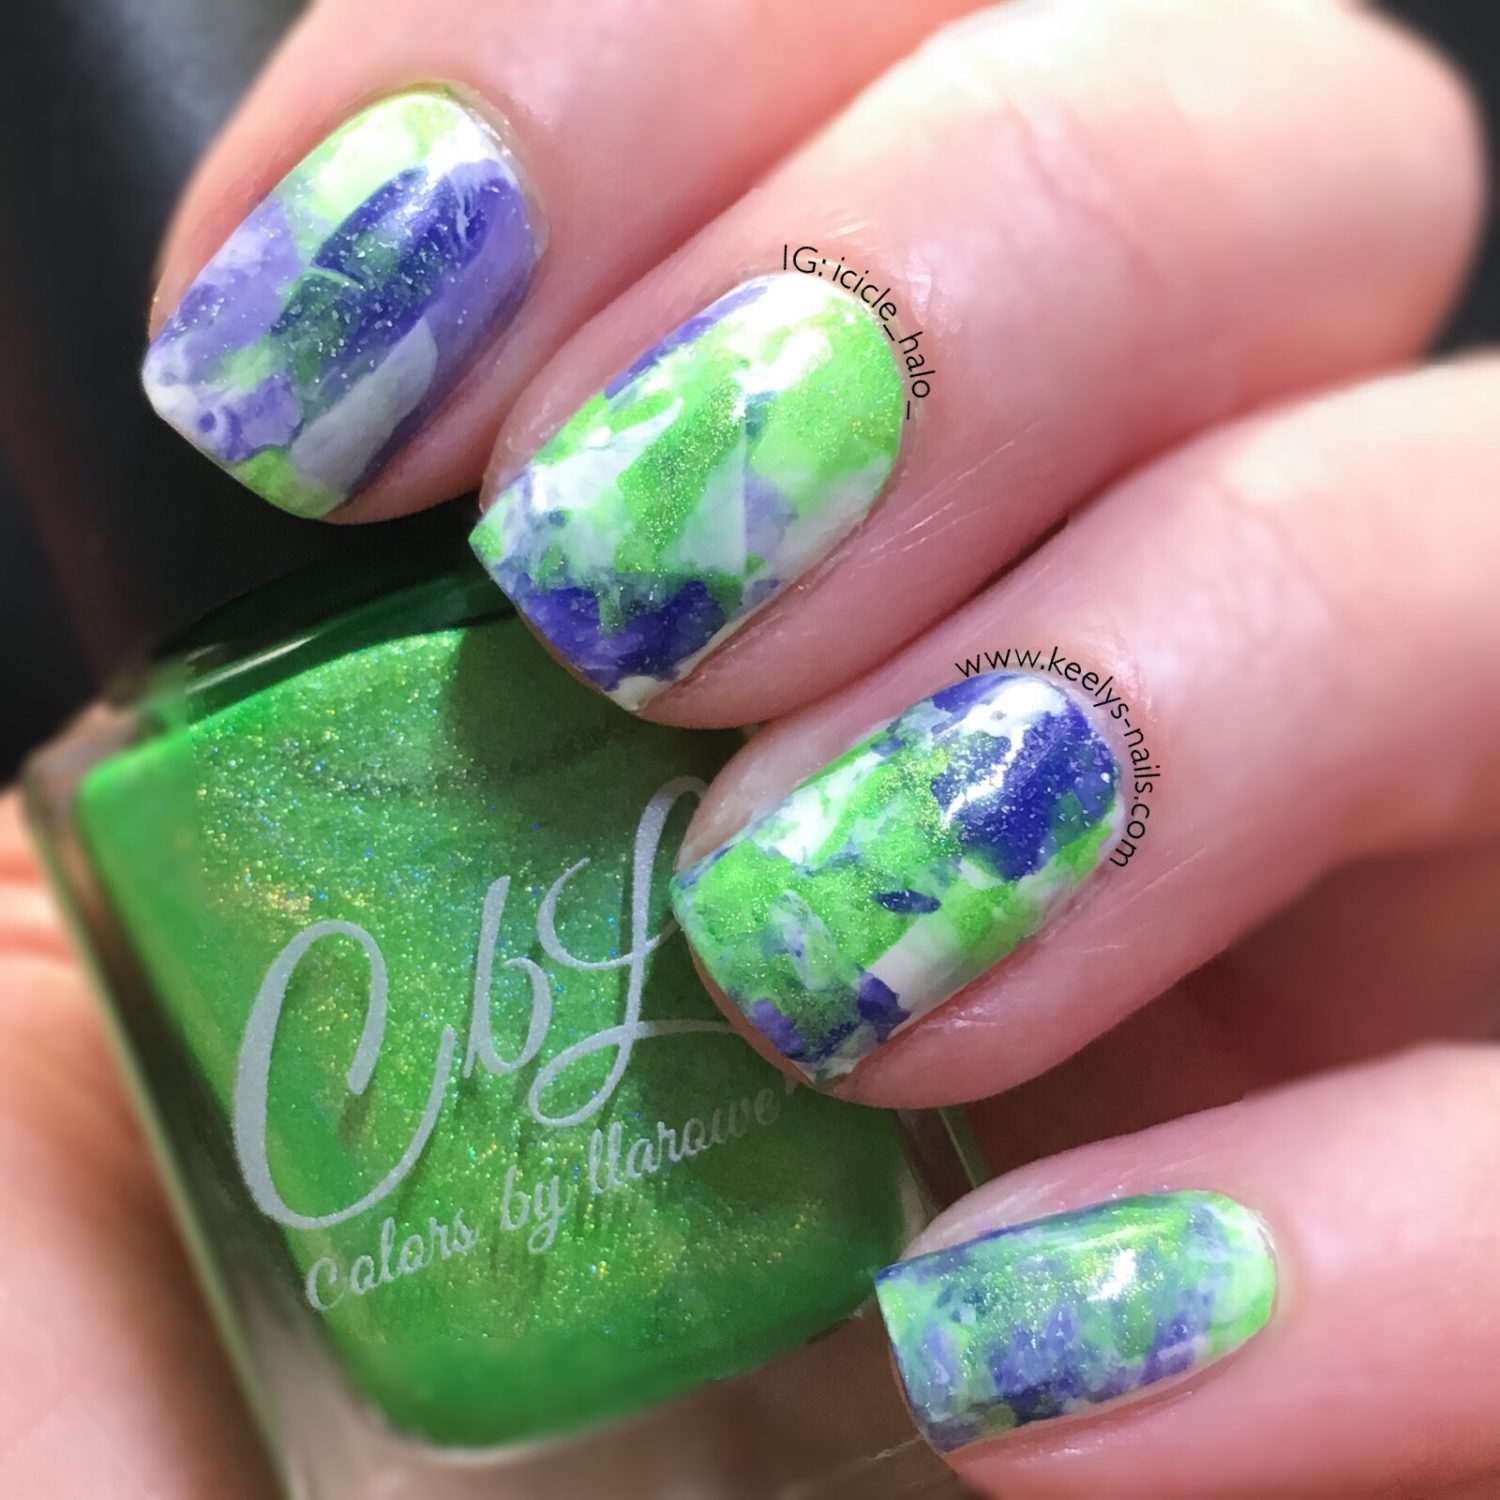
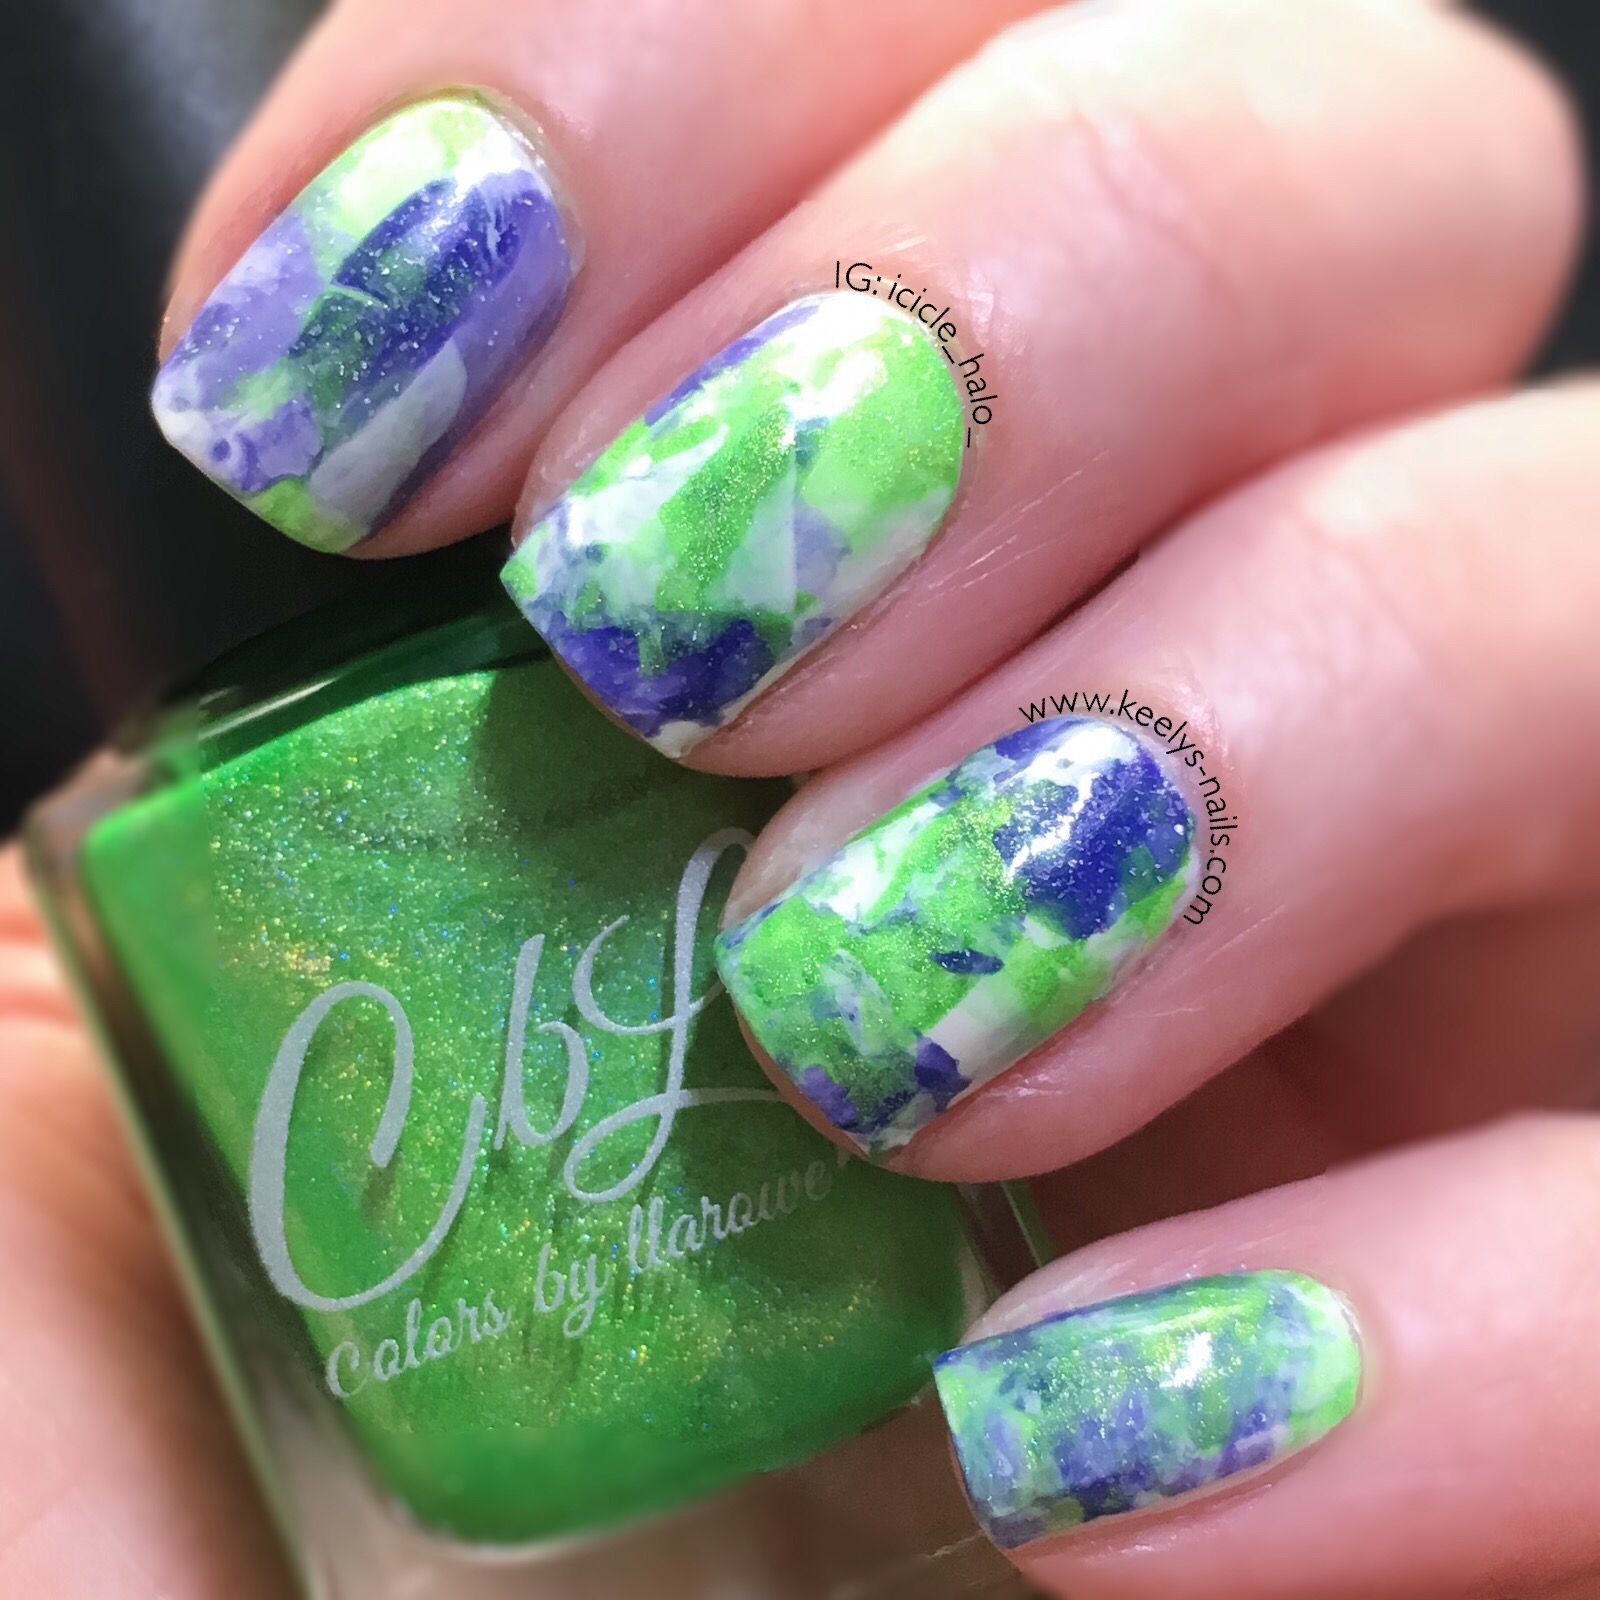
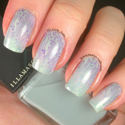
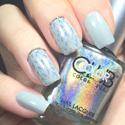
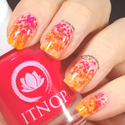
This is another easy nail art technique which looks completely unique each time you try it. Smoosh Nail Art isn’t for you if you like all your nails to be identical, but you’ll end up with an eye-catching design which gets lots of compliments!
Polishes and tools
Your favourite base coat – I’m currently using Nailtiques
Smoosh
Models Own White Light
Colors by Llarowe Bananas and Krispy Kremes are better than HBO
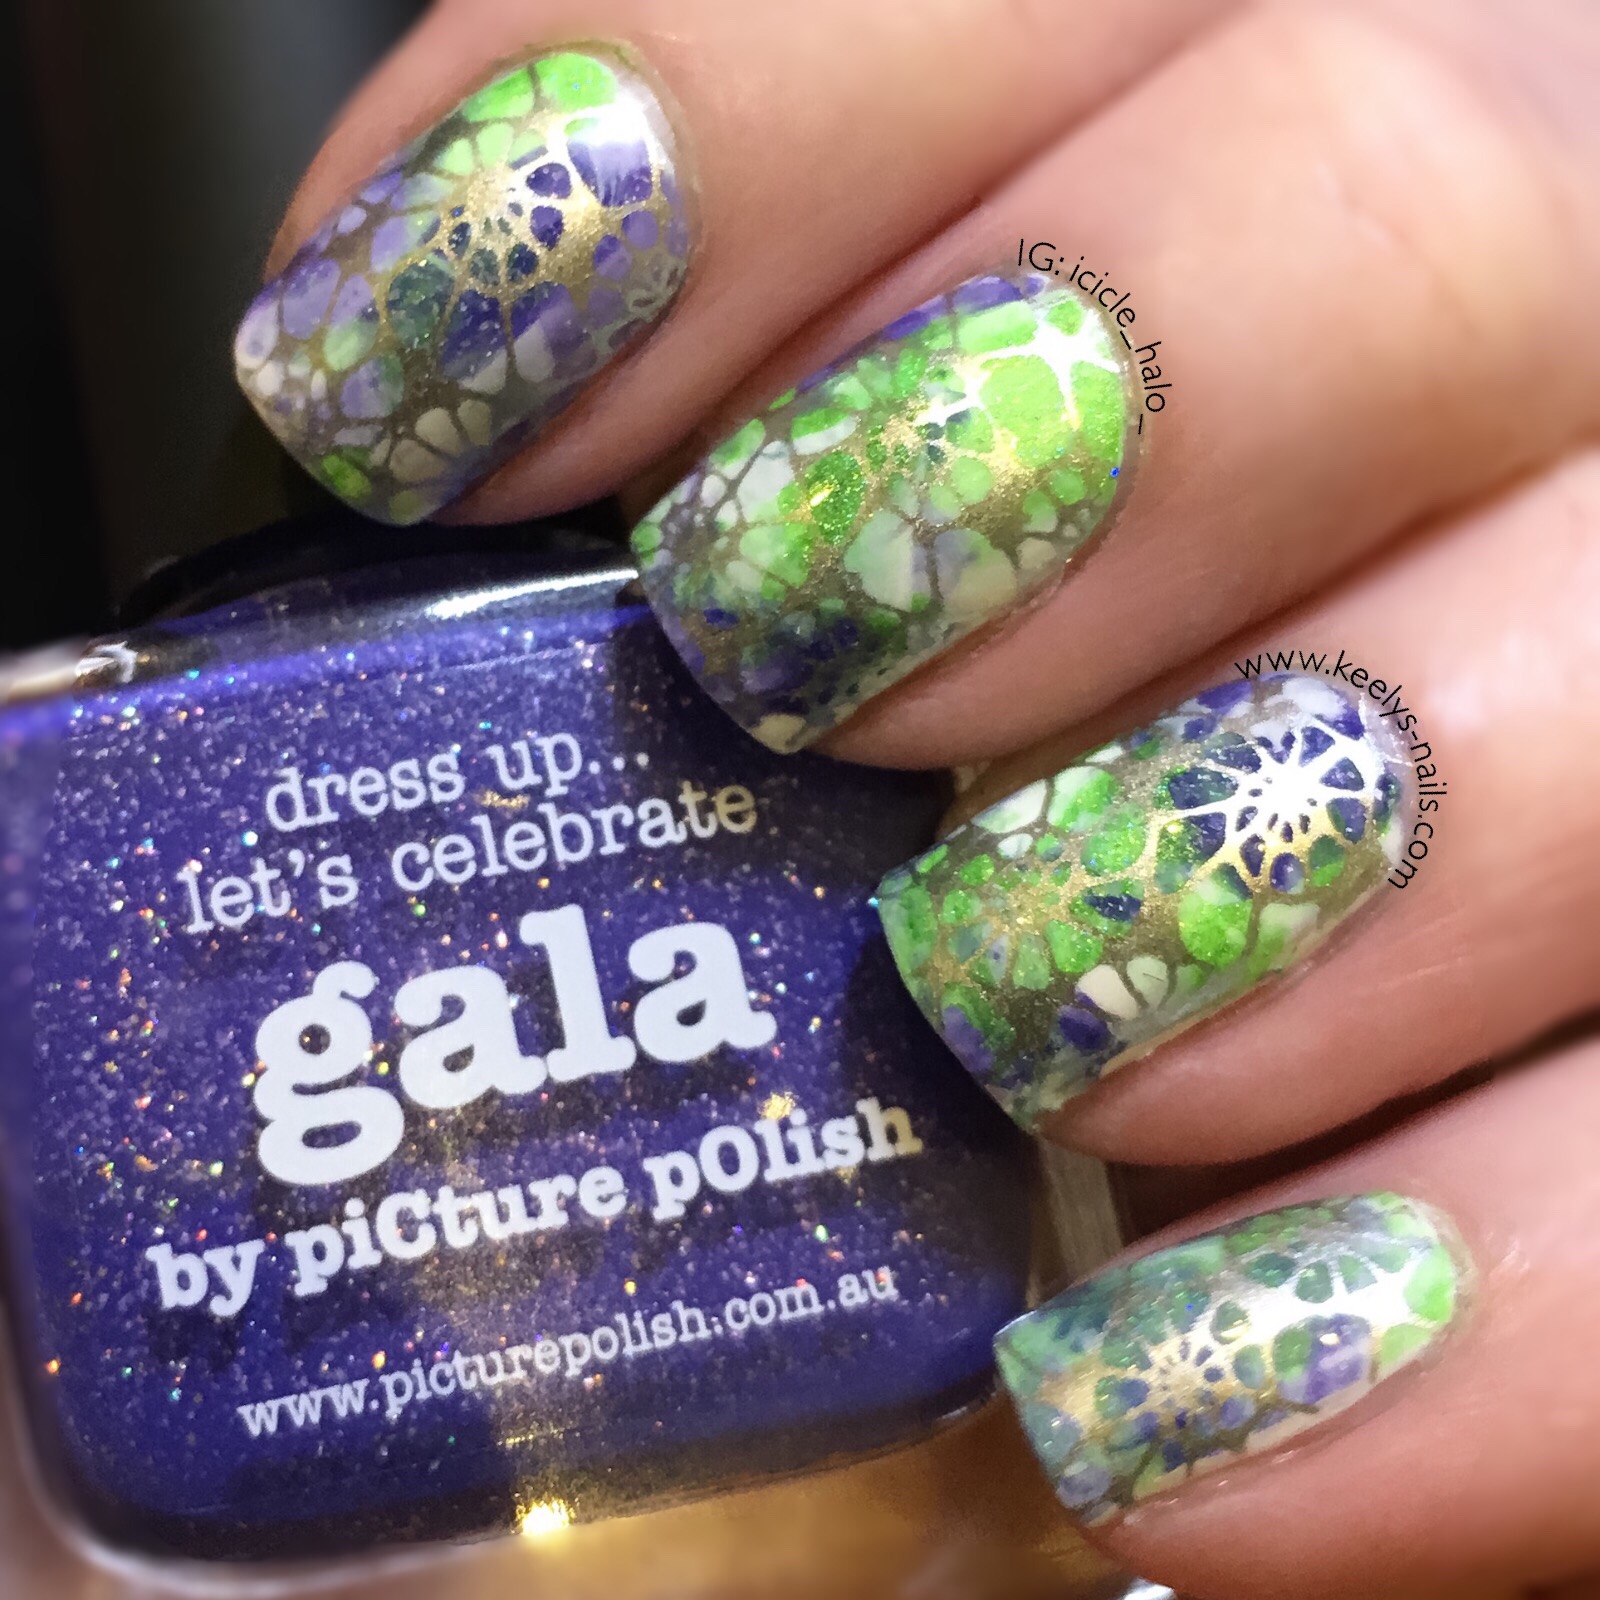
Picture Polish Gala
Creative Shop original stamper
Disposable or easy clean surface for smooshing – this time I used my Uber Mat, but a piece of foil works perfectly well too
Clean up brush (you definitely need this!)
Stamping
AEngland Excalibur
Creative Shop plate 02
First up, start with your base coat and one coat of your lightest coloured polishes for smooshing. It doesn’t need to be perfect, since you’ll end up covering most of it up next. Make sure to cap the free edge of your nail though, since you won’t be able to do that with the smoosh.
Smooshing comes next and is fun but a bit messy. Put a few drops of each colour on your chosen surface. If you have a particularly sheer polish use a little more, very dark or opaque polishes will need a little less. That way all your colours end up equally represented in your finished product.
Smoosh the colours together lightly with your stamper. Press too hard and you’ll slide right across the polish, so take it easy! You actually don’t want to mix the colours up too much, or they can end up a bit muddy-looking.
Take your stamper and apply the colours to your nails. You can wait a moment here to let the polish dry slightly – it will still stick to your nail when it’s tacky, but the stamper won’t slide off your nails so much. You can also keep adding smooshed polish to your nails until you are happy with the colours and design. No need to start again if you don’t like it!
Next, you will need to do some clean up – it’s unavoidable to get a bit of the polish on your skin. If you are using lighter, sheerer colours they should come off easily though.
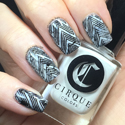
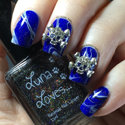
Although I love this look, I wanted to add something else to it. I stamped using Excalibur and a shell design. The silver metallic polish kept the design light and there was lots of negative space to let the smoosh show through.
If you want some more smoosh attack inspiration, check out my Turquoise Nail Art Tutorial.
Smoosh Nail Art
I hope you enjoyed this look and will think about giving it a go! It’s great to have a tool like a stamper which can be put to another use.
Do you like the idea of having a really unique look, or do you prefer consistency across all your nails?

June 12, 2016
Wow in love the color and print on it nails.
June 12, 2016
Thank you! The bright colours came out because of the white base I think.
June 12, 2016
Oh wow, your nails look stunning, love how creative you are. Beautiful..
June 12, 2016
Thank you Claire! It’s down to practice I think 🙂
June 12, 2016
these ails are amazing. My nails are really weak but I’d love to make them look great some time.
June 12, 2016
My nails were very soft and weak. Really bendy too. Vitamin B and lots of cuticle oil (preferably something with jojoba as the main ingredient) will make a huge difference. But be patient, it takes around 6 months to grow them out fully.
June 13, 2016
You used a great mix of colours, perfect for summer and I really like the effect too.
June 13, 2016
Thank you! I think the white really lifts it and the bright green is beautiful anyway.
June 13, 2016
I like a unique look and sometimes I go for consistency. It depends on the mood.
June 13, 2016
Me too, I like looking a bit different and quirky 🙂
June 13, 2016
This has to be my favourite colour you have shared so far – love it
June 13, 2016
Thanks Kara, I think the green is my favourite but it matches so well with the purple b
June 14, 2016
Using the white makes a huge difference to the colours I am sure, I do the blue and green mix
June 14, 2016
Thank you Rachel, I think the white really lifts it
June 14, 2016
So amazing! I love the pattern, I love the colours. I need to try some of this stuff. It looks so good. x
June 14, 2016
Thank you Chloe, definitely have a go and let me see how you get on!
June 14, 2016
I’ve got to admit they look so pretty. I want nails like that now
June 14, 2016
Yay! I’m winning people over to nail art…welcome to the glitter side LOL!