Long time no see! Many apologies for my absence, but life and a car accident got in the way of blogging for a while. I’m still loving playing with my Sinful Colors Transforming Top Coats to create Stamper Fluid Nail Art, so here’s my latest design…
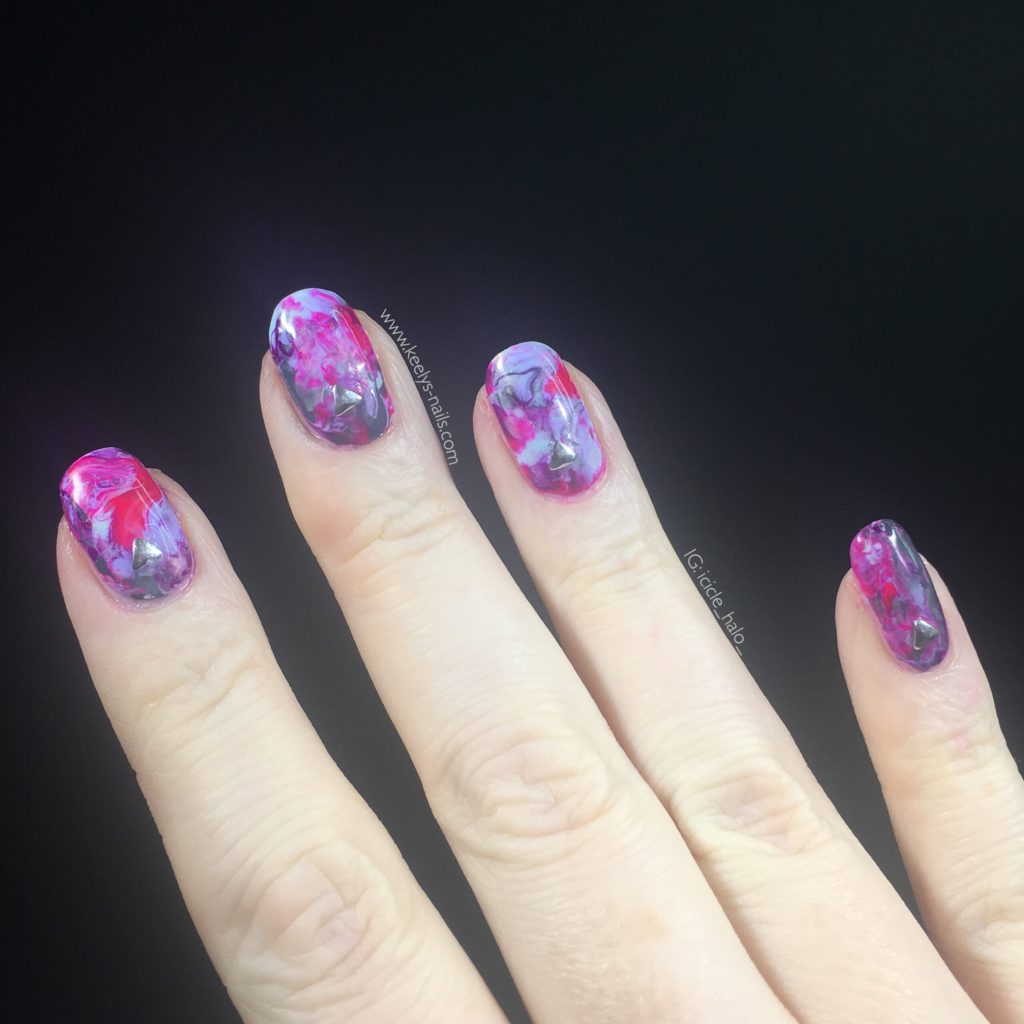
Stamper Fluid Nail Art is as easy as a smoosh design!
Polishes and tools
Nailtiques Formula 2+
In The Name Of Polish (missing label) Neon Pink
Sinful Colors Concrete Jungle, Purpunk, and Punk the Town
Clear Jelly Stamper The Big Bling
Rainbow Connection angled cleanup brush
Seventeen Silver Triangle Studs
Nail Glue
Seche Vite
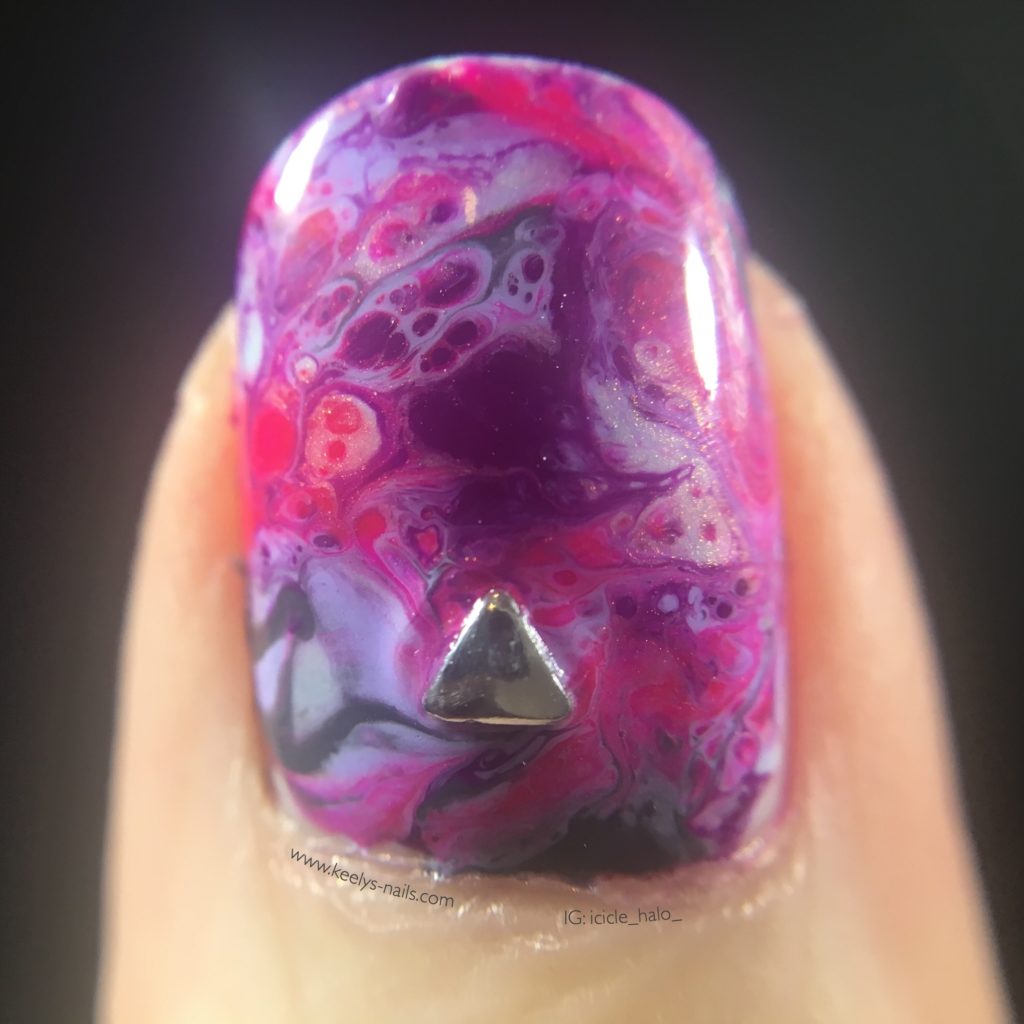
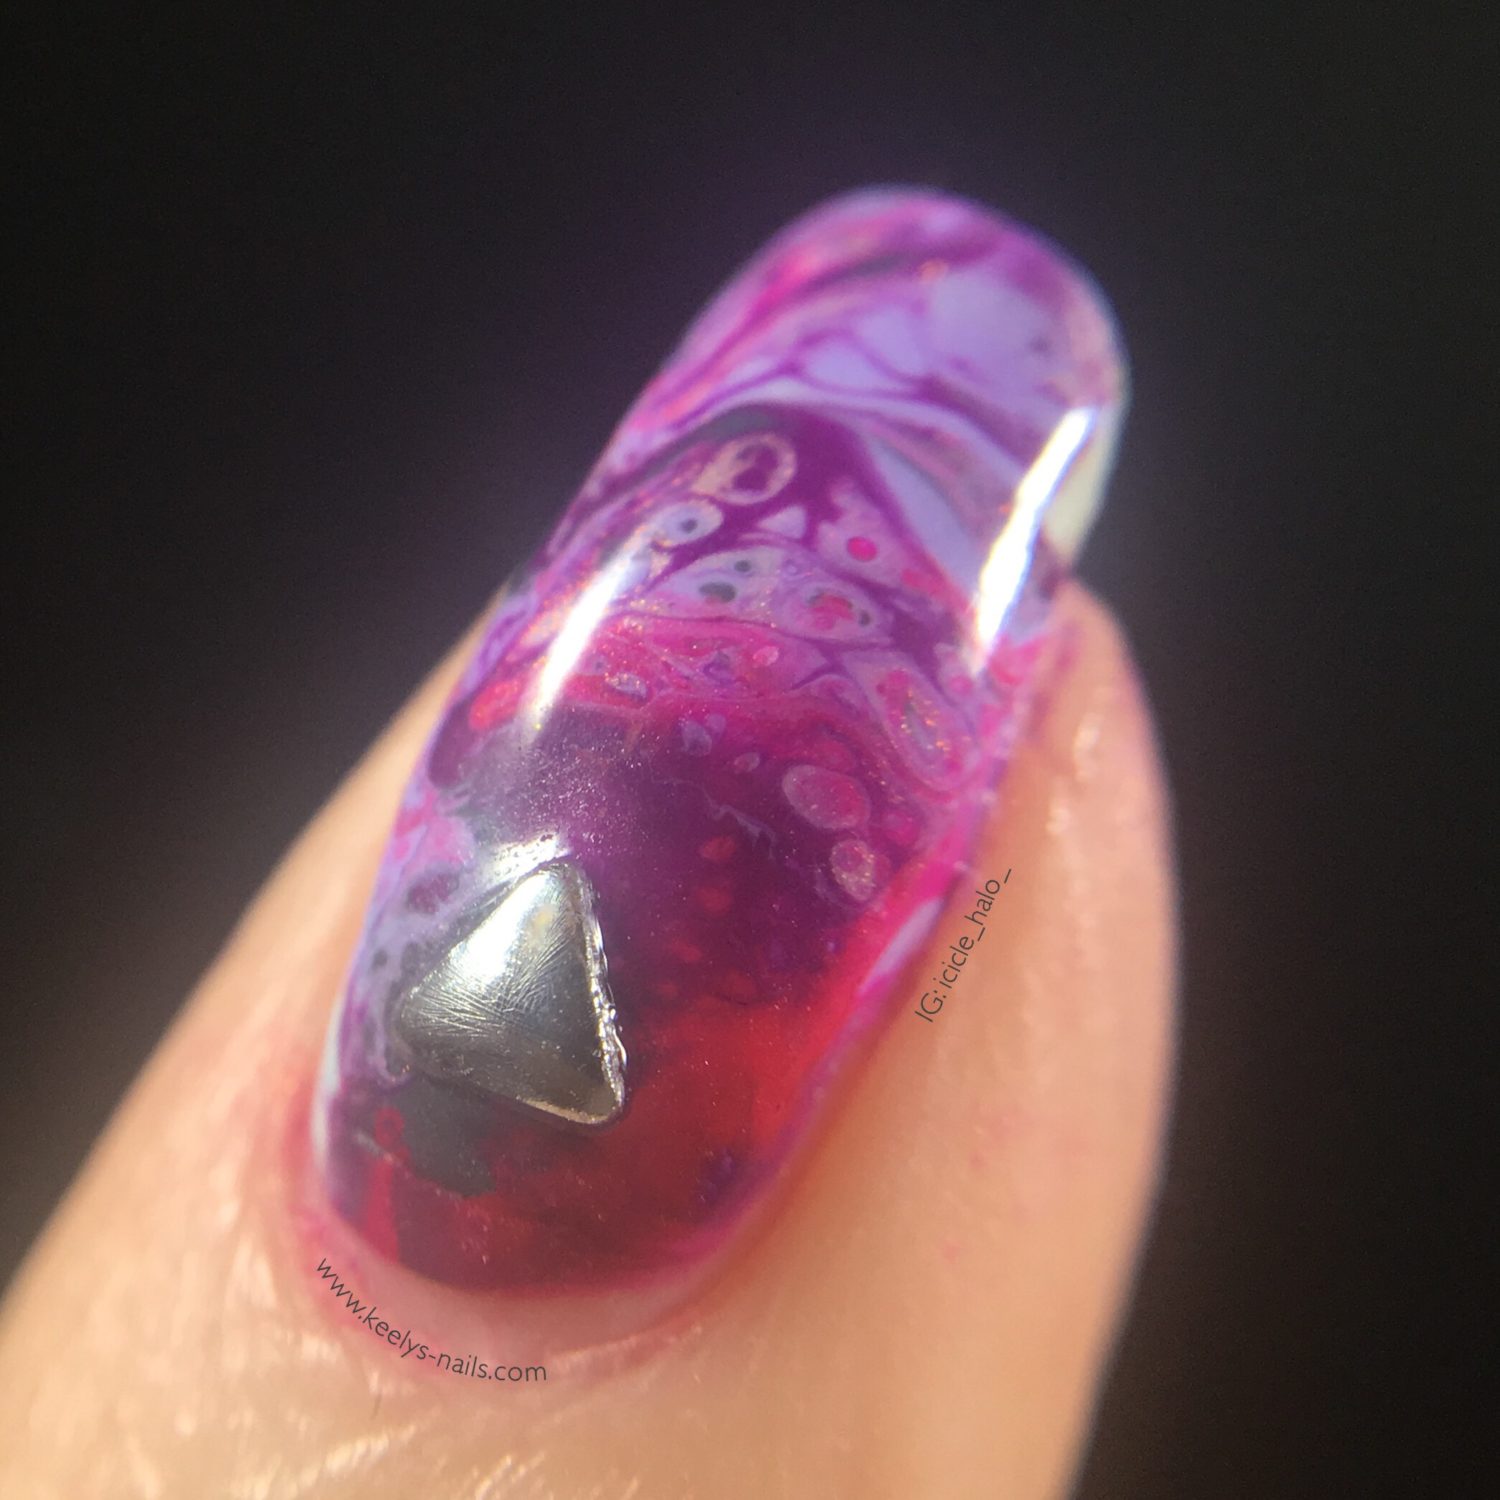
Look at all those cells! Piling the polish on a stamper creates great Fluid Nail Art.
You’ve probably noticed my new nail shape… I was getting really fed up of my corners breaking constantly and so I thought I’d go back to a rounded shape. It’s very difficult to get them all the same length like this, so it didn’t last long!
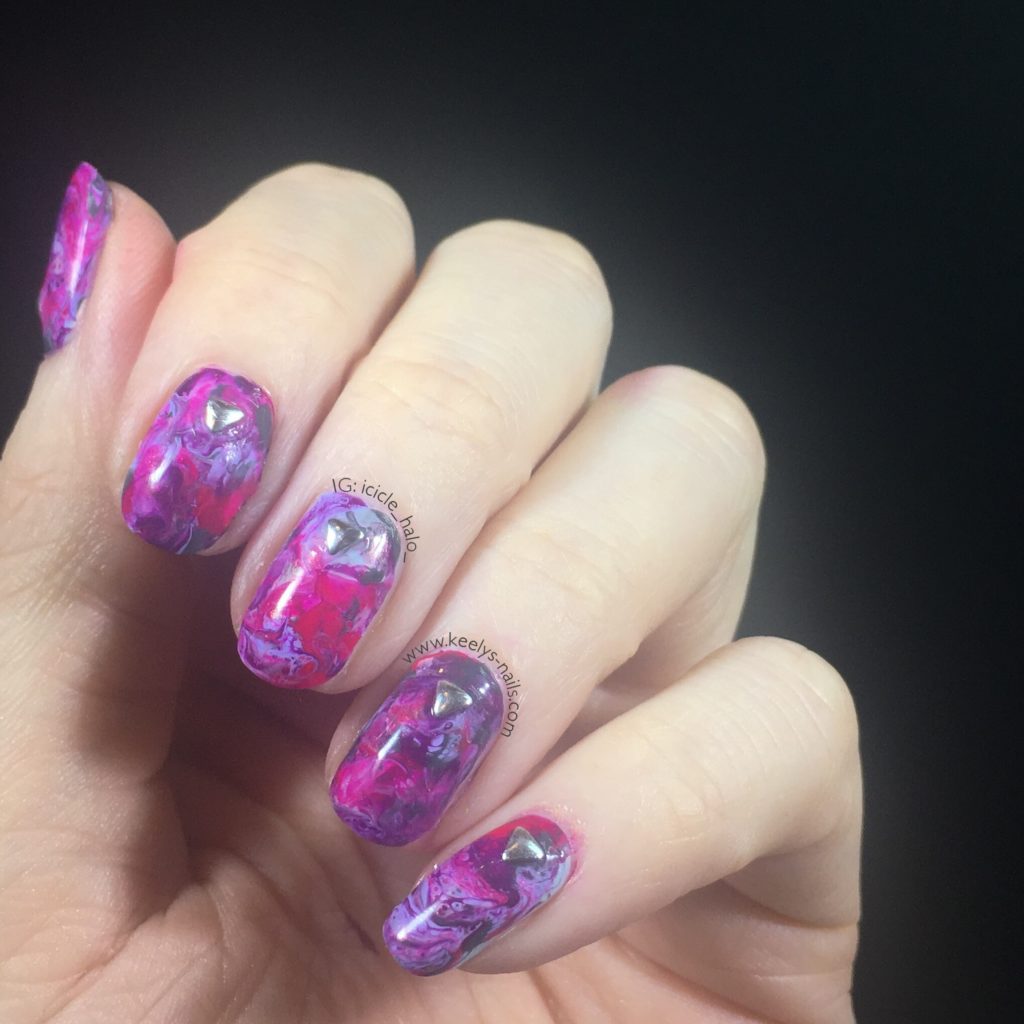
Rounded shape to show off the fluid art on my nails, but not for long…
The method for this design is similar to my Fluid Nail Art post, but a bit easier to control. I put the colours together on my stamper head and then transferred them to my nail that way. By putting the colours quite close together you get those awesome fluid art cells and hardly any on your skin.
This time, I didn’t use a colour for the base, I just created it straight onto my base coat. To be honest, this type of art uses a thicker layer of polish and so is easily opaque. There’s no need for another coat.
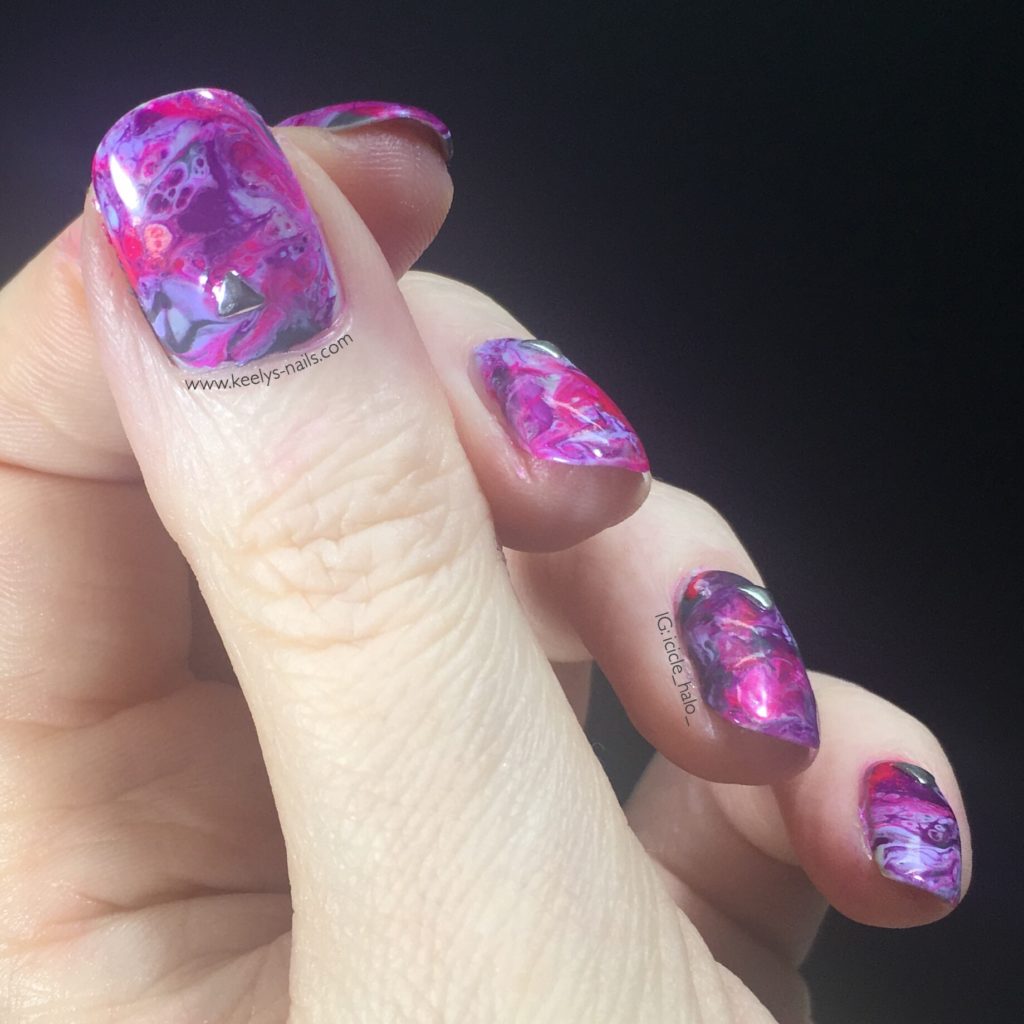
Pretty mush mess free and hardly wastes any polish – Stamper Fluid Nail Art ftw!
Once I’d finished with the fluid art, I used a dot of nail glue to attach a stud near the cuticle on each nail. You have to be quick with any manoeuvring before it sets!
A coat of Seche Vite seals it all in of course!
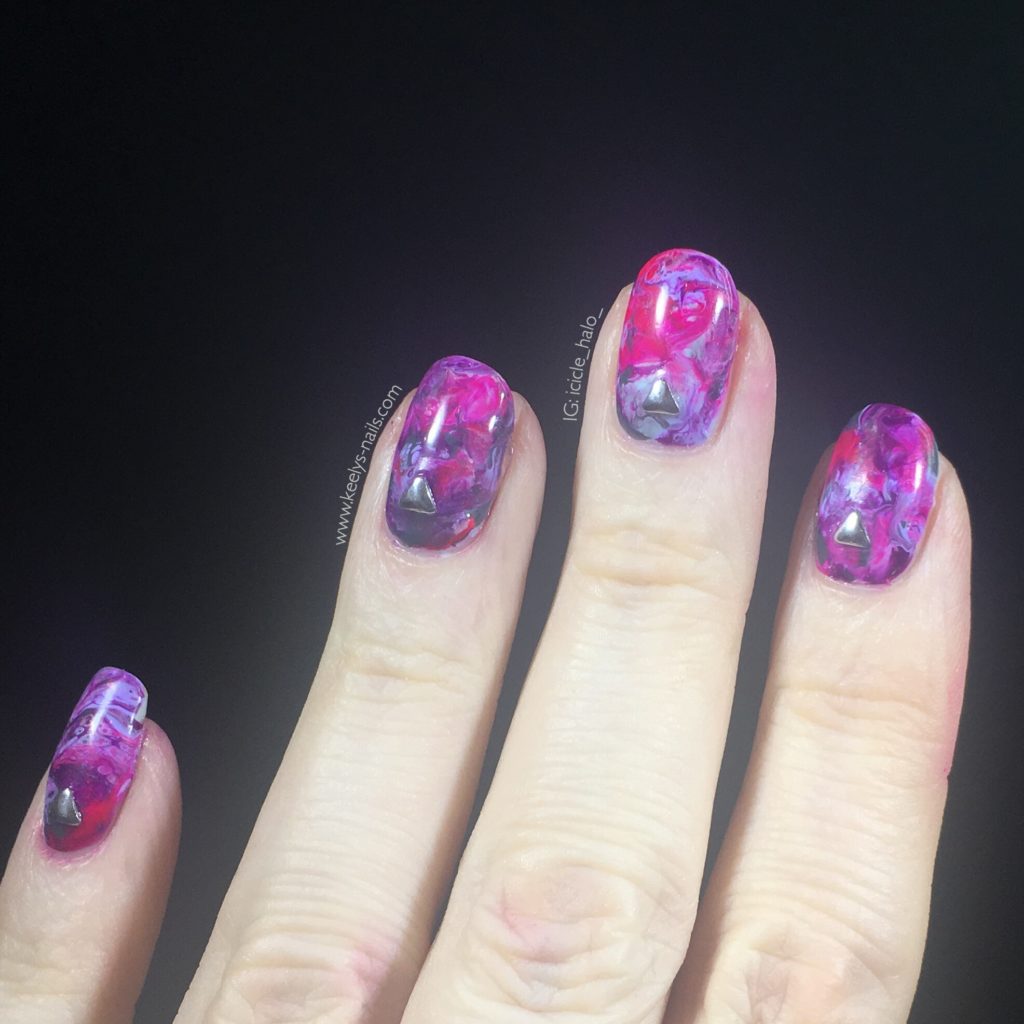
Fluid Nail Art is endlessly fascinating and totally unique!
Stamper Fluid Nail Art
I generally create designs that have differences between my fingers – rather than all the same. Although there is a stud on each nail, the fluid art design makes each nail totally unique, which is perfect for me.
Have you ever tried Fluid Nail Art? Or would you? Do you have any good tips to share? Let me know in the comments 😊

