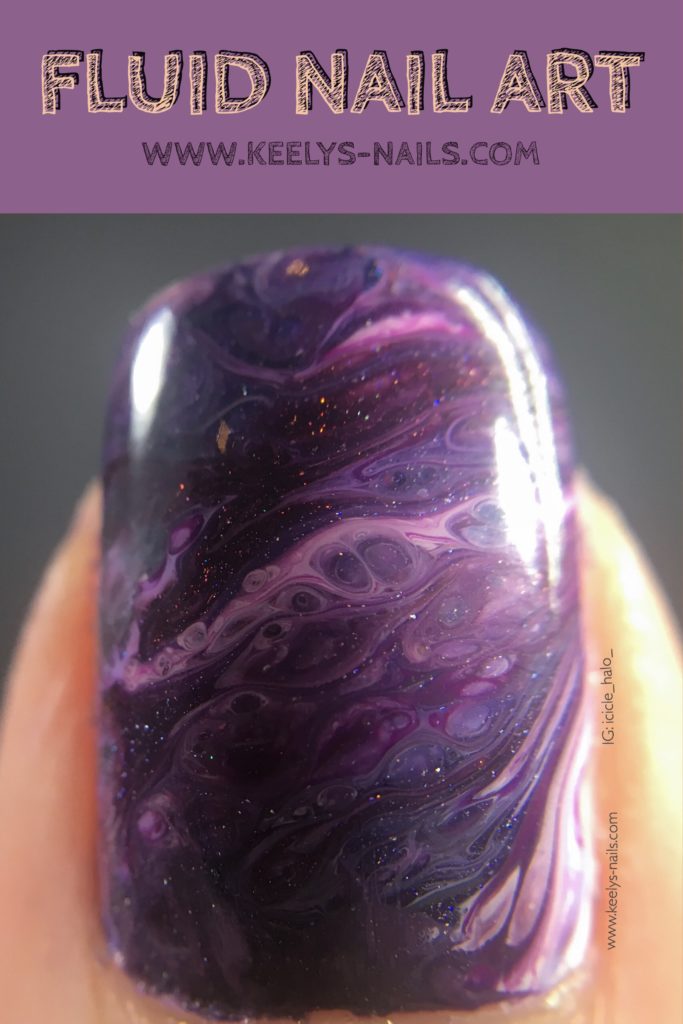
Fluid nail art is the latest trend to be adopted by nail artists. It’s inspired by fluid art, where acrylic paint is mixed with a little silicon, before dripping or pouring it over a canvas. The silicon helps to stop the paint from mixing, so you get little ‘cells’ of different colours appearing, and an organic forms and lines of colour from the movement of the paint.
There are a number of different techniques, using both normal polishes and some special ones. In this case, I used the Sinful Colors transforming topcoats with regular polishes, which are designed to separate and create the cells I mentioned. It’s definitely a more advanced nail art technique, but I found this way much less messy and less wasteful of polishes than others I’ve seen for creating fluid art. You could always limit it to one or two feature nails to make it more manageable.
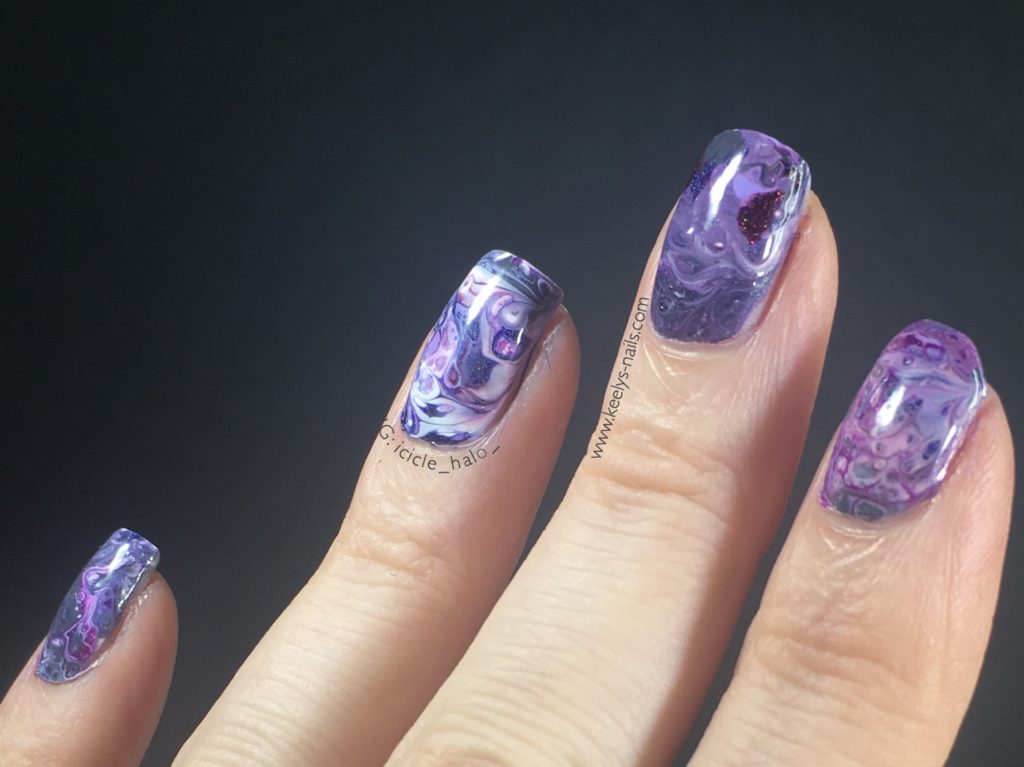
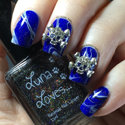
Fluid nail art – fingers
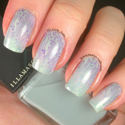
Polishes and tools
Nailtiques Formula 2+
Color Club French Tip
AEngland Tristram
ILNP Black Orchid
Sinful Colors Concrete Jungle, Purpunk and Punk The Town
Twinkled T Silicone Tool
Rainbow Connection angled clean up brush
Seche Vite
Just to warn you, I took a lot of photos, so this is a very image heavy post. It was just to pretty not to capture close up!
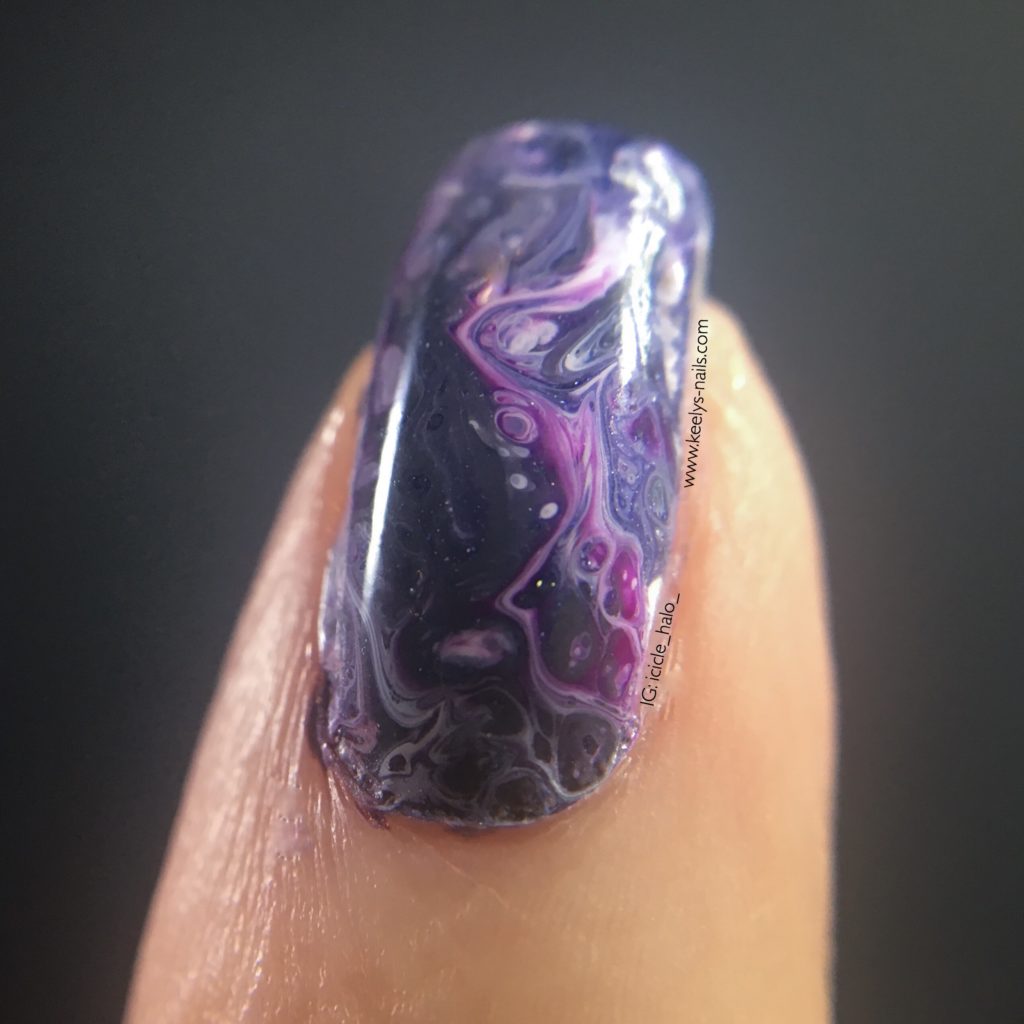
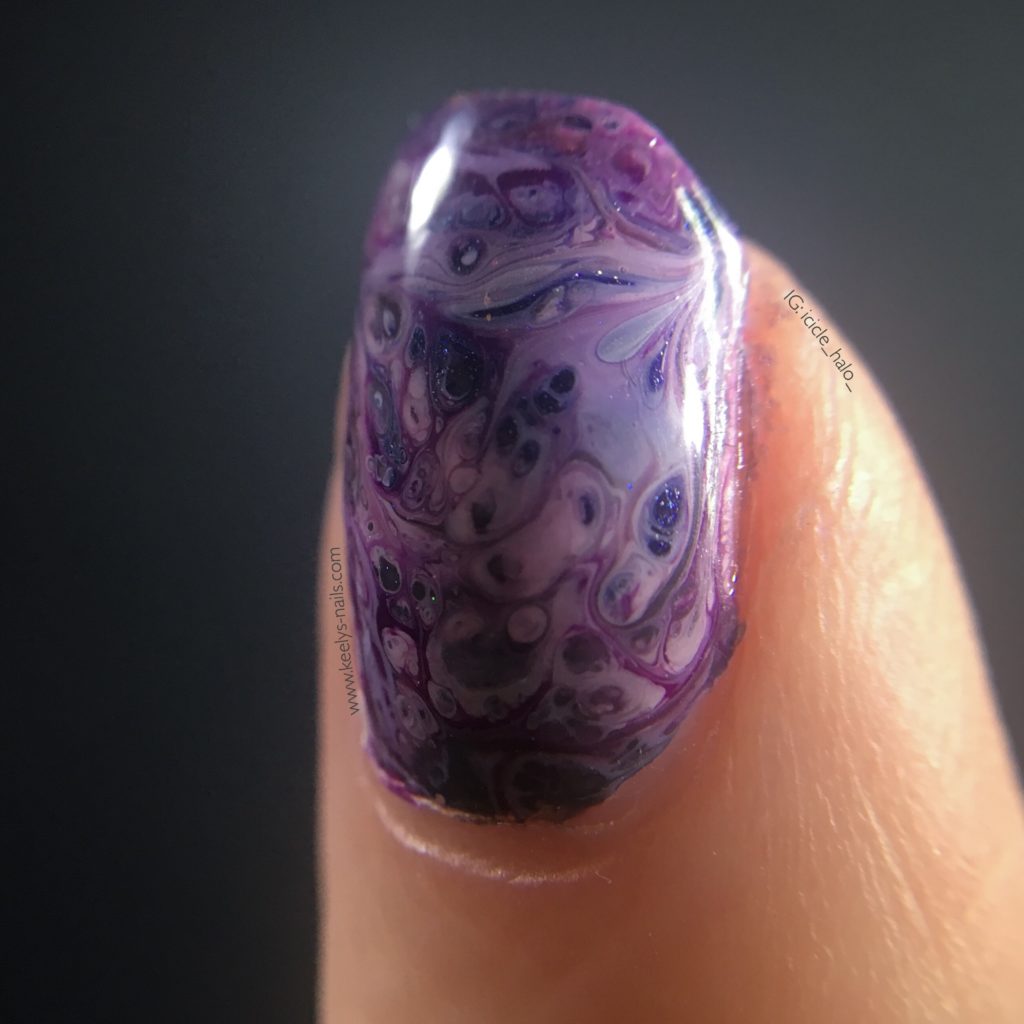
Fluid nail art – left hand little macro
I started with a base of Nailtiques and a coat of French Tip. This isn’t strictly necessary, and next time I’d use a colour closer to the end mixture, rather than white.
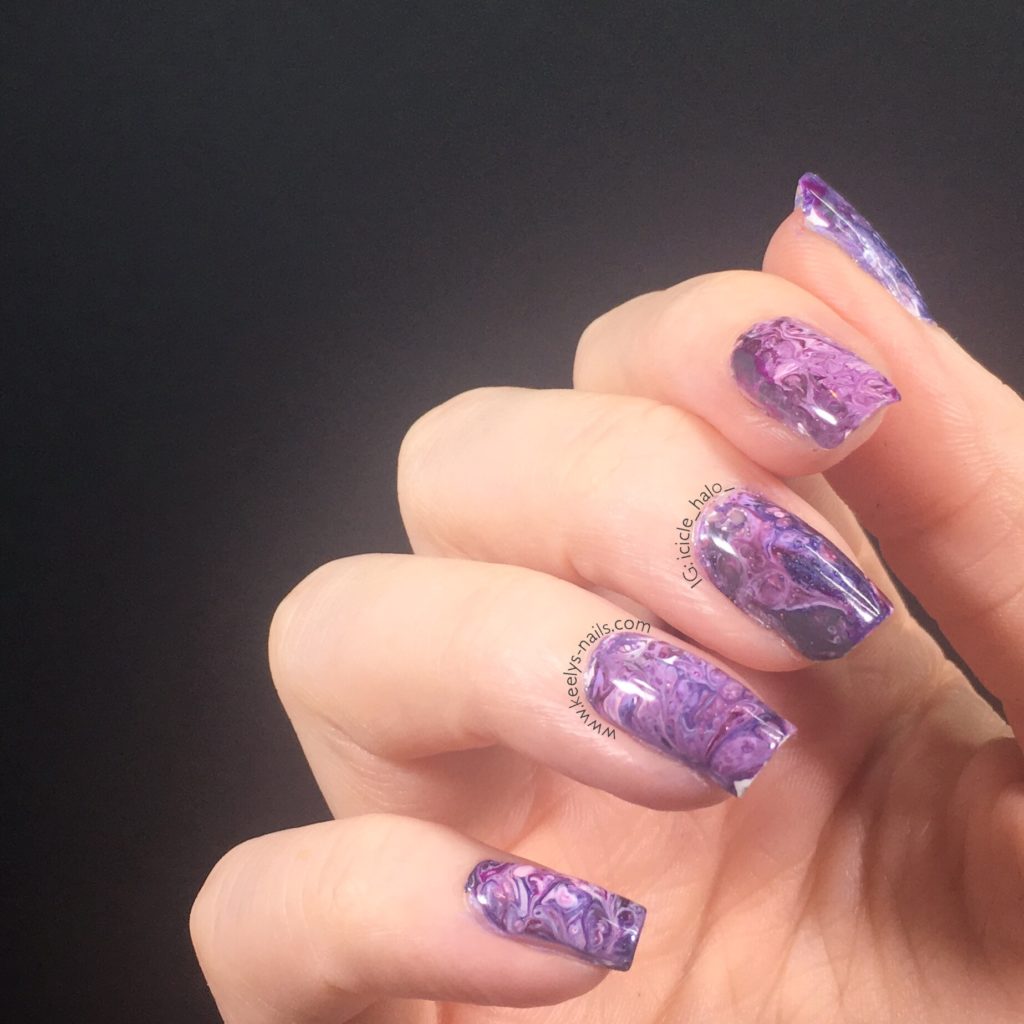
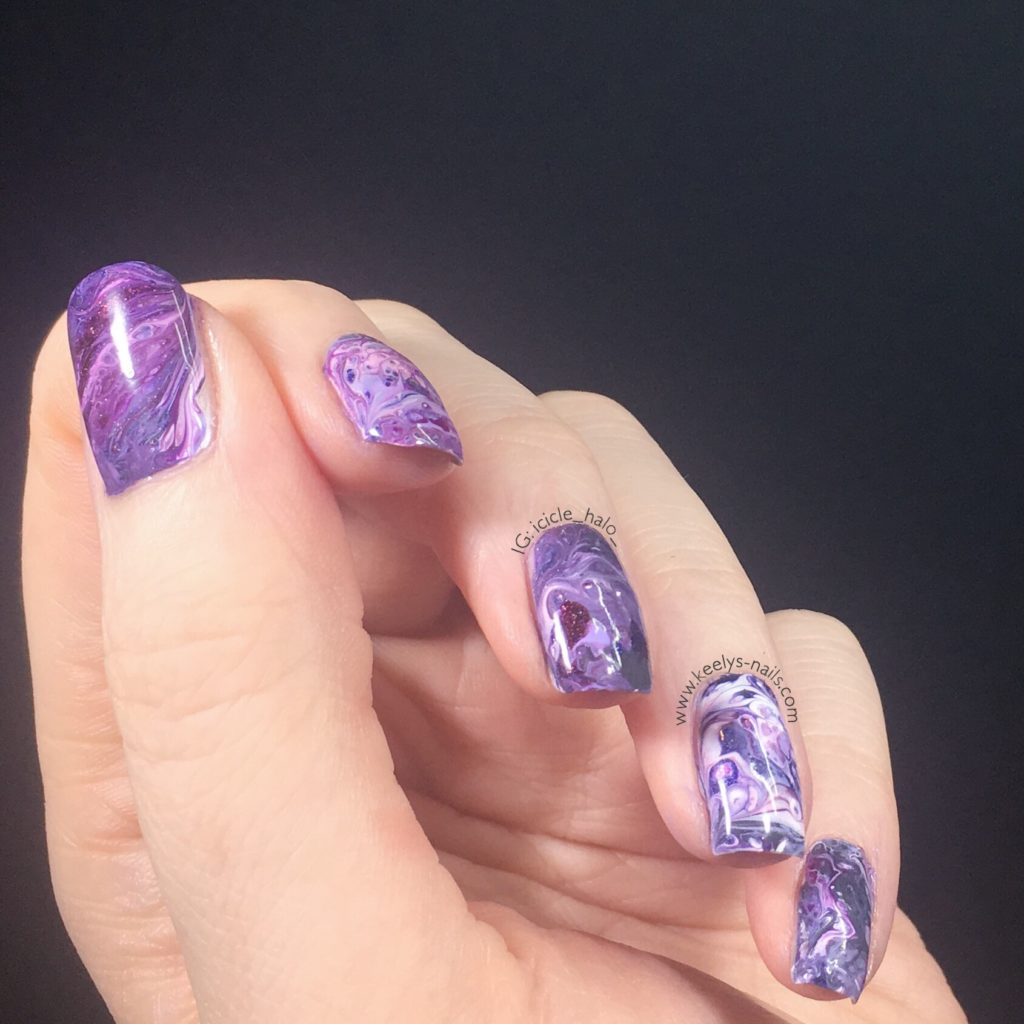
Fluid nail art – right hand
I lined up all my colours and had them open and ready. I used a piece of foil under my hands so I could throw it away afterwards, but a silicone nail art mat works too.
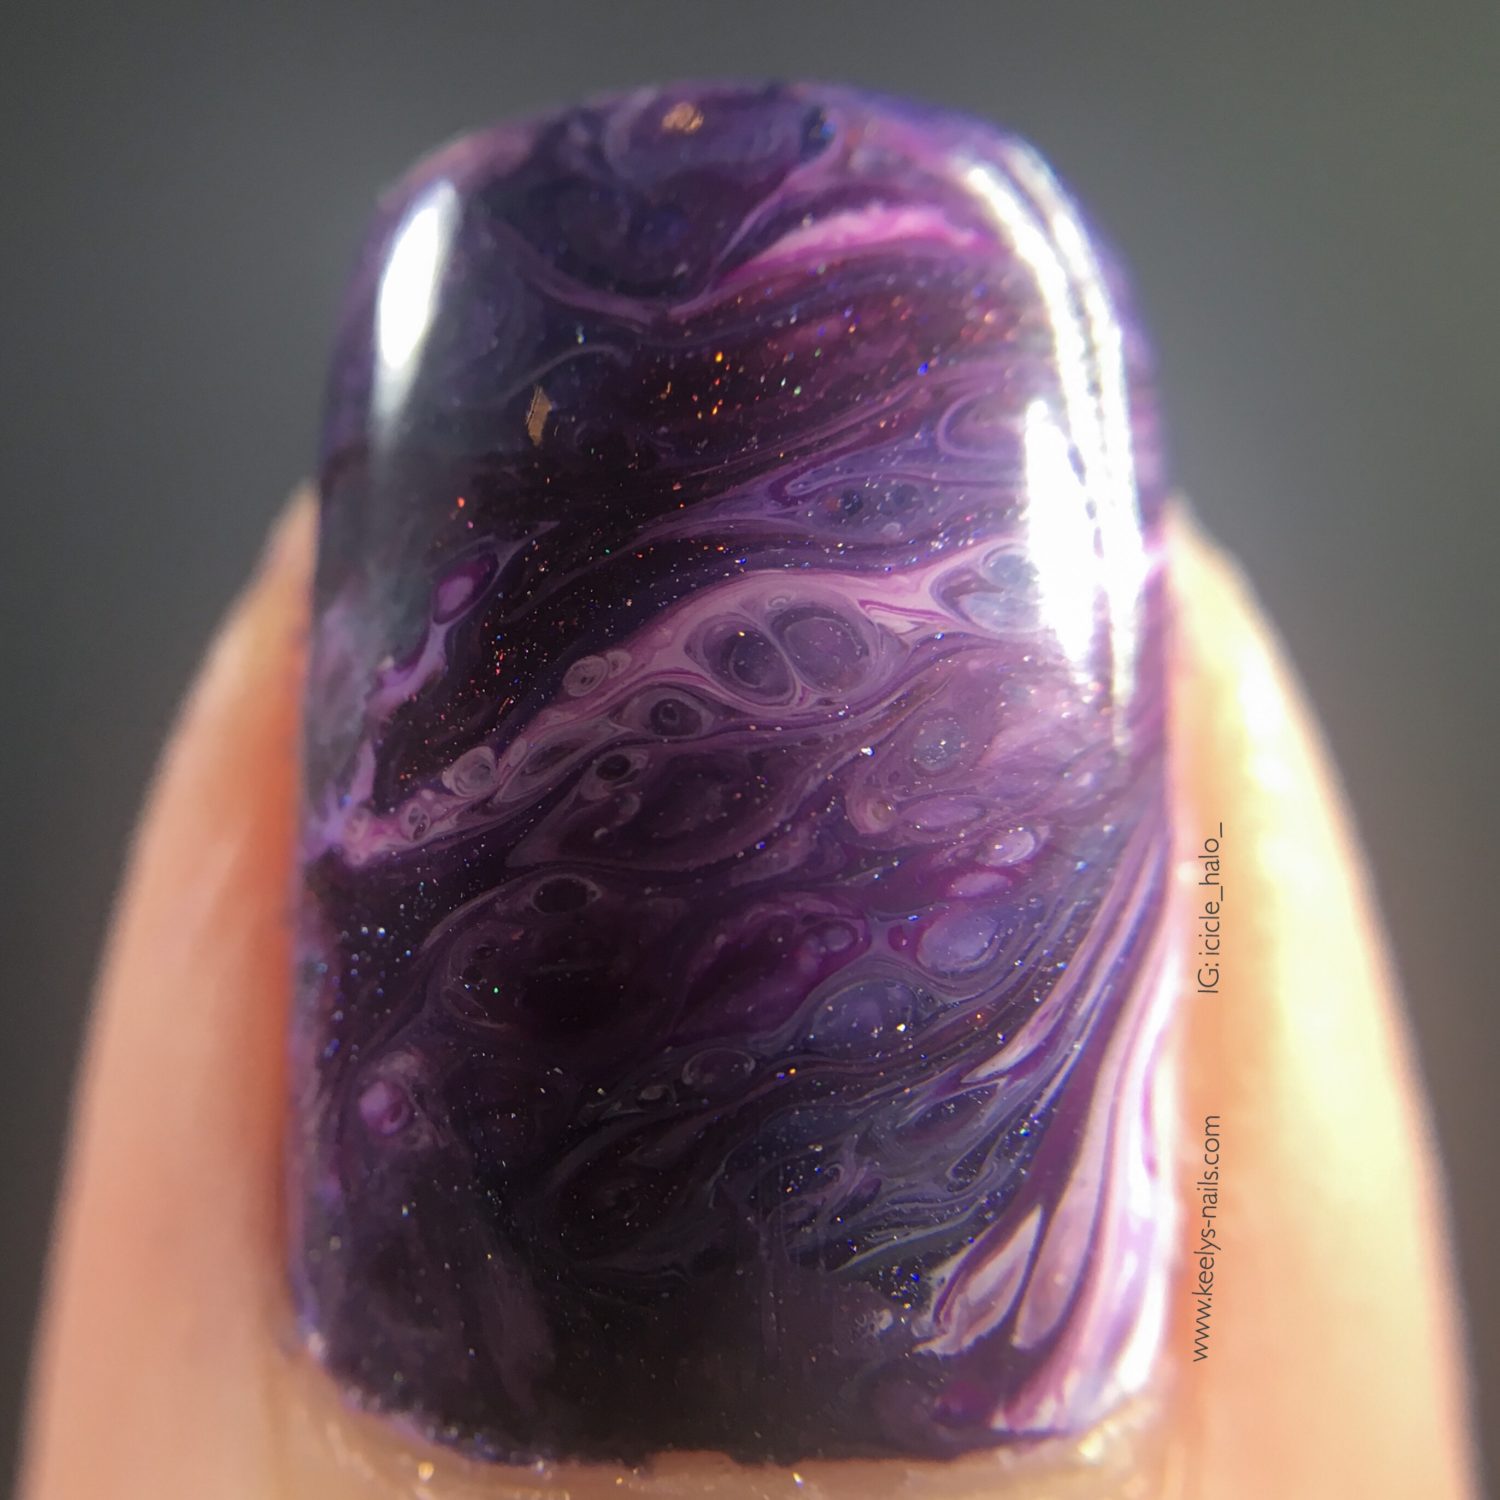
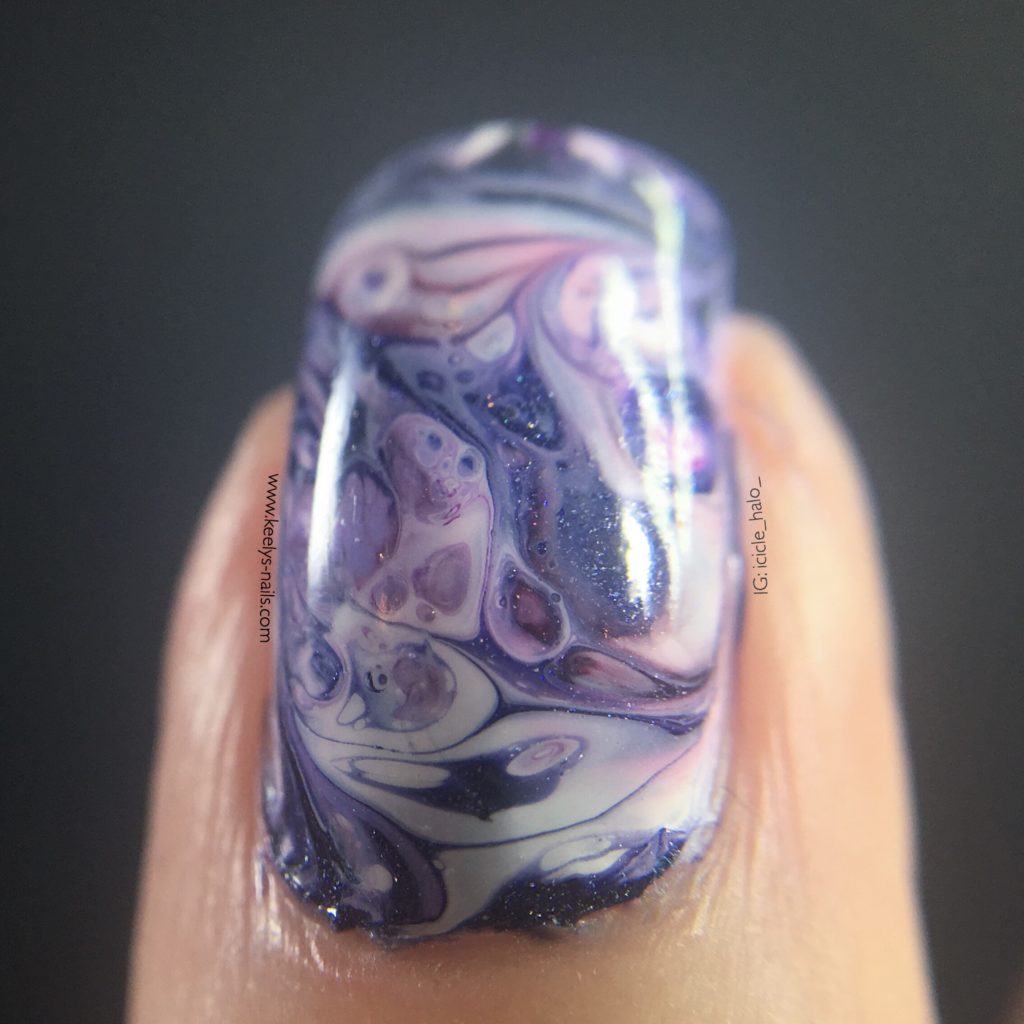
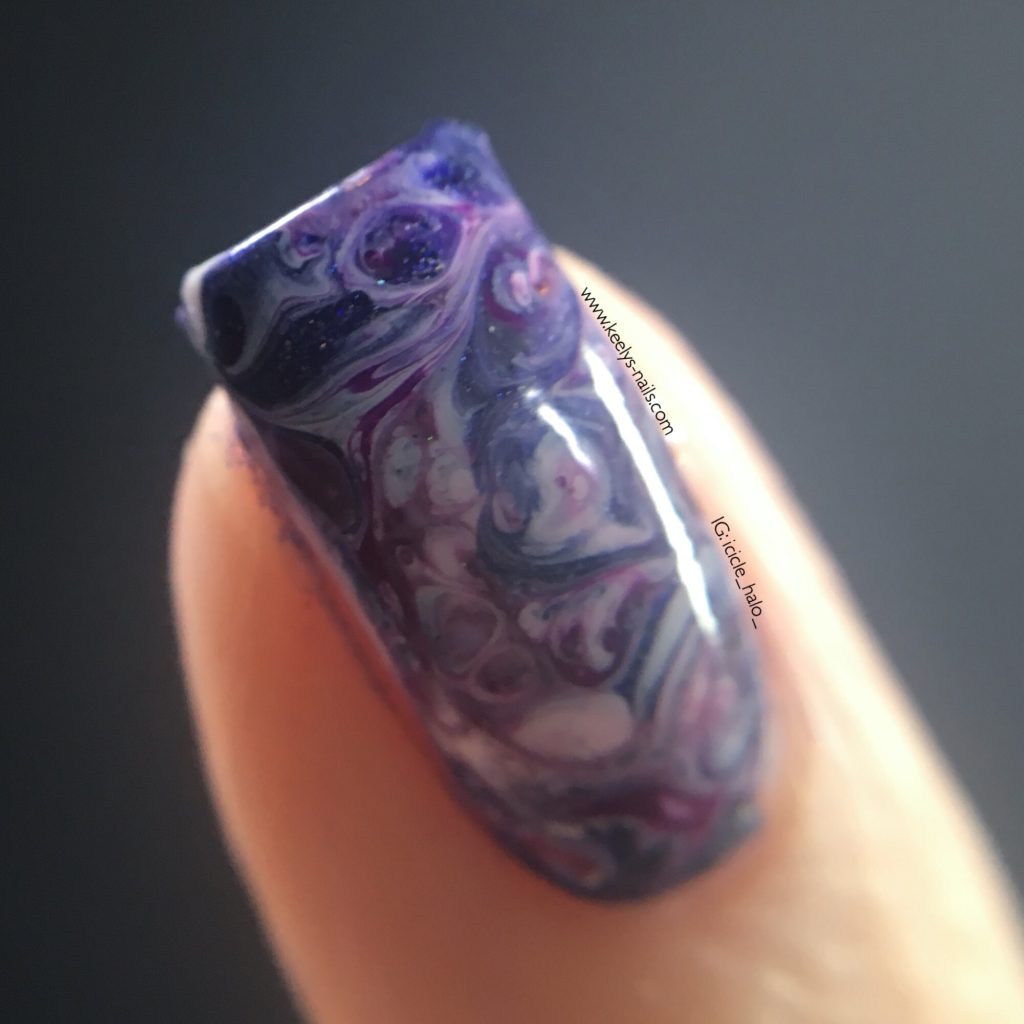
Fluid nail art – left hand index macro
Making fluid nail art
Create a little pile of all the colours by adding one or two drops of each shade of polish on the foil. Then scoop it up with the tool and let the colours flow across your nail. I found that each of these little piles of polish did two fingernails or one thumbnail (my thumbnails are very wide).
Fluid nail art – left hand again
You can angle and move your nail to direct the flow, and add more polish where needed. Clean up as you go, as the polish is easier to get off your skin while it’s still wet. I wouldn’t add polish straight to the nail from the bottle, since it won’t blend the same.
Fluid nail art – left hand ring macro – lots of cells!
If you don’t have a silicone tool, a firm, flat brush will work too, but you may need to clean it in between using acetone or polish remover. My angled clean up brush is a bit too short, but the firmness would be perfect.
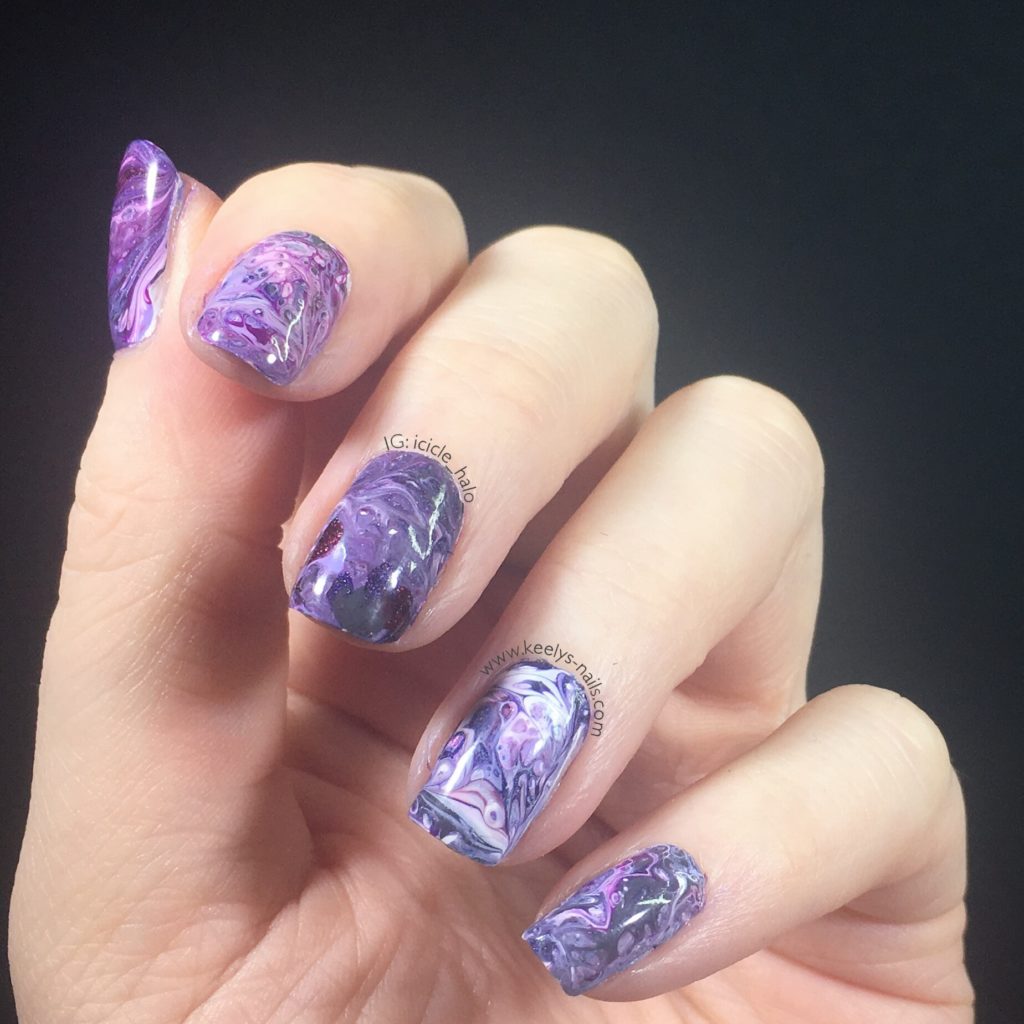
Fluid nail art – left hand
The polish does end up as a thicker coat than normal nail painting, so do allow extra drying and setting time. I finished mine off with Seche Vite, but thicker polish is prone to chipping I find.
Fluid nail art – right hand little macro
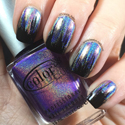
Fluid nail art
What do you think of this technique for creating a unique design? Would you like to see a video tutorial? I felt this way didn’t waste polish or create too much mess, but looking at the macros, my clean up was lacking a bit. Maybe I should have used liquid latex this time!
September 9, 2017
This technique is so cool! I would love to see a tutorial. I think my favorite thing about art work like this is that no 2 manicures will ever look the same. 🙂
September 9, 2017
They will always be unique! I’ll see what I can do about filming a tutorial this week
September 10, 2017
I think this looks cool! And yes I would like to see a video tutorial 🙂
September 10, 2017
Thank you Helena, I’ll work on one this week!
September 10, 2017
This turned out amazing! I have yet to try it but have been admiring everyone elses’ manis.
September 10, 2017
The top coats made it really easy. If you have OPI Clearly Spotted (was the Spider-Man collection) that will work too.
September 11, 2017
This is GORGEOUS!!!!
September 11, 2017
Thanks Jessalyn!
June 25, 2019
They look real cool, but wish there was a video tutorial.
June 25, 2019
Although I haven’t done a tutorial, there are loads on YouTube. Just search for fluid nail art.