Winter Snowflake Nail Art
I wasn’t feeling the Christmas spirit, but I’ve decided that Winter Snowflake Nail Art is a gateway into getting into the season! I can highly recommend it if you aren’t feeling in the Christmas mood. I definitely wasn’t before I had these on!

Winter Snowflake Nail Art | Keely’s Nails
Polishes and tools
Picture Polish Winter
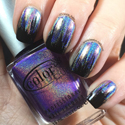
ILNP Home Sweet Home
Hit The Bottle Black As Night and Snowed In
MoYou London Festive 02
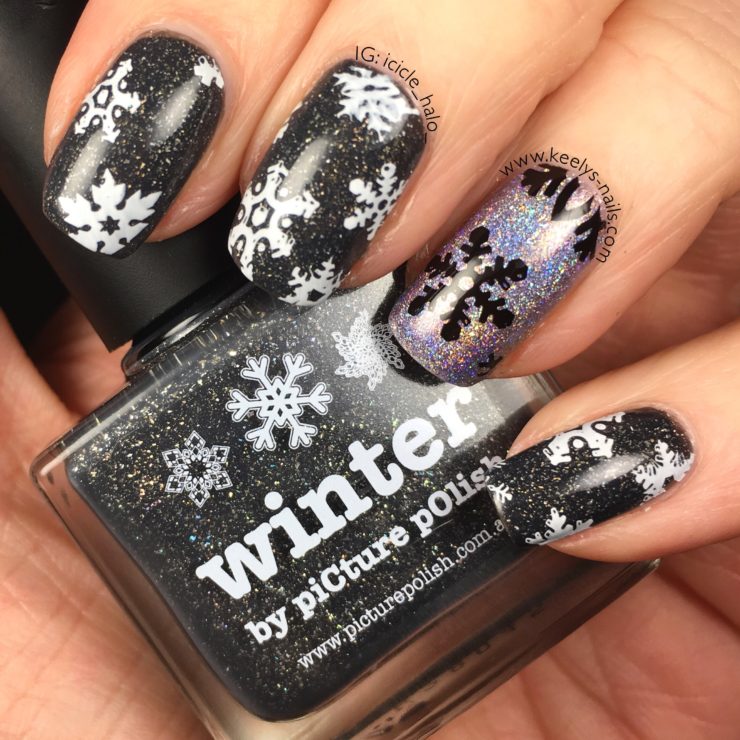
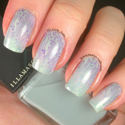
I painted my ring fingers and thumb nails with ILNP Home Sweet Home and all the others with Picture Polish Winter. I normally add a coat of Seche Vite before stamping and this was no different. It creates a smooth stamping base and if your polish base is set hard, you won’t ruin it with the pressure of the stamping head.
The two Hit the Bottle stamping polishes are new and stamped the snowflakes beautifully. I found the white polish harder to clean off the plate afterwards though.

Winter Snowflakes Nail Art | Keely’s Nails
I chose all different snowflakes from the MoYou London stamping plate and I made sure that some ran off the edge of my nail. I also tried to size them roughly according to nail size, so my smaller nails weren’t overwhelmed with a large design.
For a quick and easy design, stamping is definitely the way to go, even though it takes a little while to master. I’d really like to get a clear jelly stamper which I think will help me with placement, although I’m worried that it would be difficult to use on my curvy nails.
Winter Snowflake Nail Art
This is a really simple design, with reversed stamping on a dark and light background. The holographic sparkles in the polishes make this something seasonal and special. I ended up with something chic and wintery, and not full-on Christmas, so perfect as that gateway seasonal manicure if you aren’t feeling ready for the holidays yet!
December 7, 2016
Loving the snowflake design! Perfect for Christmas gatherings/parties. x
February 4, 2017
Thank you! I agree, it’s perfect for the winter time
December 7, 2016
Love it – so seasonal and sparkly! My daughter once did Christmas puddings on my nails and I loved them!
February 4, 2017
That’s so cute! I bet they looked great for Xmas
December 7, 2016
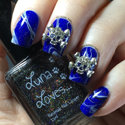
omg! they are so gorgeous! I love the silver one, I always leave that nail in a different color too! x
February 4, 2017
So many polishes, so few nails!!
December 7, 2016
These are beautiful – and so festive!! I would love nails like this, they would go with anything too!
February 4, 2017
Thank you! I love this combination too
December 7, 2016
This is the perfect nail art for Christmas and I love that it has little glittery snowflake motifs.
February 4, 2017
It’s wintery without being too much
December 8, 2016
They look great, I didn’t know there were stamps for nails although they would make them look far neater, imagine me trying to draw snowflakes on each nail lol.
February 4, 2017
With enough practice you can become ambidextrous, promise!
December 8, 2016
That is gorgeous, perfect for this time of year
February 4, 2017
Yes, just needed the real stuff to match!
December 9, 2016
These look perfect not only for Christmas but all through winter
February 4, 2017
the perfect winter mani! Thank you!
December 9, 2016
Oh wow, these are beautiful 🙂 Perfect for this time of year. I would love these for Christmas!!
February 4, 2017
Thank you Claire!
December 9, 2016
Love the snowflakes and the glittery nail polish so perfect and looks fantastic!
February 4, 2017
Thank you Marie
December 9, 2016
These are so cute! My favourite I’ve seen from you so far x
February 4, 2017
Thank you so much Kerry, glad you’re enjoying them!
December 9, 2016
I love these, very festive and perfect for a xmas party xx
February 4, 2017
Thank you so much!
December 12, 2016
Love the snowflake ornaments. Very festive!
February 4, 2017
Thank you!